Synology DiskStation User's Guide
Based on DSM 3.1
77 Chapter 7: Set Up File Sharing
Create and Edit Groups
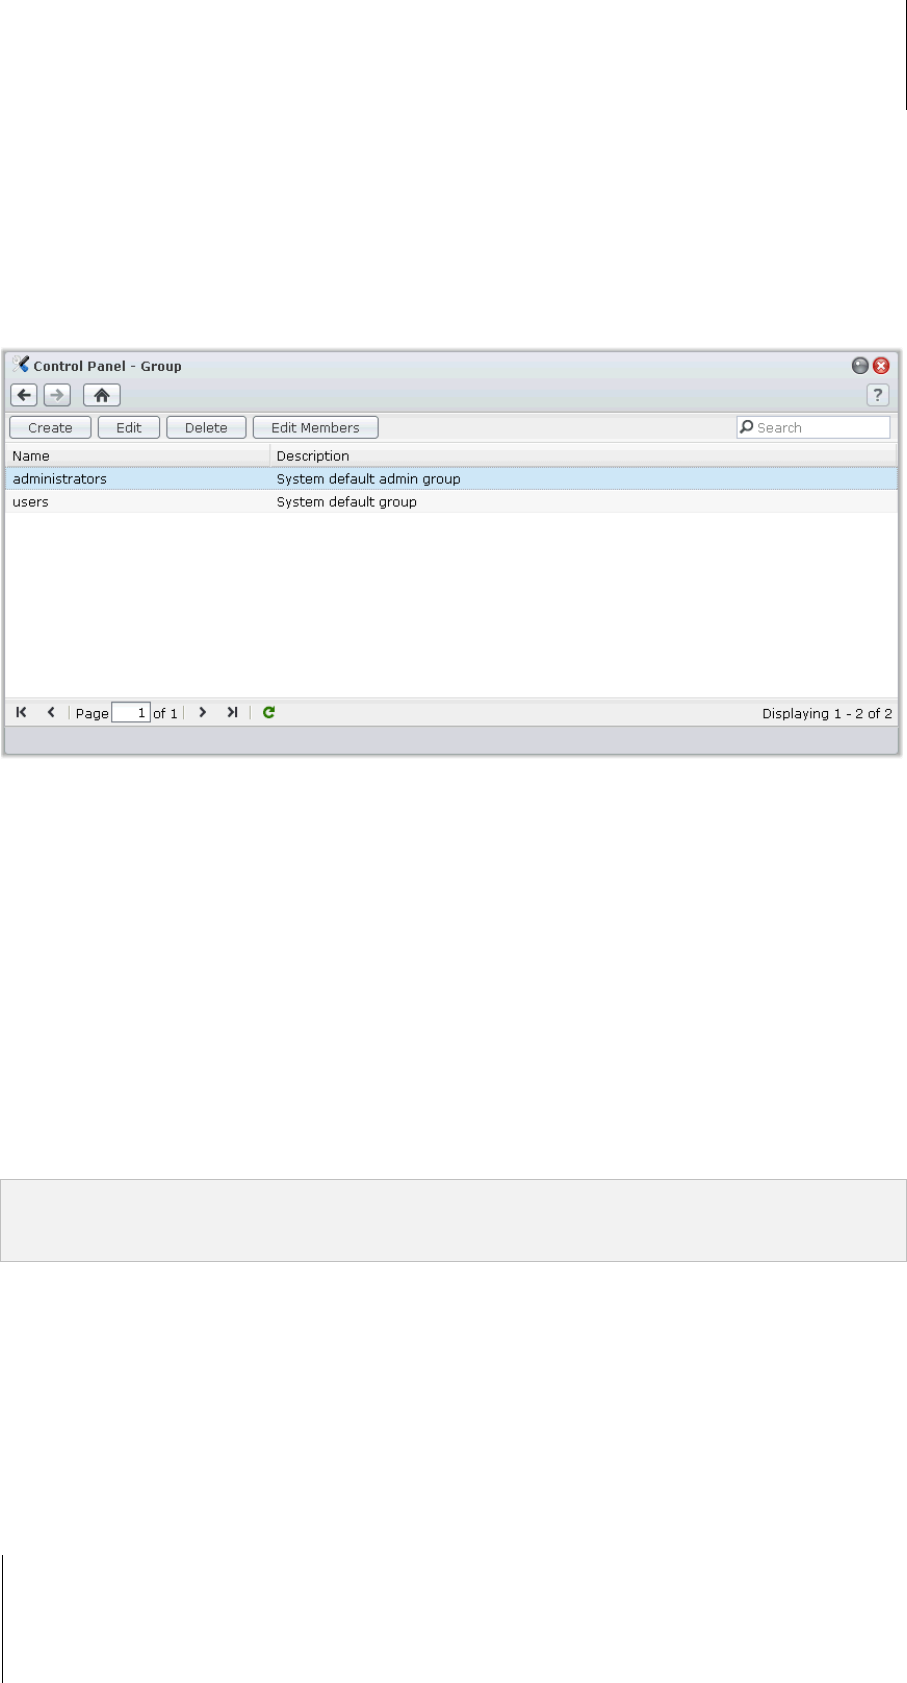
Go to Main Menu > Control Panel > Group to create and edit a group, add users to the group, and then edit the
group's properties, saving you the trouble of editing users one by one.
Groups created by default include the following:
administrators: Users belonging to the administrators group have the same administrative privilege as
admin.
users: All users belong to the users group.
To create a new group:
1 Click Create and enter the group name and description.
2 Click OK.
To edit a group's name and description:
1 Select the group you want to edit from the groups list and click Edit or double-click the group.
2 Make changes to the settings and click OK.
To delete a group:
Select the group you want to delete from the groups list and click Delete.
To add or remove group members:
1 Select the group you want to add users to from the groups list and click Edit Members.
2 Click Add or Remove, select users from the users list, and click OK. (Press and hold Shift or Ctrl while making
multiple selections.)
3 Click Finish.
Note: For more information about editing a group's access privileges to shared folders or applications, see "Allow
Users or Groups to Access Shared Folders" on Page 81 and "Allow Users to Access Applications" on Page 78 for
more information.
