Synology DiskStation User's Guide
Based on DSM 3.1
41 Chapter 3: Modify System Settings
Manage UPS
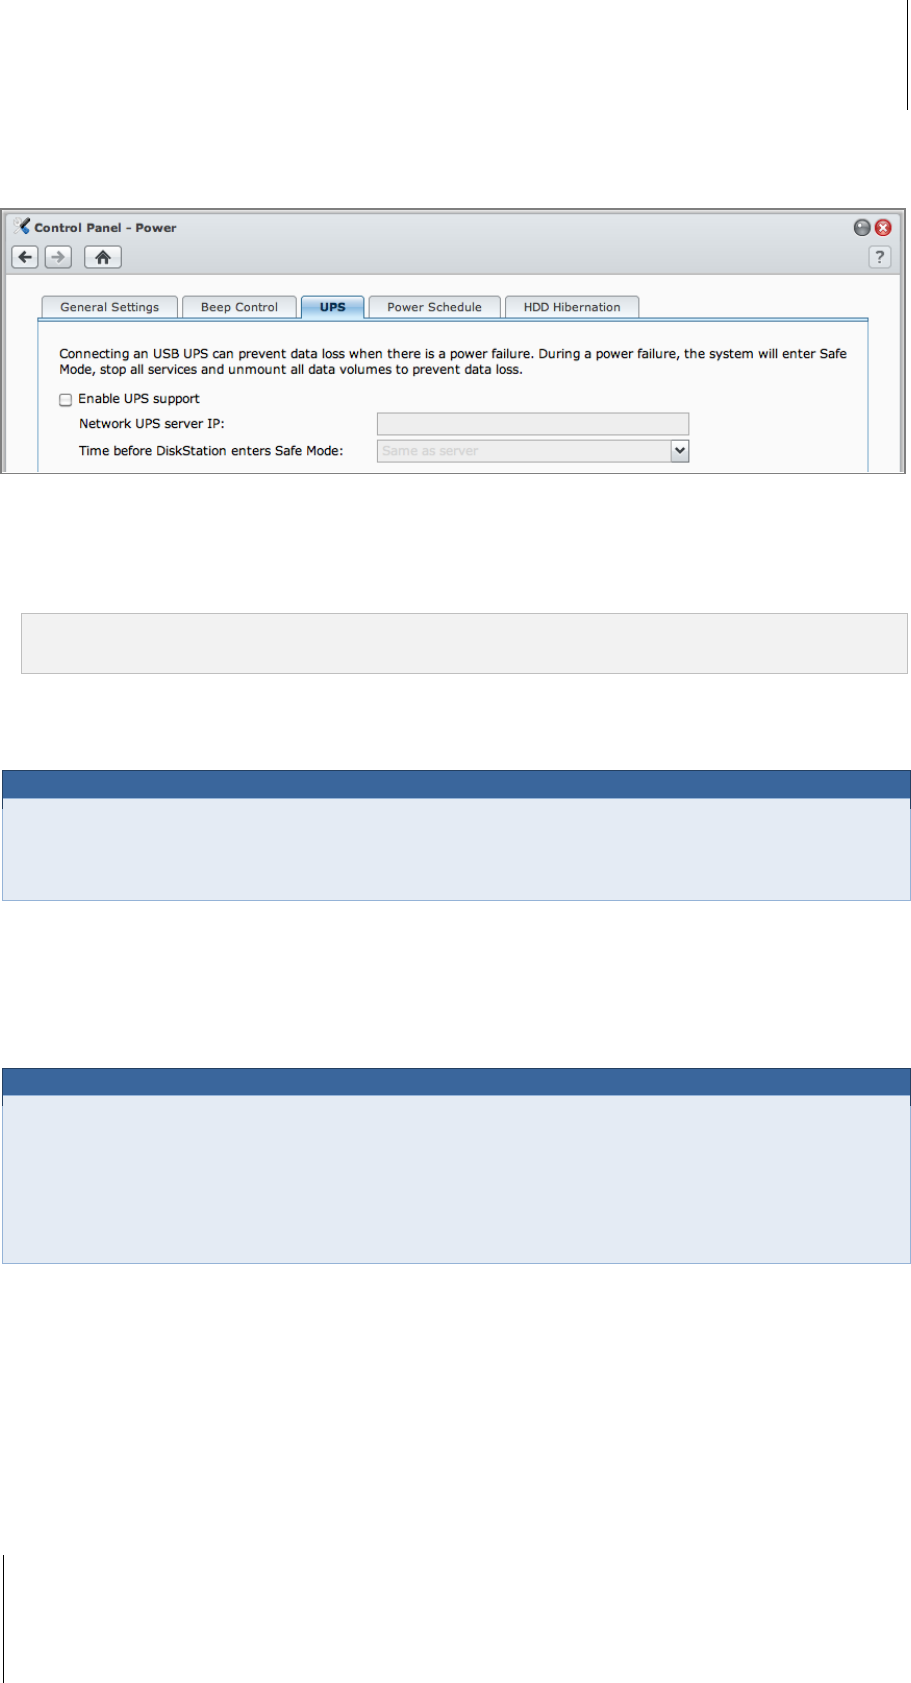
Under the UPS tab, you can enable UPS support to prevent data loss when an unexpected power failure occurs.
To enable local UPS support:
1 Connect a local UPS to the USB port of your DiskStation.
2 Tick the Enable UPS support checkbox.
3 Set the Time before DiskStation enters Safe Mode.
Note: If the local UPS is low on battery, or the network UPS server enters Safe Mode, DiskStation will ignore the
specified time period and enter Safe Mode immediately.
4 You can decide whether to send a shutdown signal to the UPS when the system enters Safe Mode. Most UPS
can restore power supply automatically when the power recovers.
5 Click OK.
Term Explanation
When entering Safe Mode, the system will first stop all services and unmount all data volumes to prevent data
loss, so that when the UPS shuts down, the system will be turned off safely. If the Power Recovery function has
been enabled, the system will restart automatically when power is restored.
To enable network UPS support:
1 Tick the Enable UPS support checkbox.
2 Enter the Network UPS server IP. (Make sure the server allow connection from Synology DiskStation)
3 Set the Time before DiskStation enters Safe Mode.
4 Click OK.
Network UPS support requirements:
You will need another server connected to an UPS that can be communicated via internet, i.e. a network
UPS server.
A network device, such as a switch or a hub, should be connected to the same UPS, so that Synology
DiskStation can still communicate with network UPS server during an unexpected power failure.
To enable Network UPS server:
1 Connect a USB UPS to Synology DiskStation.
2 Tick the Enable UPS support checkbox.
3 Tick the Enable Network UPS Server checkbox.
4 Enter the IP addresses which will be allowed to connect to Synology DiskStation.
5 Click OK.
