


6
6 - 18e-STUDIO350/352/353/450/452/453
SCANNER
© 2003 - 2008 TOSHIBA TEC CORPORATION All rights reserved
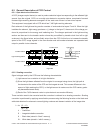
Notes:
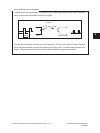
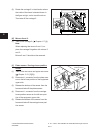
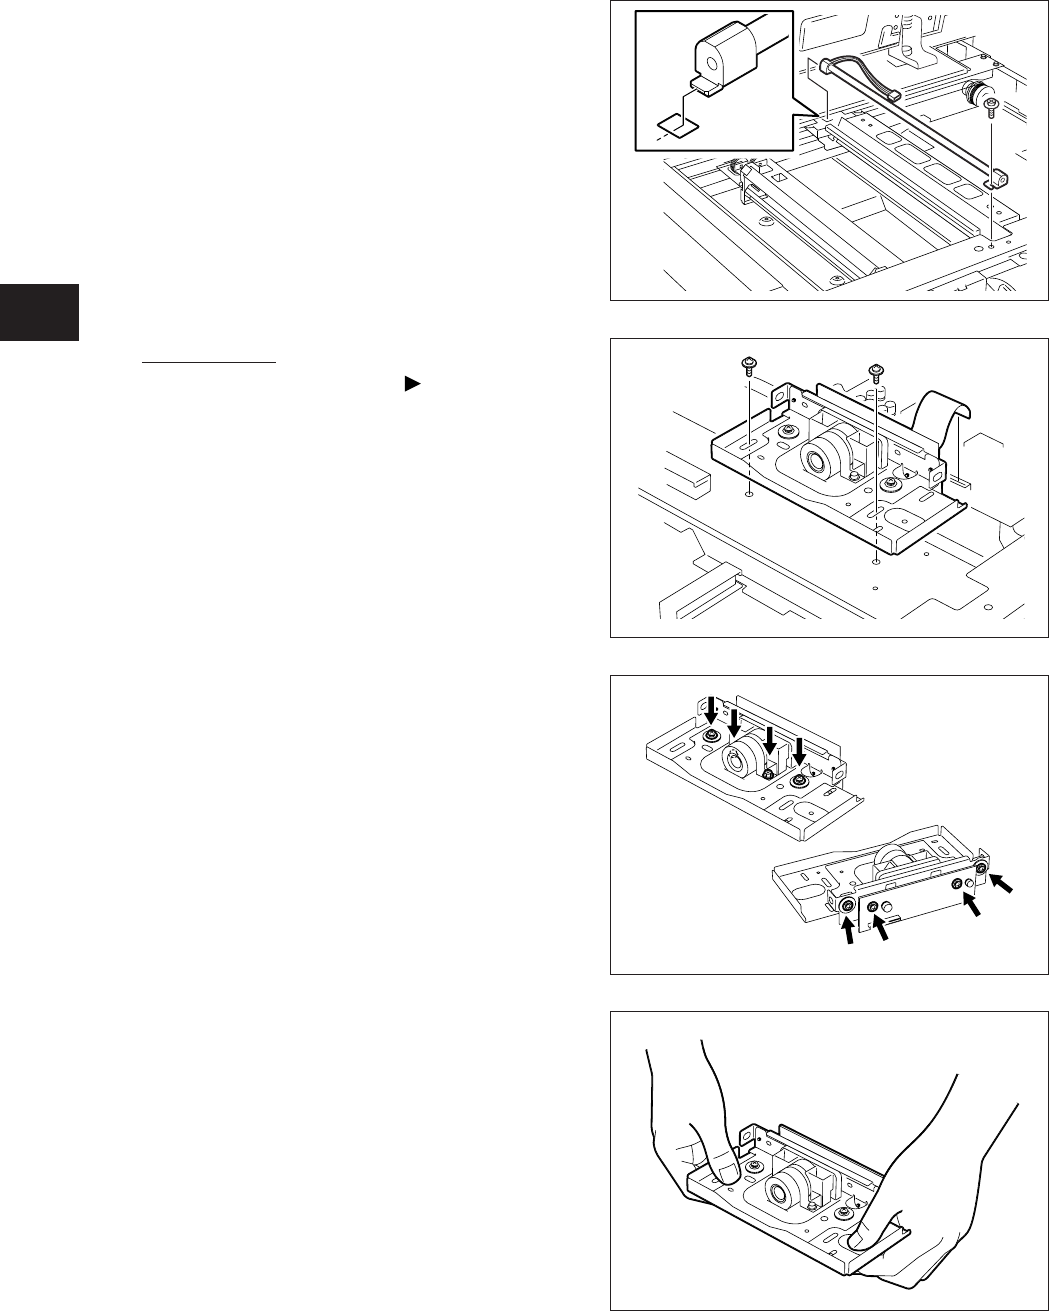
1. Wheninstalling,xthelensunitwith
the screws while pushing the unit to the
rear side.
2. Refer to “3.7.2 Lens Unit” in the Service
Handbook for the adjustment method.
3. Never attempt to loosen the screws
(8 pcs.) of the lens unit denoted with
arrows.
4. Handle the unit with extra care. Do not
touch the adjusted area or lens. (Hold the
unitasshowninthegureatright.)
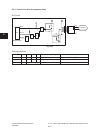
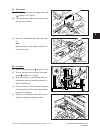
[E] Lens unit
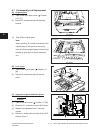
(1) Take off the lens cover ( Chapter 6.7 [B]).
(2) Disconnect 1 connector from the SLG board.
(3) Remove 2 screws and take off the lens unit.
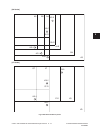
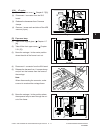
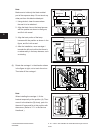
(7) Remove 1 screw. Lift up the exposure lamp
and take it off by pulling out toward you.
Note:
Make sure to hold only the black molded
part of the exposure lamp. Do not touch any
other part than this black molded part.
Fig. 6-708
Fig. 6-709
Fig. 6-710
Fig. 6-711