


6
6 - 20e-STUDIO350/352/353/450/452/453
SCANNER
© 2003 - 2008 TOSHIBA TEC CORPORATION All rights reserved
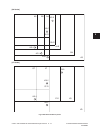
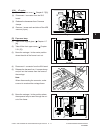
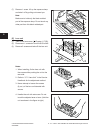
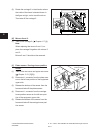
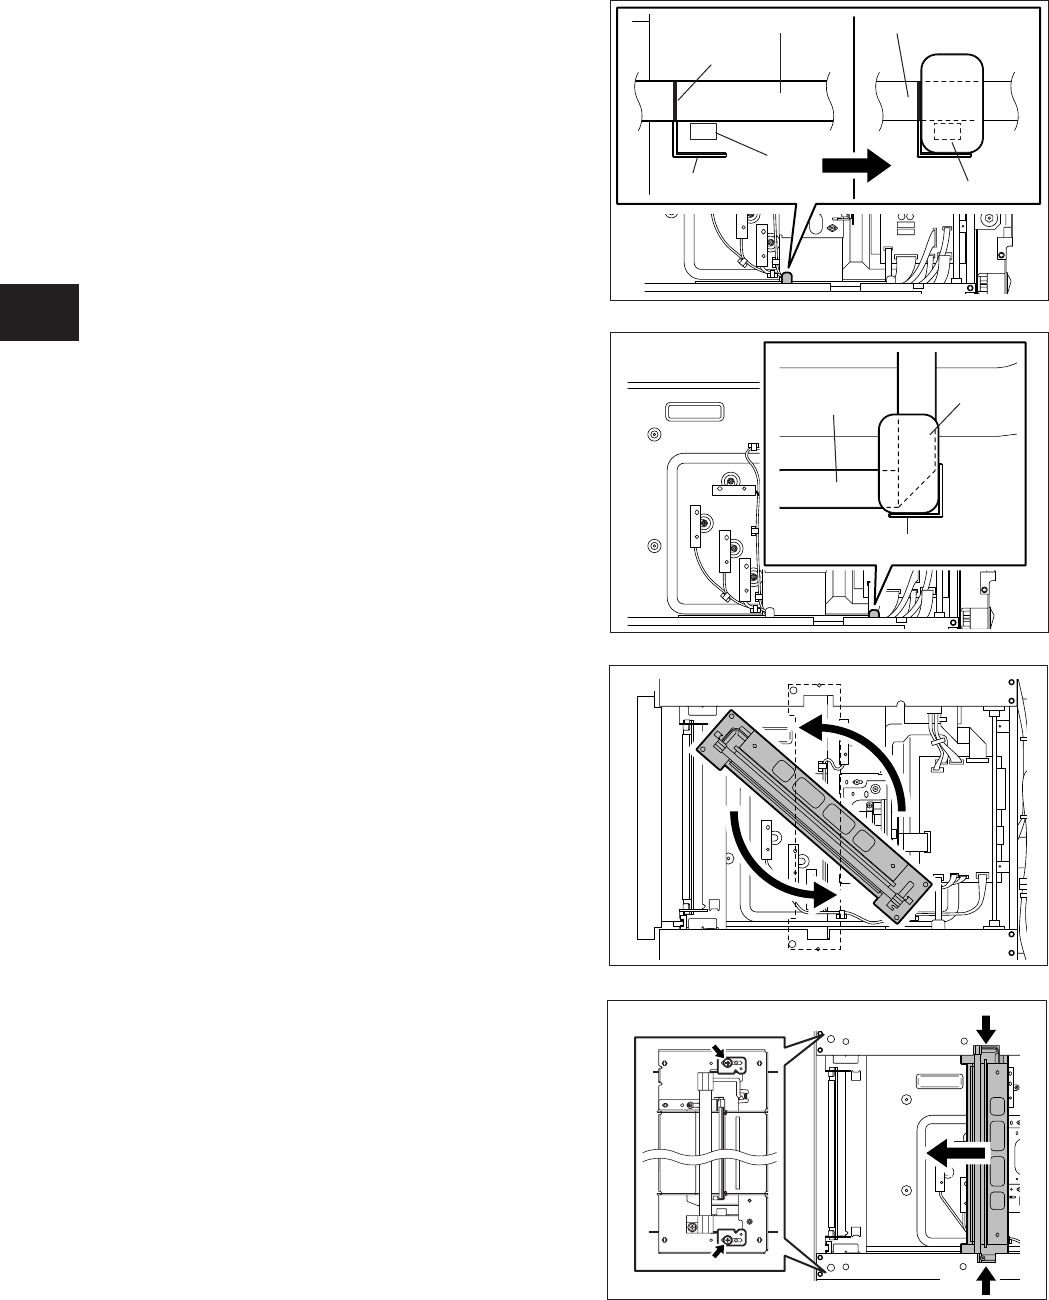
(6) Rotate the carriage-1 in the direction shown
inthegureatright,nottotouchthemirror.
Then take off the carriage-1.
Note:
Wheninstallingthecarriage-1,xthe
bracket temporarily at the position (A). Then
move it to the direction (B) slowly, push it to
theendofframeandxatthispositionwith
the screws. (Refer to 3.7.1 in the Service
Handbook.)
(
B
)
(
A
)
(
A
)
Fig. 6-718
Fig. 6-719
Fig. 6-716
Fig. 6-717
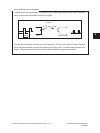
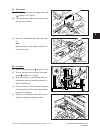
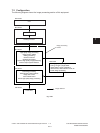
Black line
Lamp harness Lamp harness
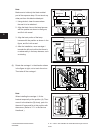
Seal
Hole
Punched mark
Lamp harness
Seal
Punched mark
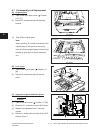
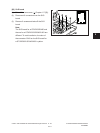
Note:
Make sure to hold only the black molded
part of the exposure lamp. Do not touch any
other part than this black molded part.
1. Using alcohol, clean the area where
the seal is to be attached..
2. Align the black line on the lamp harness
withthepositionasshowninthegure,
andxitwithaseal.
3. Align the bent portion of the lamp
harness with the position as shown in the
gure,andxitwithaseal.
4. After the installation, move carriage-1
towardstheleftandconrmthatthereis
no abnormality in the lamp harness, such
as twisting.
07/03