


e-STUDIO350/352/353/450/452/453
DRUM RELATED SECTION
11
11 - 13
© 2003 - 2008 TOSHIBA TEC CORPORATION All rights reserved
Fig. 11-617
Fig. 11-616
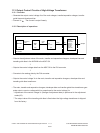
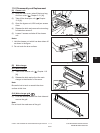
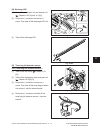
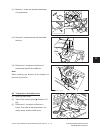
(D-2) Recovery blade
(1) Remove the cleaning blade ( Chapter
11.6 (D-1)).
(2) Remove the recovery blade.
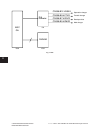
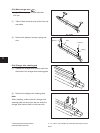
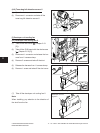
Notes:
1. When attaching the recovery blade, clean the
surfaceoftheframerst.Becarefulnotto
deform the blade.
2. Attach the recovery blade while pushing it to
the step on the surface of the frame.
3.Pressthestuckpartwithyourngertoattach
the blade securely.
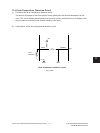
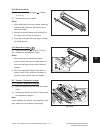
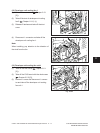
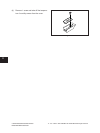
(D-3) Separation nger
(1) Remove the drum ( Chapter 11.6 [C]).
(2) Releasethe3separationngers.
Notes:
1. Whenreplacingtheseparationngers,
make sure that the drum has been taken off
rstsincethengersmayscratchthedrum
surface.
2. Whentheseparationngershavebeenre-
placed, check if their pressure movement is
normalbymovingthemwithyourngers.
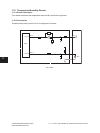
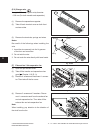
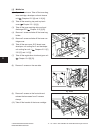
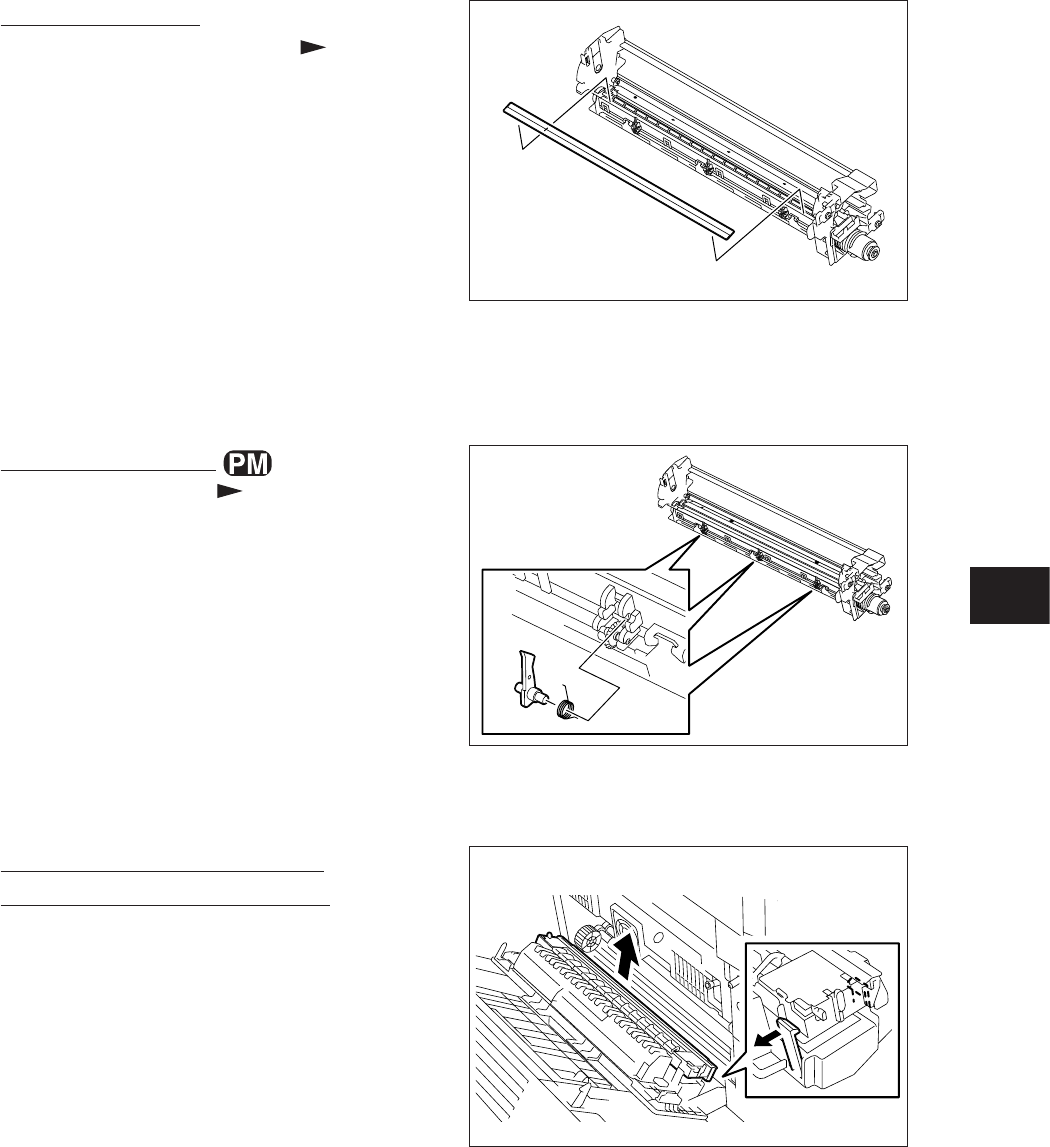
[E] Transfer / Separation charger
(E-1) Transfer / Separation charger
(1) Open the bypass tray, ADU and jam access
cover.
(2) Release the latches and take off the transfer
and separation chargers.
Note:
When installing the transfer and separation char-
gers, make sure not to deform the springs.
Fig. 11-618