


11 - 14
11
e-STUDIO350/352/353/450/452/453
DRUM RELATED SECTION
© 2003 - 2008 TOSHIBA TEC CORPORATION All rights reserved
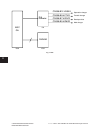
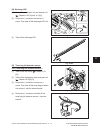
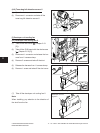
[F] Exhaust fan / Sub-separation fan
(1) Open the jam access cover.
(2) Take off the transfer and separation char-
gers ( Chapter 11.6 (E-1)).
(3) Remove 4 screws and disconnect 1 connec-
tor. Then take off the fan cover.
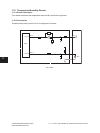
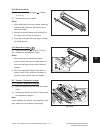
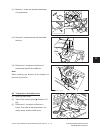
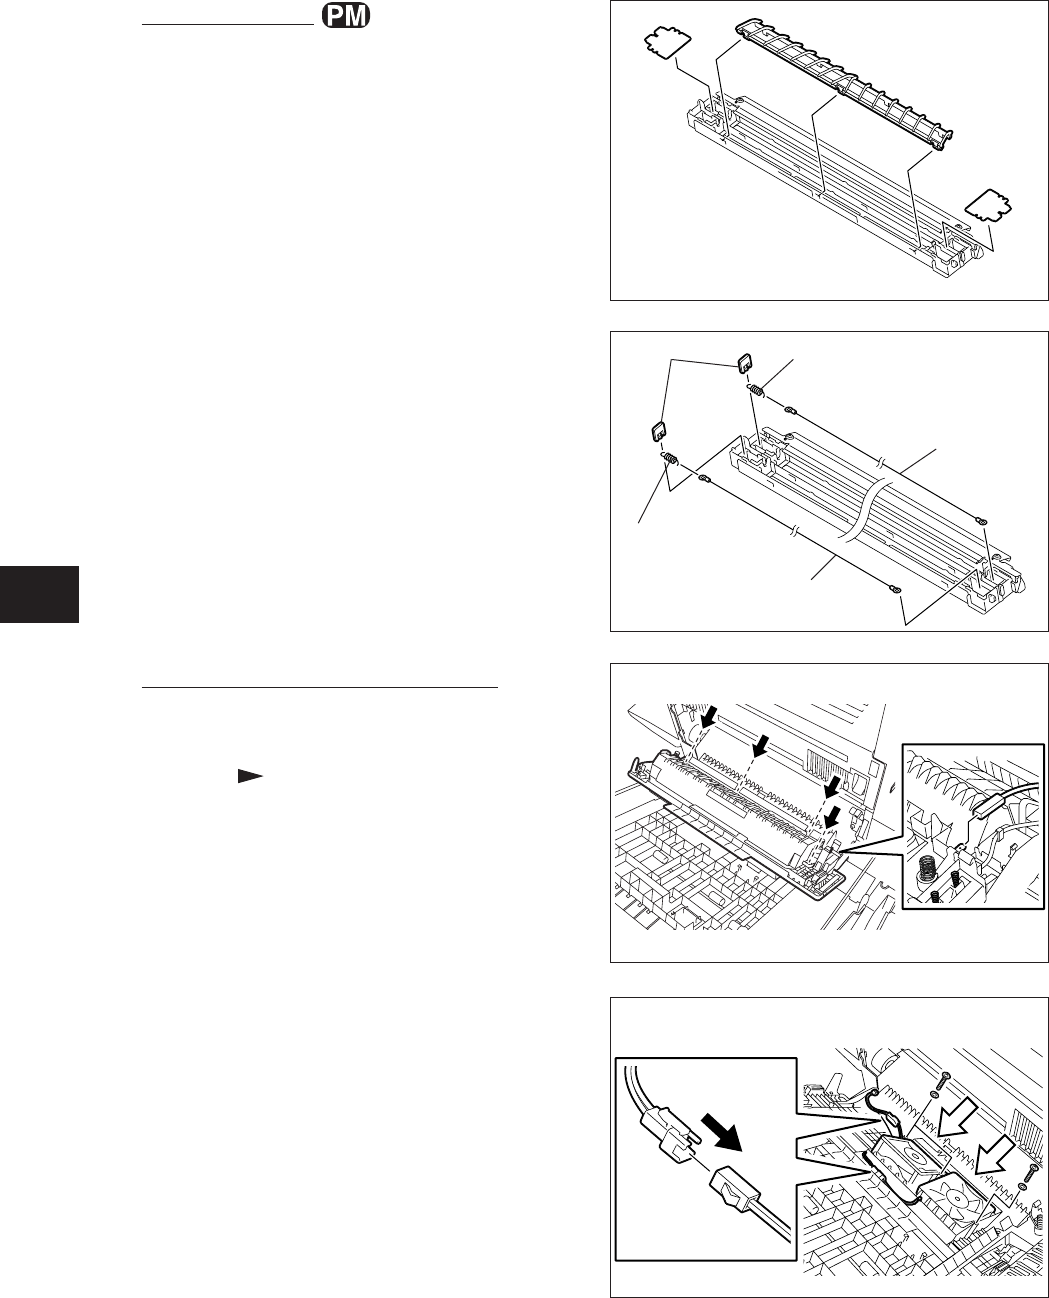
(3) Remove the terminals, springs and wires.
Notes:
Be careful of the followings when installing the
wire.
1. Insert the wire securely into the V-grooves
of the front and rear sides.
2. Do not twist the wire.
3. Do not touch the wire directly with bare hands.
Fig. 11-620
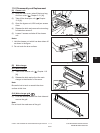
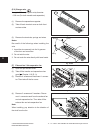
Terminal
Spring
Spring
Wire
Wire
Fig. 11-621
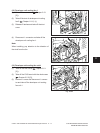
(4) Remove 3 screws and 3 washers. Discon-
nect 1 connector each from the exhaust fan
and sub-separation fan. Then take off the
exhaust fan and sub-separation fan.
Note:
When installing, pay attention to the direction of
the wind from the fan.
Fig. 11-622
FLO
W
FLO
W
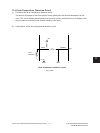
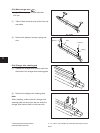
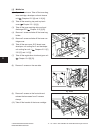
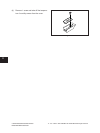
(E-2) Charger wire
* Length: 363 mm (tungsten wire) diameter:
0.06 mm (For both transfer and separation)
(1) Remove the separation supporter.
(2) Take off each terminal cover on both front
and rear sides.
Fig. 11-619