


e-STUDIO350/352/353/450/452/453
DRUM RELATED SECTION
11
11 - 9
© 2003 - 2008 TOSHIBA TEC CORPORATION All rights reserved
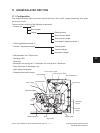
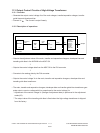
11.6 Disassembly and Replacement
[A] Cleaner unit
(1) Open the front cover, take off the toner bag
and front cover ( Chapter 2.5.1 [A]).
(2) Take off the developer unit ( Chapter
12.5 [A]).
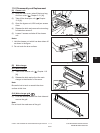
(3) Open the bypass unit, ADU and jam access
cover.
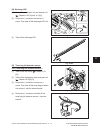
(4) Release the latch and remove the toner bag
full detection sensor-2.
(5) Loosen 2 screws and take off the cleaner
unit.
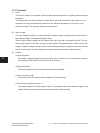
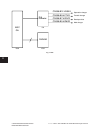
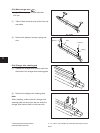
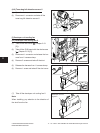
Notes:
1. Hold the cleaner unit which has been taken off
asshowninthegure.
2. Do not touch the drum surface.
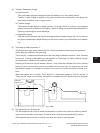
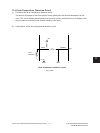
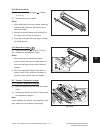
[B] Main charger
(B-1) Main charger
(1) Take off the cleaner unit ( Chapter 11.6
[A]).
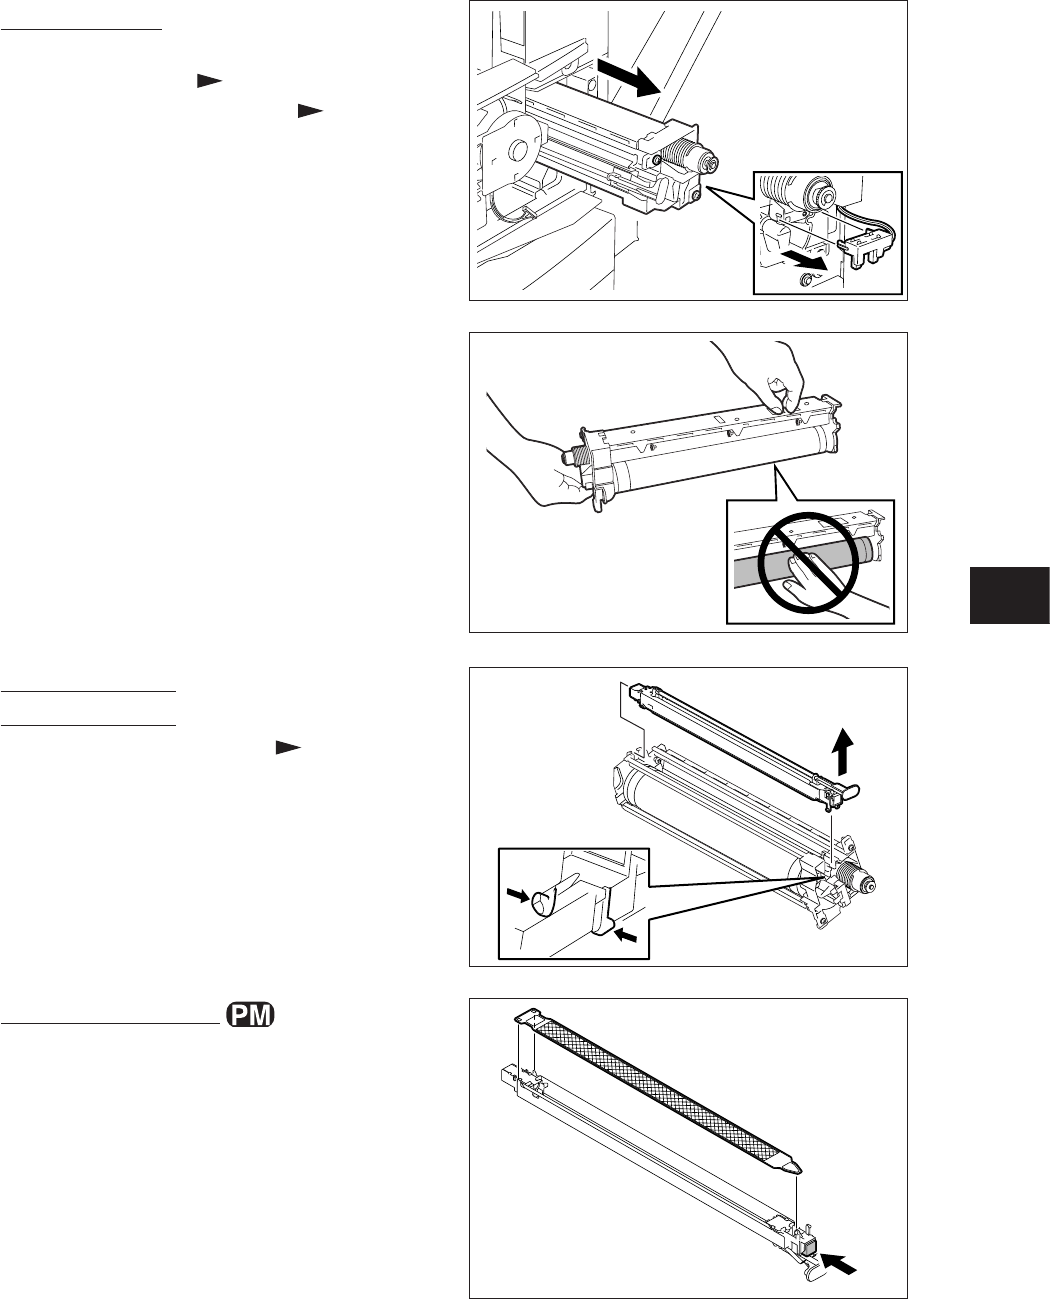
(2) Release the latch and pull out the main
charger to the direction of the arrow.
Note:
Be careful not to touch or scratch the drum
surface at this time.
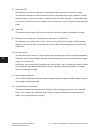
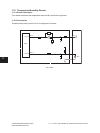
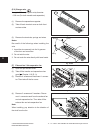
(B-2) Main charger grid
(1) Push the terminal head at the front side and
remove the grid.
Note:
Do not touch the mesh area of the grid.
Fig. 11-601
Fig. 11-603
Fig. 11-604
Fig. 11-602
04/01