


11 - 12
11
e-STUDIO350/352/353/450/452/453
DRUM RELATED SECTION
© 2003 - 2008 TOSHIBA TEC CORPORATION All rights reserved
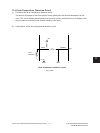
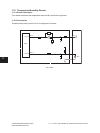
Fig. 11-614
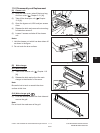
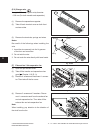
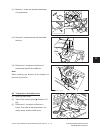
[D] Cleaner
(D-1) Cleaning blade
(1) Take off the cleaner unit. Then take off the
main charger and drum (
Chapter 11.6 [A]
(B-1) [C]).
(2) Remove 2 screws and cleaning blade.
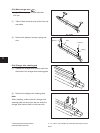
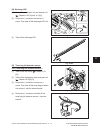
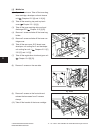
Notes:
1. When installing, make sure that the pressure
of cleaning blade is released with the jig.
2. Insert the head of the jig to the space shown
inthegurewhilepushingthebladeholder.
3. Be careful not to touch or scratch the edge of
cleaning blade.
Fig. 11-613
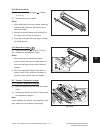
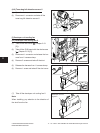
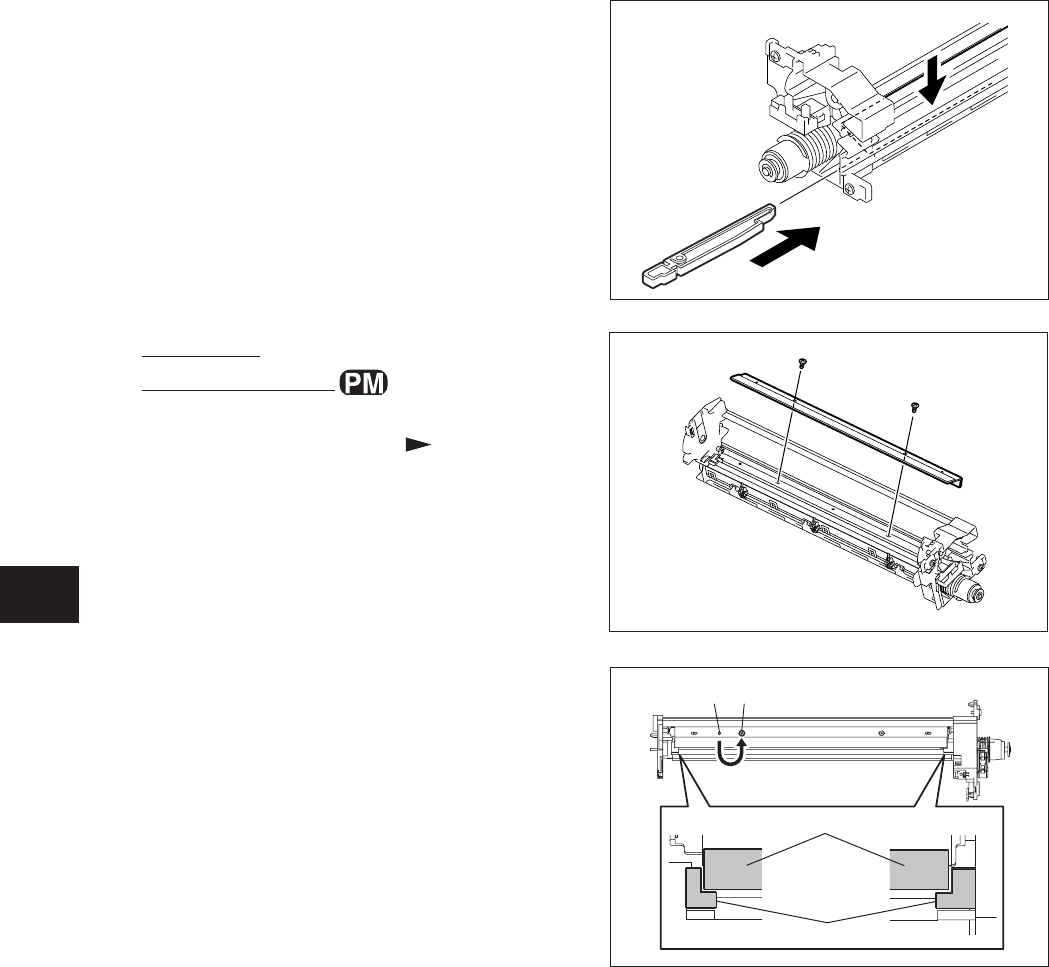
Note:
Pay attention to the following points when install-
ing the cleaning blade.
1. Do not touch the end face of the cleaning blade
and not make a scratch or similar.
2. The cleaning blade should not contact with the
seals. (2 places)
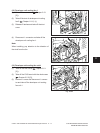
3. If it contacts, shift the screw from A to B and
adjust it so as not to contact with the seals.
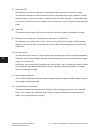
Fig. 11-615
A B
Cleaning blade
Seal
07/06