


14 - 15
14
e-STUDIO350/352/353/450/452/453
AUTOMATIC DUPLEXING UNIT
© 2003 - 2008 TOSHIBA TEC CORPORATION All rights reserved
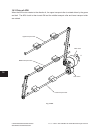
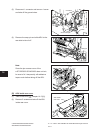
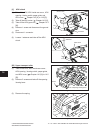
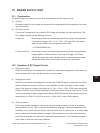
[J] ADU motor
(1) Take off the ADU, ADU inside rear cover ,
ADU opening / closing switch, paper guide,
and ADU cover ( Chapter 14.5 [A] to 14.5
[E]).
(2) Disconnect 1 connector and remove the
binding band.
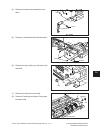
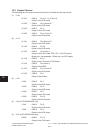
(3) Remove 2 screws.
(4) Lift the ADU motor slightly and shift it to the
direction of the arrow to take it off.
Fig. 14-519
Fig. 14-518
Fig. 14-520
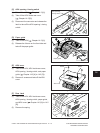
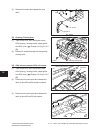
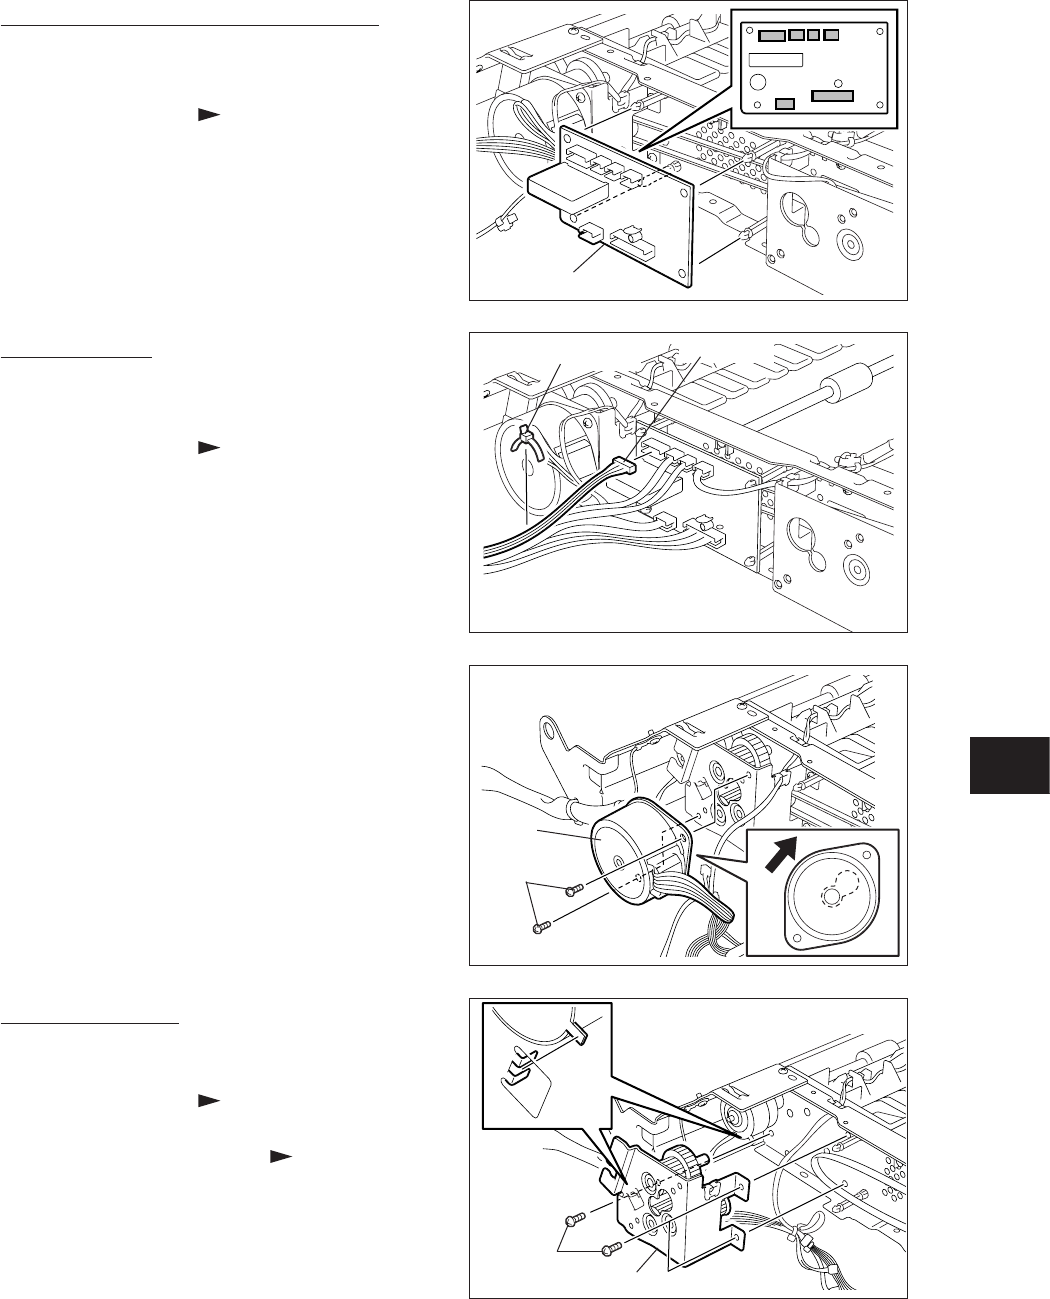
[K] ADU gear unit
(1) Take off the ADU, ADU inside rear cover,
ADU opening / closing switch, paper guide,
and ADU cover ( Chapter 14.5 [A] to
14.5 [E]).
(2) Take off the ADU motor ( Chapter 14.5
[J]).
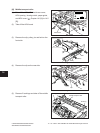
(3) Remove 3 screws and take off the ADU
gear unit.
Note:
Match the protrusion of clutch with the posi-
tionshowninthegurewhenassembling.
ADU
motor
Screw
Fig. 14-517
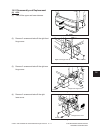
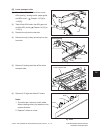
ADU board
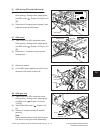
[I] ADU driving PC board (ADU board)
(1) Take off the ADU, ADU inside rear cover ,
ADU opening / closing switch, paper guide,
and ADU cover ( Chapter 14.5 [A] to 14.5
[E]).
(2) Disconnect 6 connectors and release 4 lock
supports to take off ADU board.
Binding band
Connector
Screw
ADU gear unit