


9 - 26
9
e-STUDIO350/352/353/450/452/453
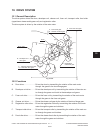
PAPER FEEDING SYSTEM
© 2003 - 2008 TOSHIBA TEC CORPORATION All rights reserved
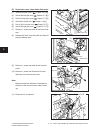
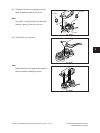
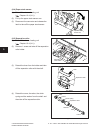
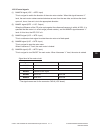
Fig. 9-463
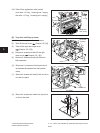
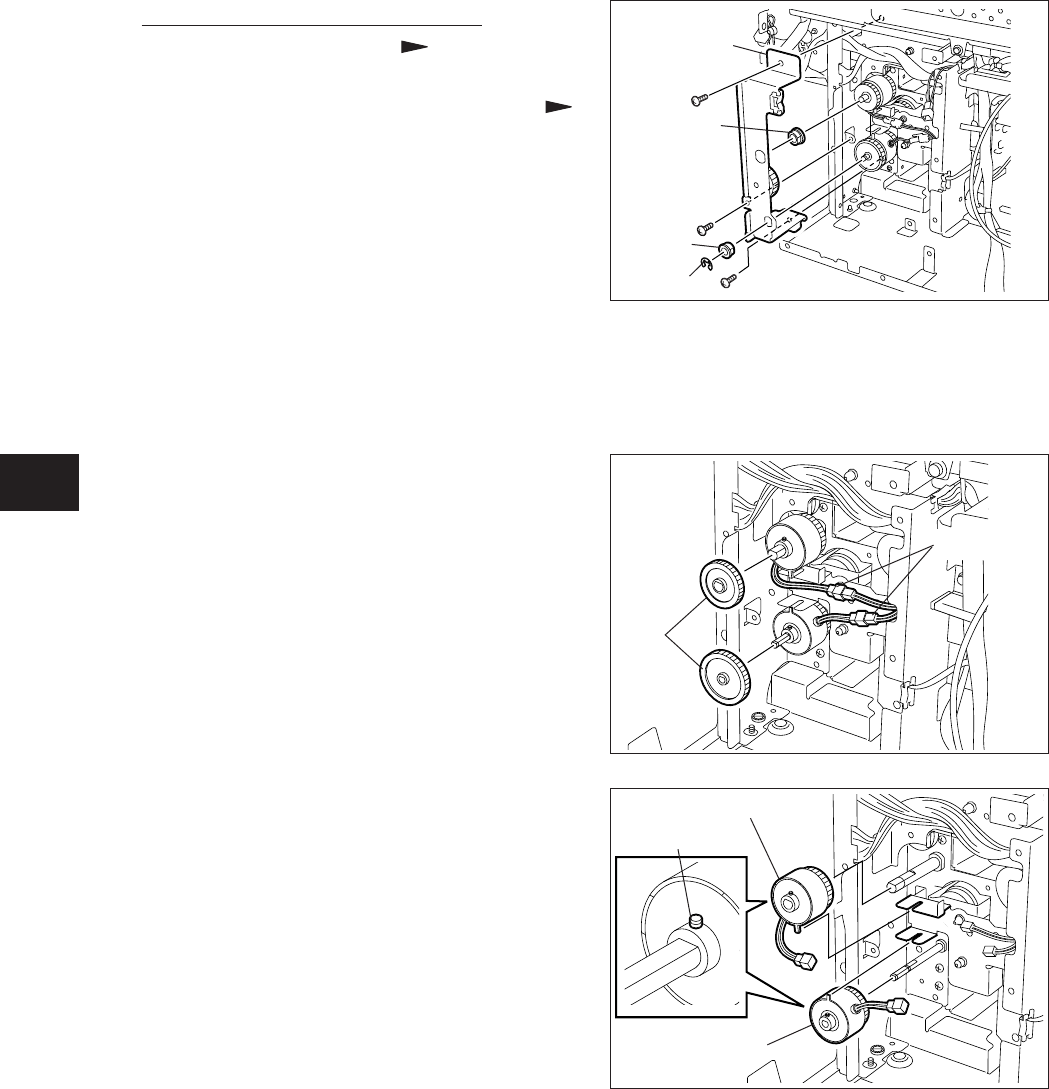
(5) Take off the upper and lower transport
clutch. (Remove the gear and disconnect
the connector respectively, and then loosen
the setscrew to take them off.)
Notes:
1. Make sure that the upper and lower clutch
are different in size when installing them.
Upper side: Shaft diameter, 8 mm
Lower side: Shaft diameter, 6 mm
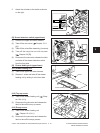
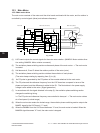
Fig. 9-462
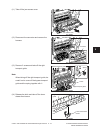
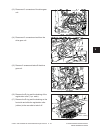
(4) Remove 2 gears and disconnect 2 connec-
tors.
Connector
Gear
Upper transport clutch
Lower transport
clutch
Setscrew
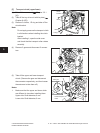
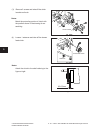
Fig. 9-461
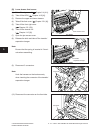
[F] Transport clutch (upper/lower)
(1)
Take off the rear cover
( Chapter 2.5 1
[H]).
(2) Take off the tray drive unit with its plate
(
Chapter 9.4 [E]).
(3) Remove 3 screws, 1 E-ring and take off the
clutch bracket.
Note:
Do not apply pressure the transport clutch
in all directions when installing the clutch
bracket.
After installing it, open the side cover
and check that the transport roller rotates
smoothly.
E-ring
Bush
Bush
Clutch
bracket