Installation 2-11
The serial ports are factory set at 9600bps, 8-bit data, XON/
XOFF flow control, and no parity. If your printer requires
different settings, you must use WebXAdmin or the console
terminal (refer to Chapter 2 and Appendix A for information
on how to use these utilities) to change the settings. With
WebXAdmin, select Configure Port from the main menu,
click on the serial port (S1 for first serial port or S2 for the
XConnect 100 second serial port), choose the desired
settings, and click Submit. With the console terminal, use
one or more of the following commands (use S2 instead of S1
if you are using the second serial port on the XConnect 100):
SET PORT S1 SPEED
baudrate
SET PORT S1 PARITY
parity_type
SET PORT S1 FLOW
flowctrl
SET PORT S1 CHARACTER
charsize
Note that the serial port always operates at 9600bps when in
console mode. Also, if you are using 115200bps on one port
of the XConnect 100, you cannot set the other port to 230400
bps (57600bps and 7200bps are not supported on either port).
Important: The serial ports do not support Direct Memory
Access (DMA). Therefore, sustained transfers at high baud
rates (115200 or greater) can lock out activity on other
ports.
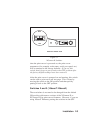
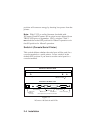
Don't forget to set your serial port settings on your printer to
match the settings of the print server. Also, make sure that
the XConnect II or XConnect II Lite switch 4 (console/serial
printer) is in the proper position (OFF if you are using the
serial port for a console terminal or ON if you are using it to
connect a printer.
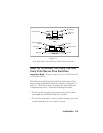
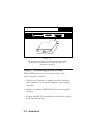
IMPORTANT NOTE: Early versions of the XConnect 100 do
not support the second serial port (the one marked "Console/


