


• 2-63 • RMAN-QLS-002 rev. A Repair Procedures
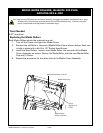
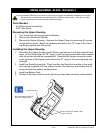
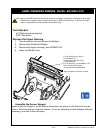
uppeR houSing, QL320- RK18233-1
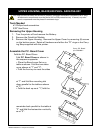
Tools Needed
#1 Phillips head screwdriver
3/32” Hex Driver
Removing the Upper Housing
1. Turn the printer off and remove the Battery.
2. Remove the QuickLink Module.
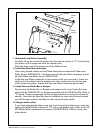
3. Remove the Upper Housing. Remove the Upper Cover by removing (4) screws
on the bottom cover. Retain all hardware and either the “D” rings or the Carry-
ing Strap supplied with the printer.
Installing the Upper Housing
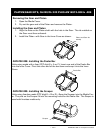
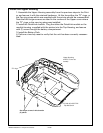
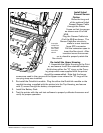
1. Assemble the Upper Housing to the Printer, and secure it with the retained hard-
ware. At this time either the “D” rings, or the Carrying strap which was supplied
with the printer should be reassembled. Note that the longer screws are used
in the corners of the Upper cover where the “D” rings or the carrying strap was
installed.
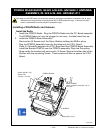
2. Install the QuickLink module. Plug the either the QuickLink module or the mod-
ule housing supplied with the printer into the Top Housing, and secure with (1)
screw through the battery compartment.
3. Install the Battery Pack.
4. Perform a two-key reset to verify that the unit has been correctly reassembled.
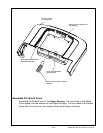
Screw, Socket Hd. #4-40 x 3/8”
Torque =5 in-lbs
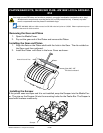
Upper Housing
Note that edges of Board
Cover t in these slots.
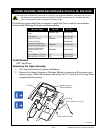
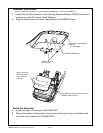
You must use an ESD strap and work at a properly grounded workstation (antistatic mat or tray).
All electronic components must be placed on an ESD protective tray. If stored, any elec-
tronic components must be placed in antistatic bags.