Copying a photo using the computer
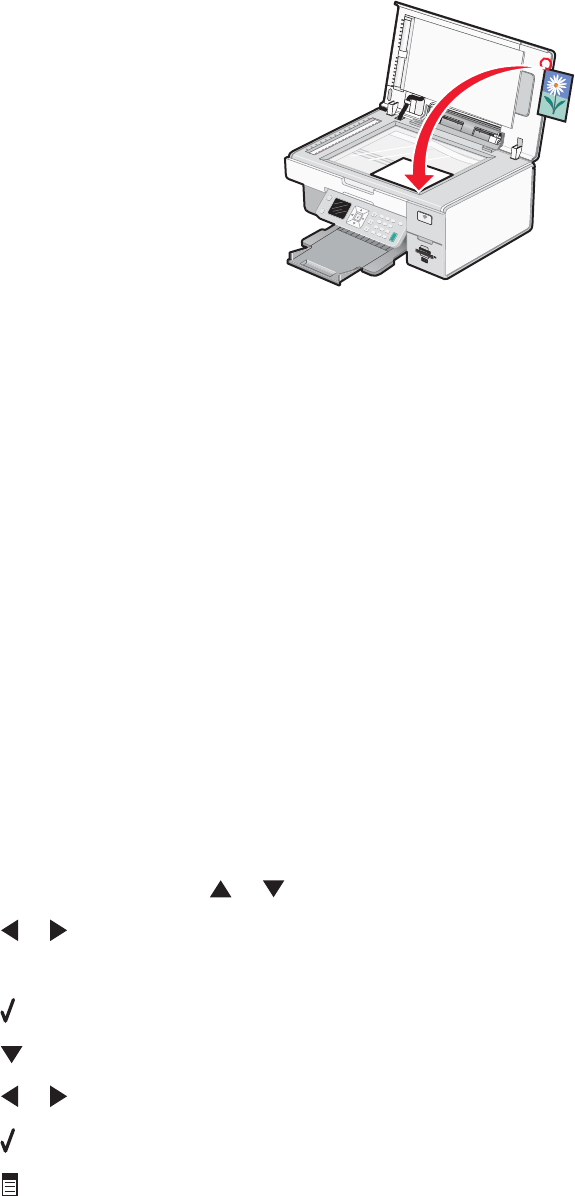
1 Place the photo facedown on the scanner glass.
2 From the desktop, double-click the Productivity Studio icon.
3 From the Welcome screen, click Copy.
4 Select Photo.
5 Click Start.
The photo appears in the right pane.
6 From the Quality drop-down list, select the copy quality.
7 From the Paper Size in Printer drop-down list, select the paper size.
8 From the Paper Type in Printer drop-down list, select the paper type.
9 To select multiple prints of a photo, or to select photo sizes other than 4 x 6 in. (10 x 15 cm), select the options
you want in the table. Use the drop-down list in the last column to view and select other sizes.
10 Click Copy Now in the bottom right corner of the screen.
Adjusting copy quality
1 Load paper.
2 Load an original document facedown on the scanner glass.
3 From the control panel, press or repeatedly until Copy is highlighted.
4 Press or to select the number of copies.
The number of copies is automatically set to 1.
5 Press .
6 Press repeatedly until Quality is highlighted.
7 Press or to choose among the following options: Normal, Photo, Auto, or Draft.
8 Press to preview the output.
9 Press to adjust the settings.
100


