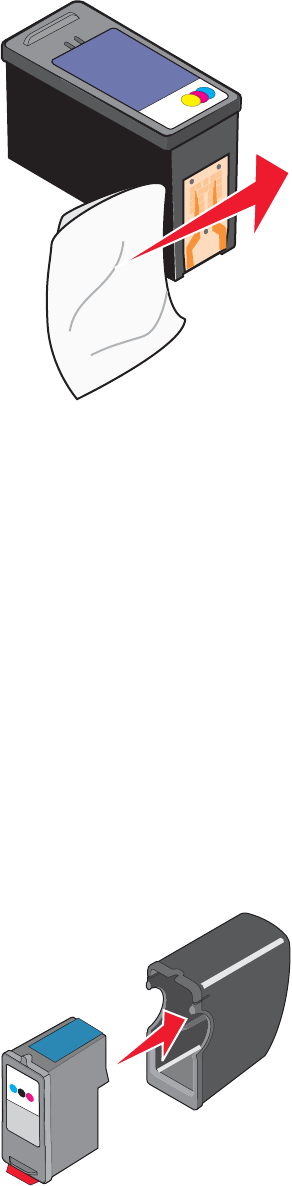
4 Using another clean section of the cloth, gently hold the cloth against the contacts for about three seconds, and
then wipe in the direction shown.
5 With another clean section of the cloth, repeat step 3 and step 4.
6 Let the nozzles and contacts dry completely.
7 Reinsert the print cartridges.
8 Print the document again.
9 If the print quality does not improve, clean the print nozzles. For more information, see “Cleaning the print
cartridge nozzles” on page 139.
10 Repeat step 9 up to two more times.
11 If print quality is still not satisfactory, replace the print cartridges.
Preserving the print cartridges
• Keep a new cartridge in its packaging until you are ready to install it.
• Do not remove a cartridge from the printer except to replace, clean, or store it in an airtight container. The
cartridges do not print correctly if left exposed for an extended period of time.
• Keep the photo cartridge in its own storage unit when not in use.
140


