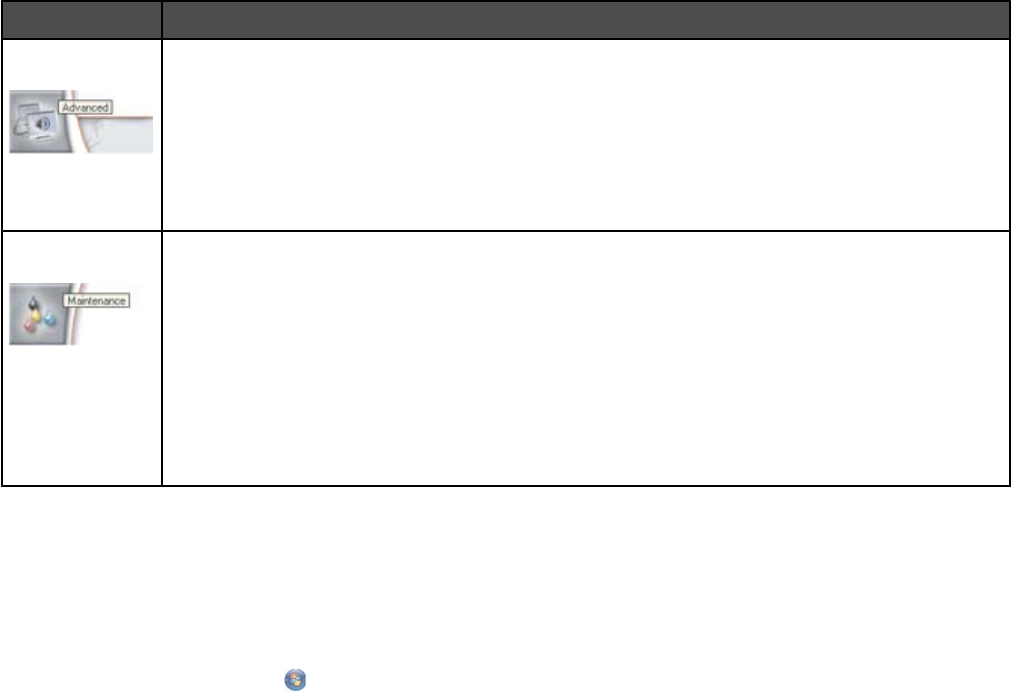
From here You can:
Advanced
• Change the appearance of the Printing Status window.
• Turn printing voice notification on or off.
• Change network printing settings.
• Share information with us regarding how you use the printer.
• Obtain software version information.
• View ink levels and order new print cartridges.
Maintenance
• Install a new print cartridge.
Note: Wait until scanning is complete before installing a new print cartridge.
• Order new print cartridges.
• Print a test page.
• Clean print cartridges to fix horizontal streaks.
• Align print cartridges to fix blurry edges.
• View ink levels.
• Troubleshoot other ink problems.
Turning printing voice notification on or off
The printer has a voice notification feature that tells you when printing starts and when it is completed.
To turn the voice notification on or off:
1 Do one of the following:
• In Windows Vista, click .
• In Windows XP and earlier, click Start.
2 Click Programs or All Programs Lexmark 7500 Series.
3 Click Solution Center.
4 Click Advanced.
5 Click Printing Status.
6 Select or clear Play voice notification for printing events.
7 Click OK.
46
