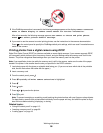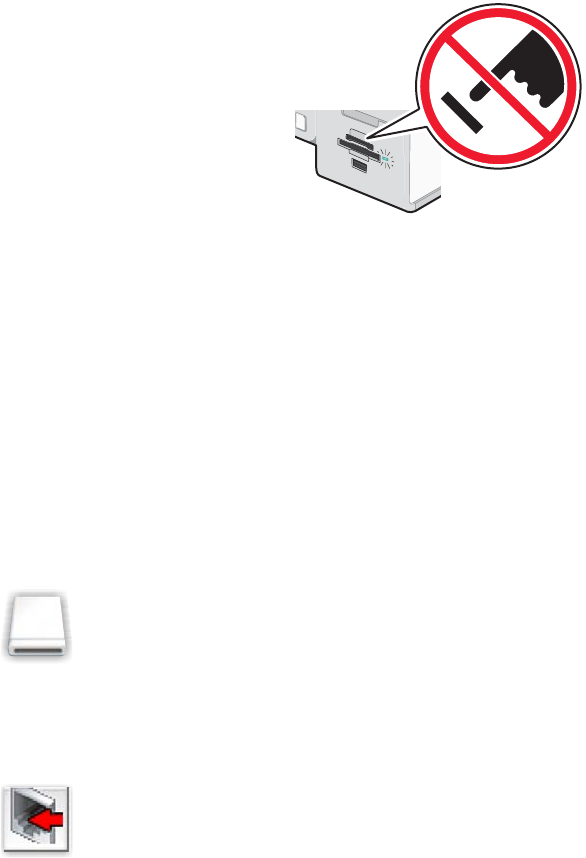
Note: The printer recognizes one active media device at a time. If you insert more than one media device, a message
appears on the display prompting you to designate the device you want the printer to recognize.
Related topics:
• “Inserting a memory card” on page 90
• “Using the control panel” on page 113
Removing a memory card or flash drive
A memory card or a flash drive has to be properly removed from the printer to avoid corruption of the device or loss
of stored data.
Warning: Do not remove a memory device from the printer while actively printing, reading, or writing from it.
If the printer is connected to the computer through a USB cable:
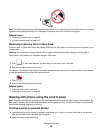
1 Click on the Finder desktop, and then drag it to the trash icon on the dock.
2 Remove the memory card or flash drive.
If the printer is connected to the computer through a wireless network, and you are using the Network Card Reader
to view and download photos from the memory device:
1 Click .
2 Remove the memory card or flash drive.
Related topics:
• “Inserting a flash drive” on page 91
• “Inserting a memory card” on page 90
Working with photos using the control panel
Note: To prevent smudging or scratching, avoid touching the printed surface with your fingers or sharp objects. For
best results, remove each printed sheet individually from the paper exit tray, and allow the prints to dry at least 24
hours before stacking, displaying, or storing.
Printing a photo or selected photos
1 Load photo paper with the glossy or printable side facing you. (If you are not sure which side is the printable
side, see the instructions that came with the paper.)
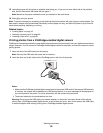
2 Insert a memory card or flash drive.
Working with photos
92


