


Chapter 16 VLAN
IES-612-51A User’s Guide
149
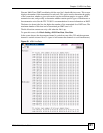
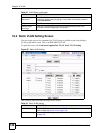
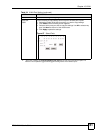
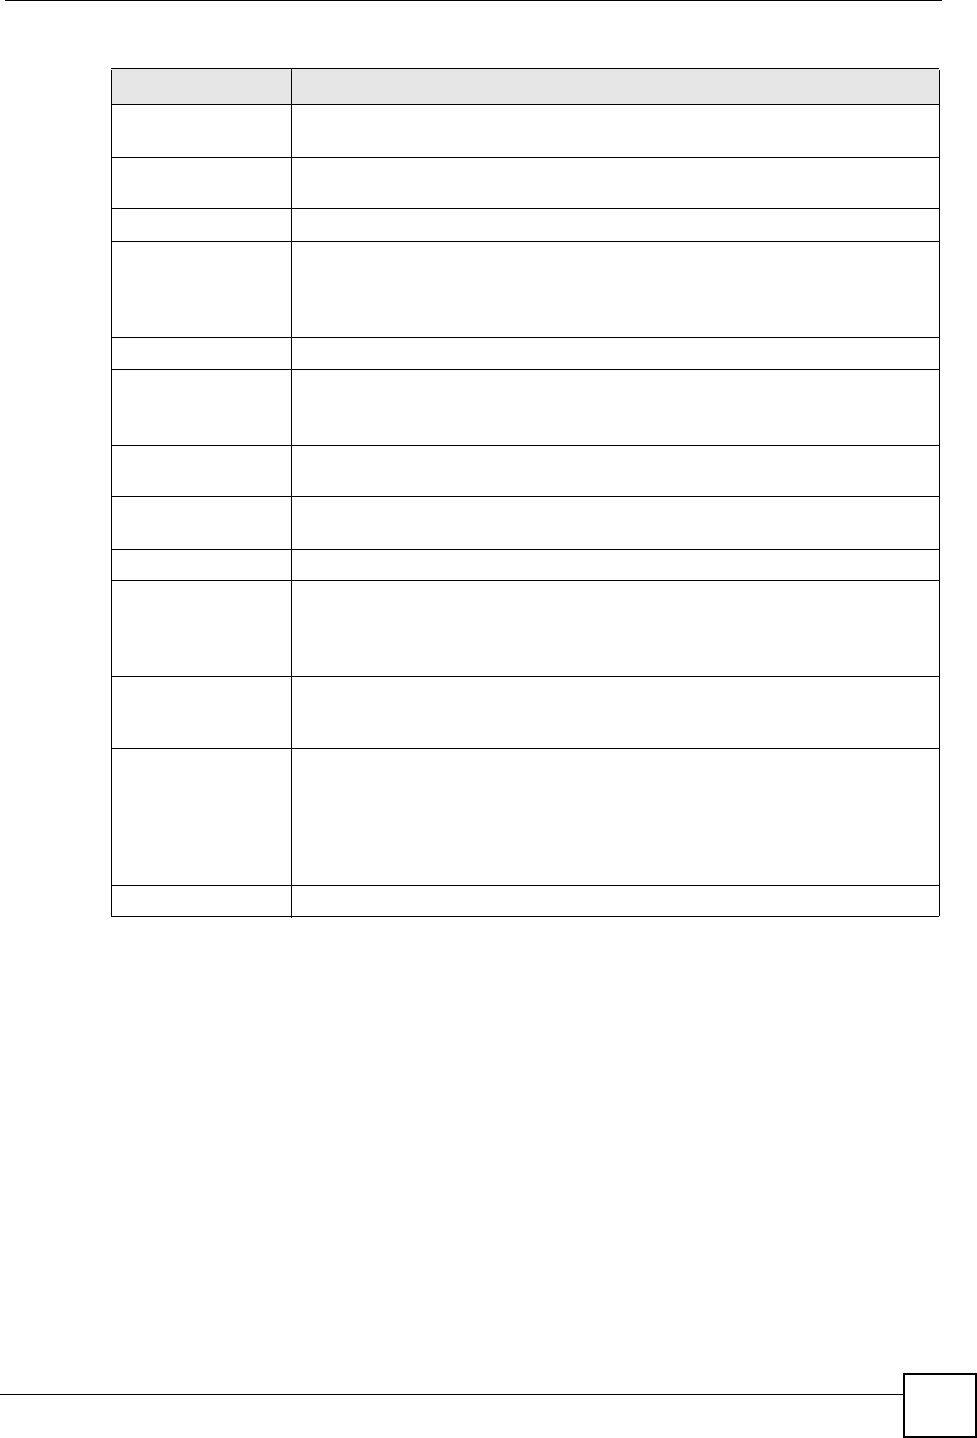
16.5 VLAN Port Setting Screen
Use this screen to specify port VLAN IDs and to set whether or not Ethernet ports propagate
VLAN information to other devices.
To open this screen, click Advanced Application, VLAN, VLAN Port Setting.
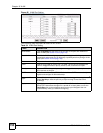
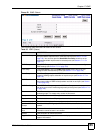
VID This field displays the ID number of the VLAN group. Click the number to edit
the VLAN settings.
Active This field indicates whether the VLAN settings are enabled (Yes) or disabled
(No).
Name This field displays the descriptive name for this VLAN group.
Delete Select the check boxes of the rule(s) that you want to remove in the Delete
column and then click the Delete button.
You cannot delete a VLAN if any PVIDs are set to use the VLAN or the VLAN is
the CPU (management) VLAN.
Cancel Click Cancel to clear the Delete check boxes.
Active Select this check box to enable the VLAN.
You cannot disable a VLAN if any PVIDs are set to use the VLAN or the VLAN is
the CPU (management) VLAN.
Name Enter a descriptive name for this VLAN group for identification purposes.
Spaces are not allowed.
VLAN ID Enter the VLAN ID for this static VLAN entry; the valid range is between 1 and
4094.
Port The port numbers identify the IES-612-51A’s ports.
Control Select Fixed for the port to be a permanent member of this VLAN group. Use
the Select All button to include every port.
Select Forbidden if you want to prohibit the port from joining this VLAN group.
Use the Select All button to include every port.
Tagging Select TX Tagging if you want the port to tag all outgoing frames transmitted
with this VLAN ID. Use the All button to include every port. Use the None button
to clear all of the ports check boxes.
Add Click Add to save your settings. The VLAN then displays in the summary table
at the top of the screen.
Clicking Add saves your changes to the IES-612-51A’s volatile memory. The
IES-612-51A loses these changes if it is turned off or loses power, so use the
Config Save link on the navigation panel to save your changes to the non-
volatile memory when you are done configuring.
Cancel Click Cancel to begin configuring the fields afresh.
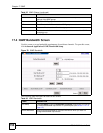
Table 33 Static VLAN Setting (continued)
LABEL DESCRIPTION