Chapter 55 Troubleshooting
IES-612-51A User’s Guide
414
The IES-612-51A is now reinitialized with a default configuration file including the default
user name of “admin” and the default password of “1234”.
55.15.2 Uploading the Default Configuration File
If you forget your password or cannot access the IES-612-51A, you will need to reload the
factory-default configuration file. Uploading the factory-default configuration file replaces the
current configuration file with the factory-default configuration file. This means that you will
lose all previous configurations and the speed of the console port will be reset to the default of
9600 bps with 8 data bit, no parity, one stop bit and flow control set to none. The password will
also be reset to “1234” and the IP address to 192.168.1.1.
" Uploading the factory default configuration file erases the IES-612-51A’s entire
configuration.
Obtain the default configuration file, unzip it and save it in a folder. Use a console cable to
connect a computer with terminal emulation software to the IES-612-51A’s console port. Turn
the IES-612-51A off and then on to begin a session. When you turn on the IES-612-51A again
you will see the initial screen. When you see the message
Press any key to enter
Debug Mode within 3 seconds
press any key to enter debug mode.
To upload the configuration file, do the following:
1 Type
atlc after the Enter Debug Mode message.
2 Wait for the
Starting XMODEM upload message before activating XMODEM upload
on your terminal.
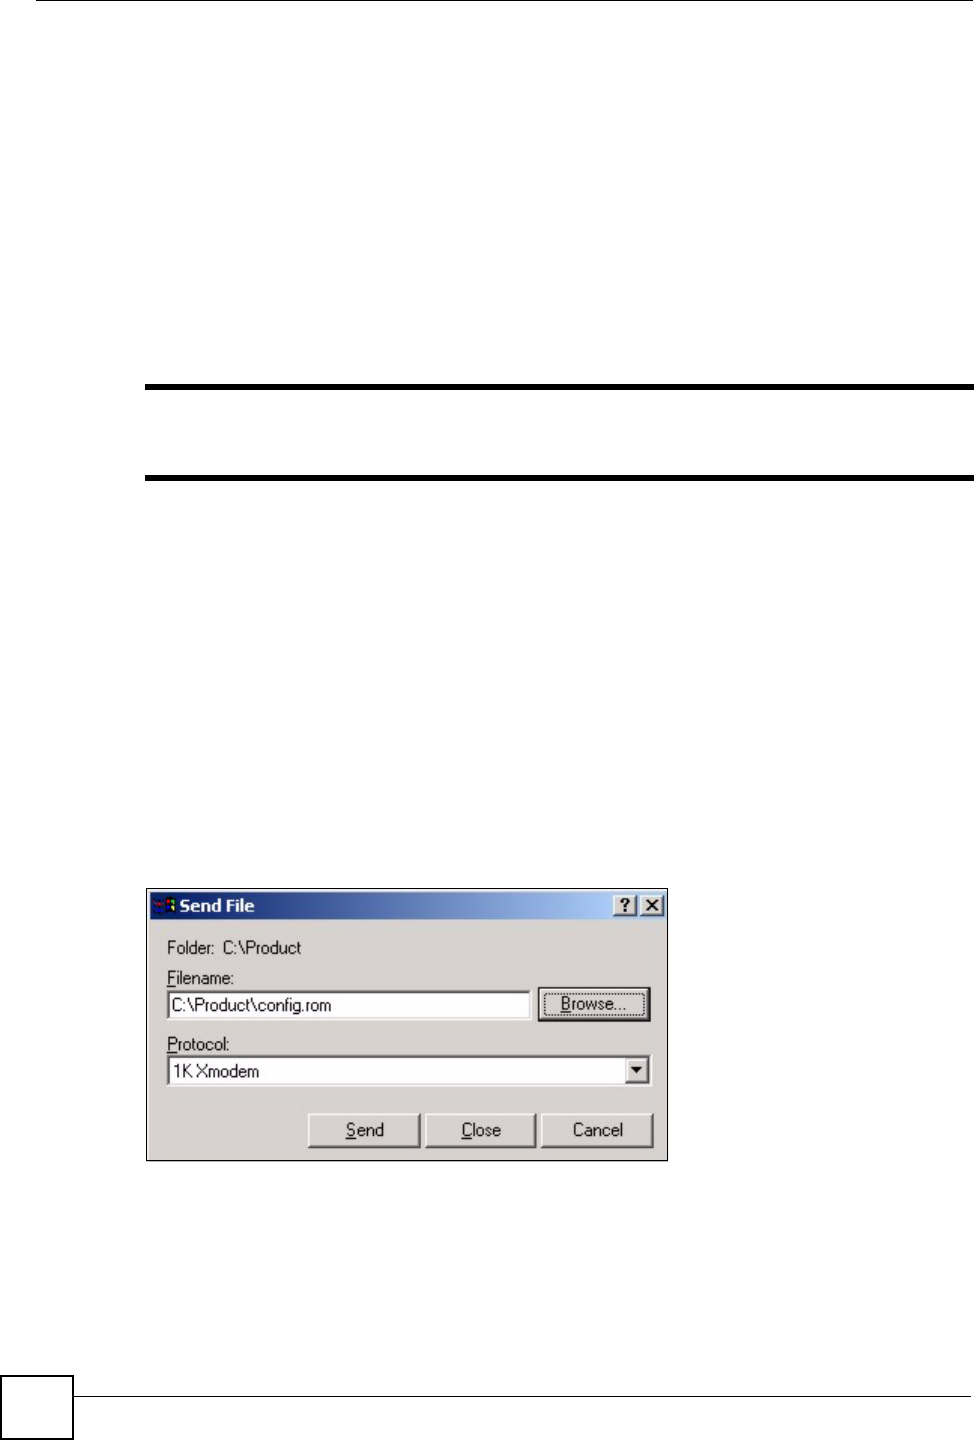
3 This is an example Xmodem configuration upload using HyperTerminal. Click
Transfer, then Send File to display the following screen.
Figure 296 Example Xmodem Upload
Type the configuration file's location, or click Browse to search for it. Choose the 1K
Xmodem protocol. Then click Send.
4 After a successful configuration file upload, type
atgo to restart the IES-612-51A.
The IES-612-51A is now reinitialized with a default configuration file including the default
password of “1234”.
