Installing an optional second internal hard drive
Issue 3.3 February 2003 197
Removing the diskette drive
If there is no 3.5-inch internal diskette drive, continue with Installing new cabling on
page 198.
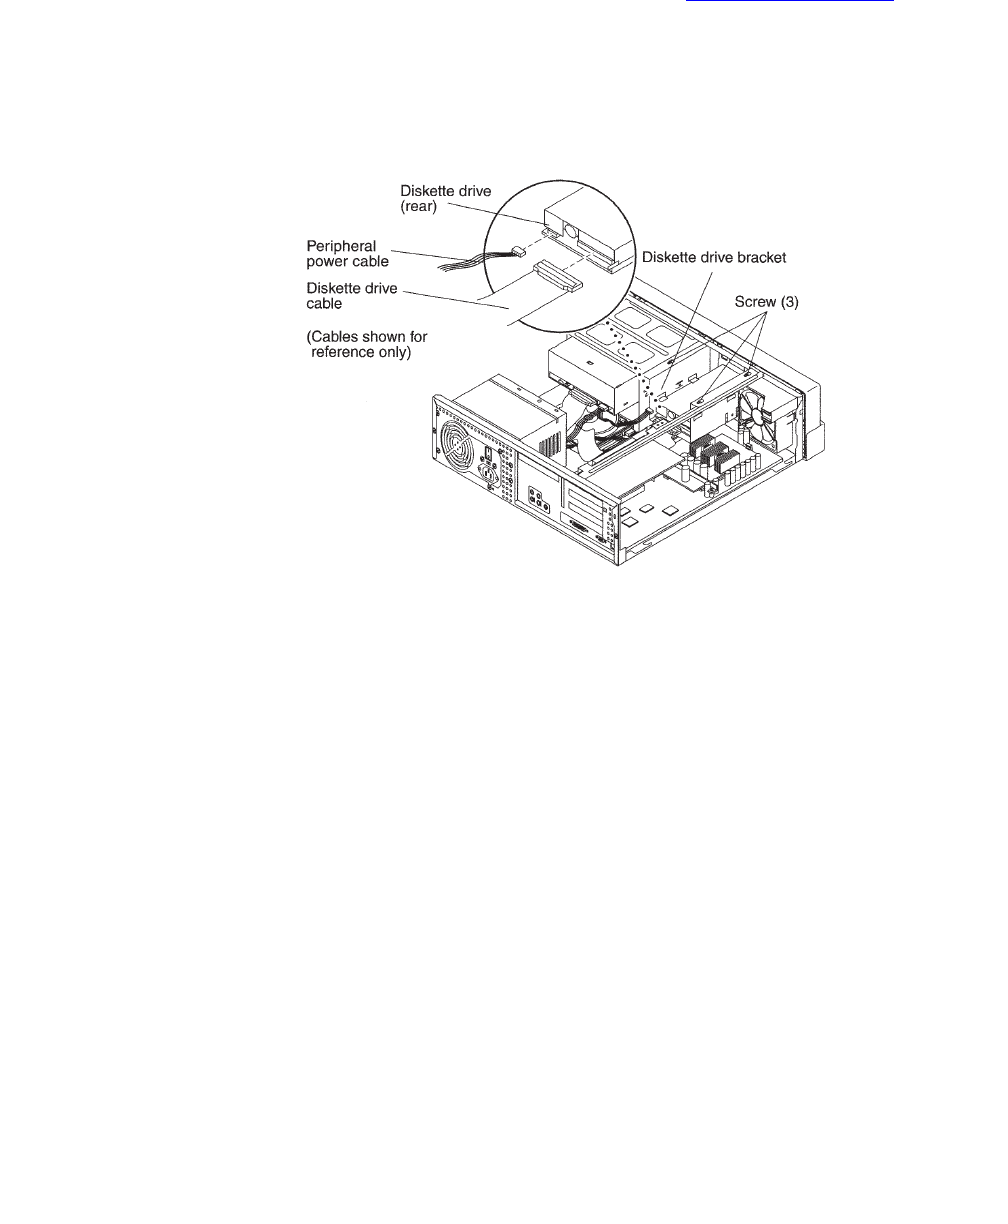
To remove the diskette drive:
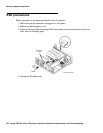
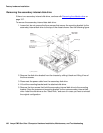
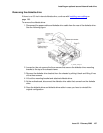
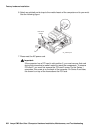
1. Disconnect the power cable and diskette drive cable from the rear of the diskette drive.
See the following figure.
2. Loosen but do not remove the three screws that secure the diskette drive mounting
bracket to the top of the chassis frame.
3. Remove the diskette drive bracket from the chassis by sliding it back and lifting it free
of the three screws.
4. Lift out the mounting bracket and attached diskette drive.
5. At the motherboard, disconnect the diskette drive cable that comes from the diskette
drive.
6. Save the diskette drive and diskette drive cable in case you have to reinstall the
original configuration.
u5_diskette_cabling.cdr


