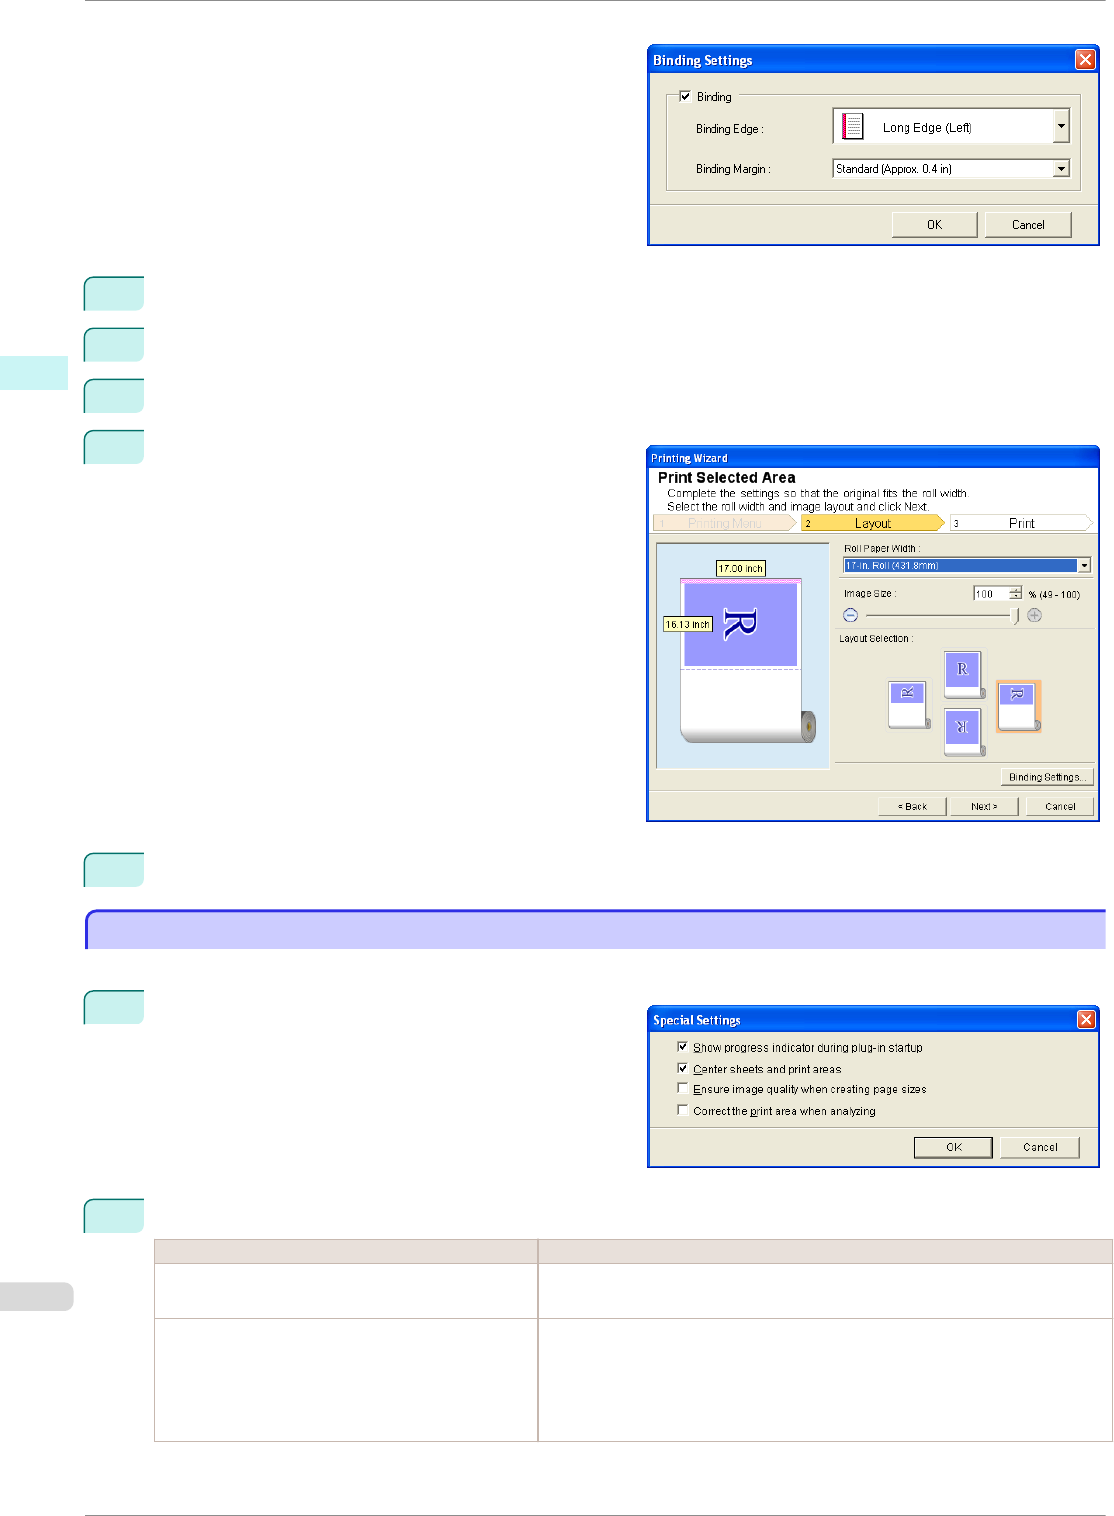
Open the Binding Settings dialog box.
3
If the Binding checkbox is not checked, select it to turn binding on.
4
Select Binding Edge.
5
Select Binding Margin.
6
Click the OK button.
Return to the Layout screen.
Check that the Binding settings are applied in the
preview screen.
7
Configure the settings in the Printing Wizard dialog box.
Configuring Special Settings
Configuring Special Settings
You can configure Special Settings from the imagePROGRAF Print Plug-In toolbar.
1
Click imagePROGRAF in the toolbar, and select
Special Settings.
2
Turn the checkbox for the item you want to change on or off.
Item Details
Show progress indicator during plug-in start-
up
When this setting is off, hides the progress indicator that appears while the
plug-in is starting up.
Center sheets and print areas When this setting is off, printing is performed without changing the position.
When this setting is on, printing is performed with the top, bottom, left, and
right margins layed out equally. When this setting is off, printing is per-
formed without changing the position.
This function is only valid in Microsoft Excel.
Configuring Special Settings
iPF8400SE
User's Guide
Windows Software Print Plug-In for Office
244
