Note
• A test pattern is printed in black when you choose A:High or in magenta if you choose B:Standard/Draft.
• To cancel printing the test pattern for adjustment, hold down the Stop button. When "Stop printing?" is
displayed, press ▲ or ▼ to select Yes, and then press the OK button.
8
Press ▲ or ▼ to enter the amount of discrepancy, and then press the OK button.
If the scale is shorter than the actual size, use a positive setting value. If it is longer, use a negative value.
The feed amount can be adjusted in 0.02% increments.
Adjusting the Vacuum Strength
Adjusting the Vacuum Strength
When printing on heavyweight paper or paper that curls or wrinkles easily, if the Printhead rubs against paper, ad-
justing the level of suction against paper on the Platen may improve results.
Important
• Paper rubbing against or becoming caught on the Printhead may jam or result in printed documents that are
soiled.
1
On the Tab Selection screen of the Control Panel, press ◀ or ▶ to
select the Paper tab ( ).
Note
• If the Tab Selection screen is not displayed, press the Menu button.
2
Press the OK button.
The Paper Menu is displayed.
3
Press ▲ or ▼ to select Paper Details, and then press the OK button.
4
Press ▲ or ▼ to select the type of paper, and then press the OK button.
Note
•
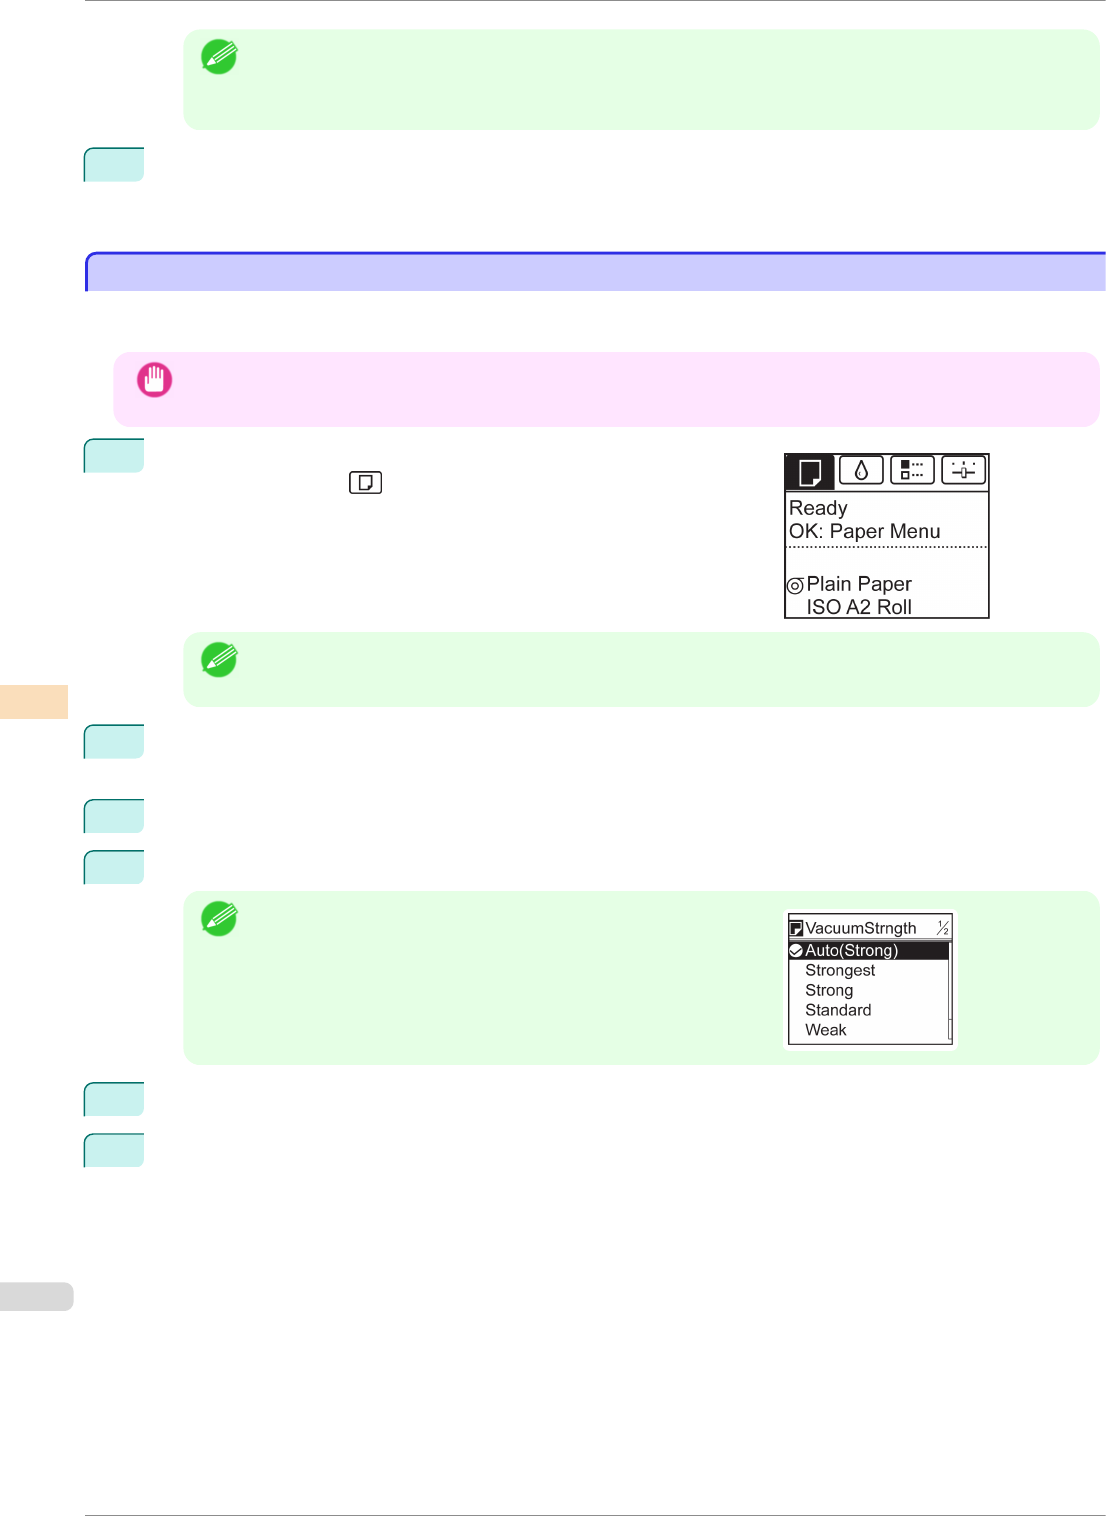
When VacuumStrngth is set to Automatic, the setting value
selected for the previous print job is displayed (to the right of Au-
tomatic ) once you select the type of paper currently supplied.
However, the value is cleared when the printer is turned off or
the paper is replaced.
5
Press ▲ or ▼ to select VacuumStrngth, and then press the OK button.
6
Press ▲ or ▼ to select the desired setting value, and then press the OK button.
Adjusting the Vacuum Strength
iPF8400SE
User's Guide
Adjustments for Better Print Quality Adjusting the feed amount
532
