Configuring the Communication Mode Manually
Configuring the Communication Mode Manually
This topic gives instructions for configuring the communication mode manually.
1
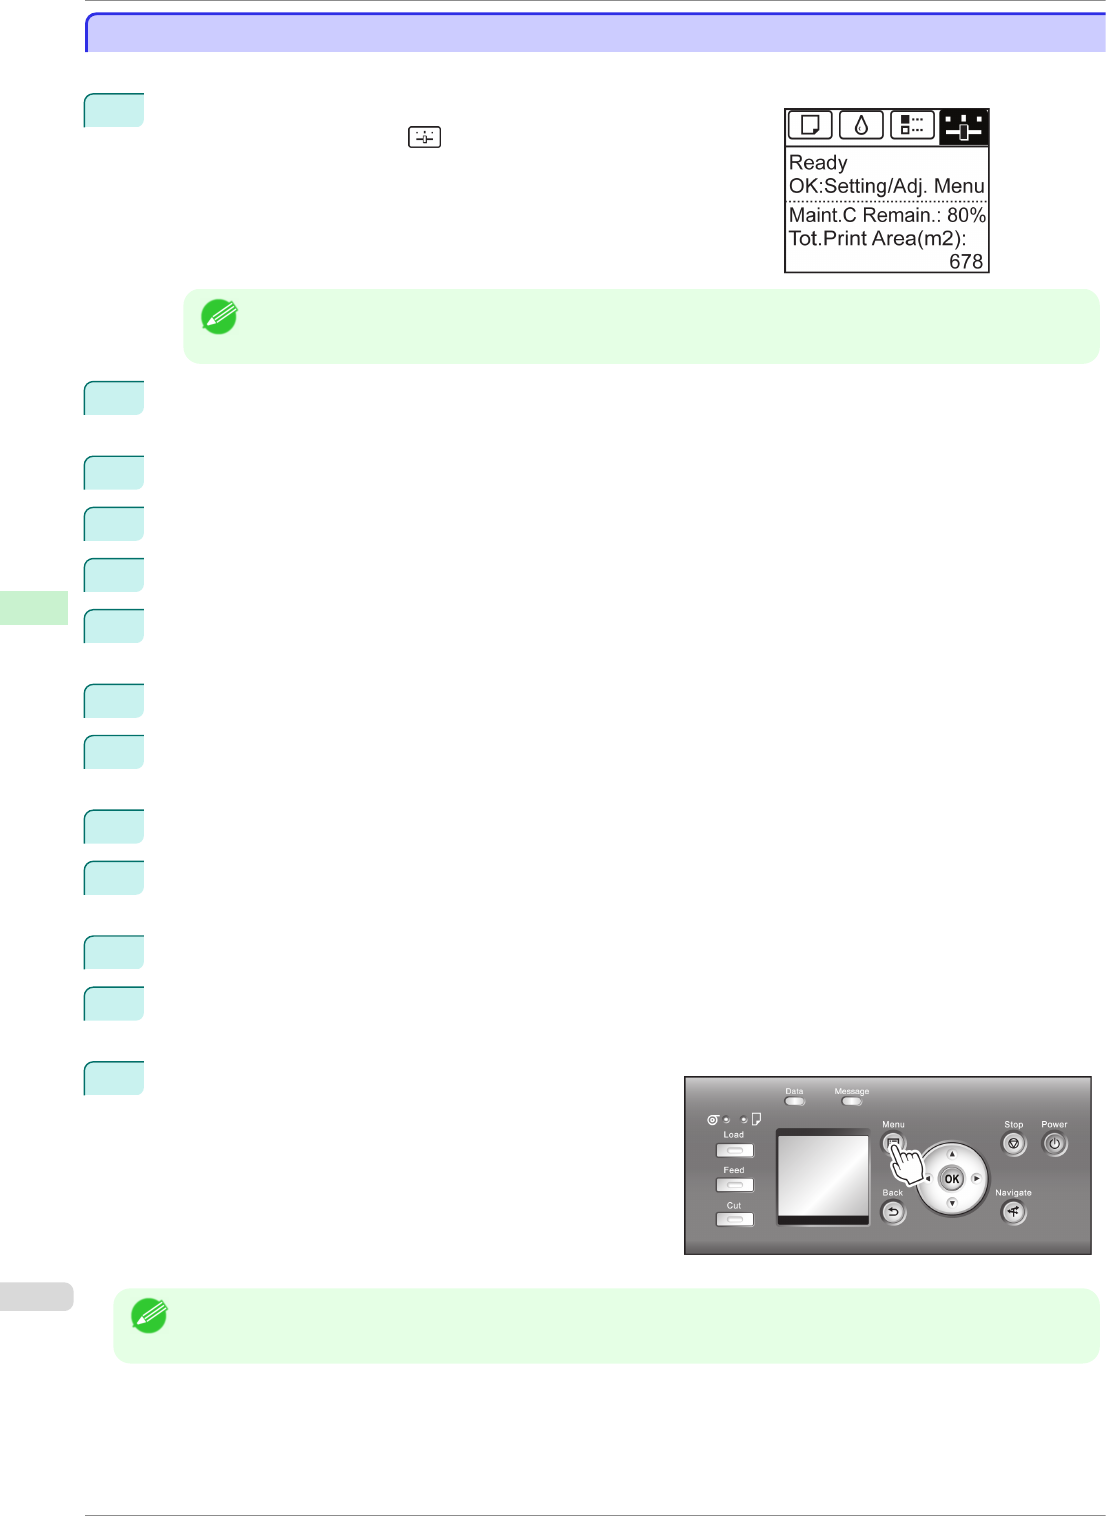
On the Tab Selection screen of the Control Panel, press ◀ or ▶ to
select the Settings/Adj. tab ( ).
Note
• If the Tab Selection screen is not displayed, press the Menu button.
2
Press the OK button.
The Set./Adj. Menu is displayed.
3
Press ▲ or ▼ to select Interface Setup, and then press the OK button.
4
Press ▲ or ▼ to select Ethernet Driver, and then press the OK button.
5
Press ▲ or ▼ to select Auto Detect, and then press the OK button.
6
Press ▲ or ▼ to select Off, and then press the OK button.
The display reverts to the Ethernet Driver menu.
7
Press ▲ or ▼ to select Comm.Mode, and then press the OK button.
8
Press ▲ or ▼ to select the communication mode, and then press the OK button.
The display reverts to the Ethernet Driver menu.
9
Press ▲ or ▼ to select Ethernet Type, and then press the OK button.
10
Press ▲ or ▼ to select the Ethernet type, and then press the OK button.
The display reverts to the Ethernet Driver menu.
11
Press ▲ or ▼ to select Spanning Tree, and then press the OK button.
12
Press ▲ or ▼ to enable or disable spanning tree support, and then press the OK button.
The display reverts to the Ethernet Driver menu.
13
Press the Menu button.
After the confirmation message is displayed, press the
OK button.
The new settings will take effect after the printer restarts.
Note
• Communication can also be configured on the Network page in RemoteUI.
Configuring the Communication Mode Manually
iPF8400SE
User's Guide
Network Setting Other Settings
496


