8
Click Add to add the paper size of My Horizontal Banner.
9
Click OK to close the Paper Size Options dialog box.
10
Close the printer driver dialog box.
Note
• Although you can even set Custom Size for the paper size, the maximum settable size is 3.2 m. The setting of
Custom Size is disabled when you exit the application software.
For more information, see "Printing on Non-Standard Paper Sizes ." ➔P.87
Creating the banner in the application
Follow the steps below to create the banner in Microsoft Word using the Custom Paper Size you registered.
1
Start Microsoft Word.
2
Choose Page Setup from the File menu to display the Page Setup dialog box.
3
Under Paper Size, click the Custom Paper Size you registered—My Horizontal Banner in this example.
Important
• If My Horizontal Banner is not listed, make sure this printer is selected as the printer to use.
• In applications such as Microsoft PowerPoint that do not enable you to choose registered paper sizes,
use the custom paper size setting in Custom and specify 100×500 mm (3.9×19.7 in)
4
Set the printing orientation to horizontal.
5
Create the banner.
Printing the banner
Follow these steps to print the banner using the corresponding banner settings.
1
Choose Print in the Microsoft Word menu.
2
Select the printer in the dialog box, and then display the printer driver dialog box. (See "Accessing the Print-
er Driver Dialog Box from Applications .") ➔P.144
3
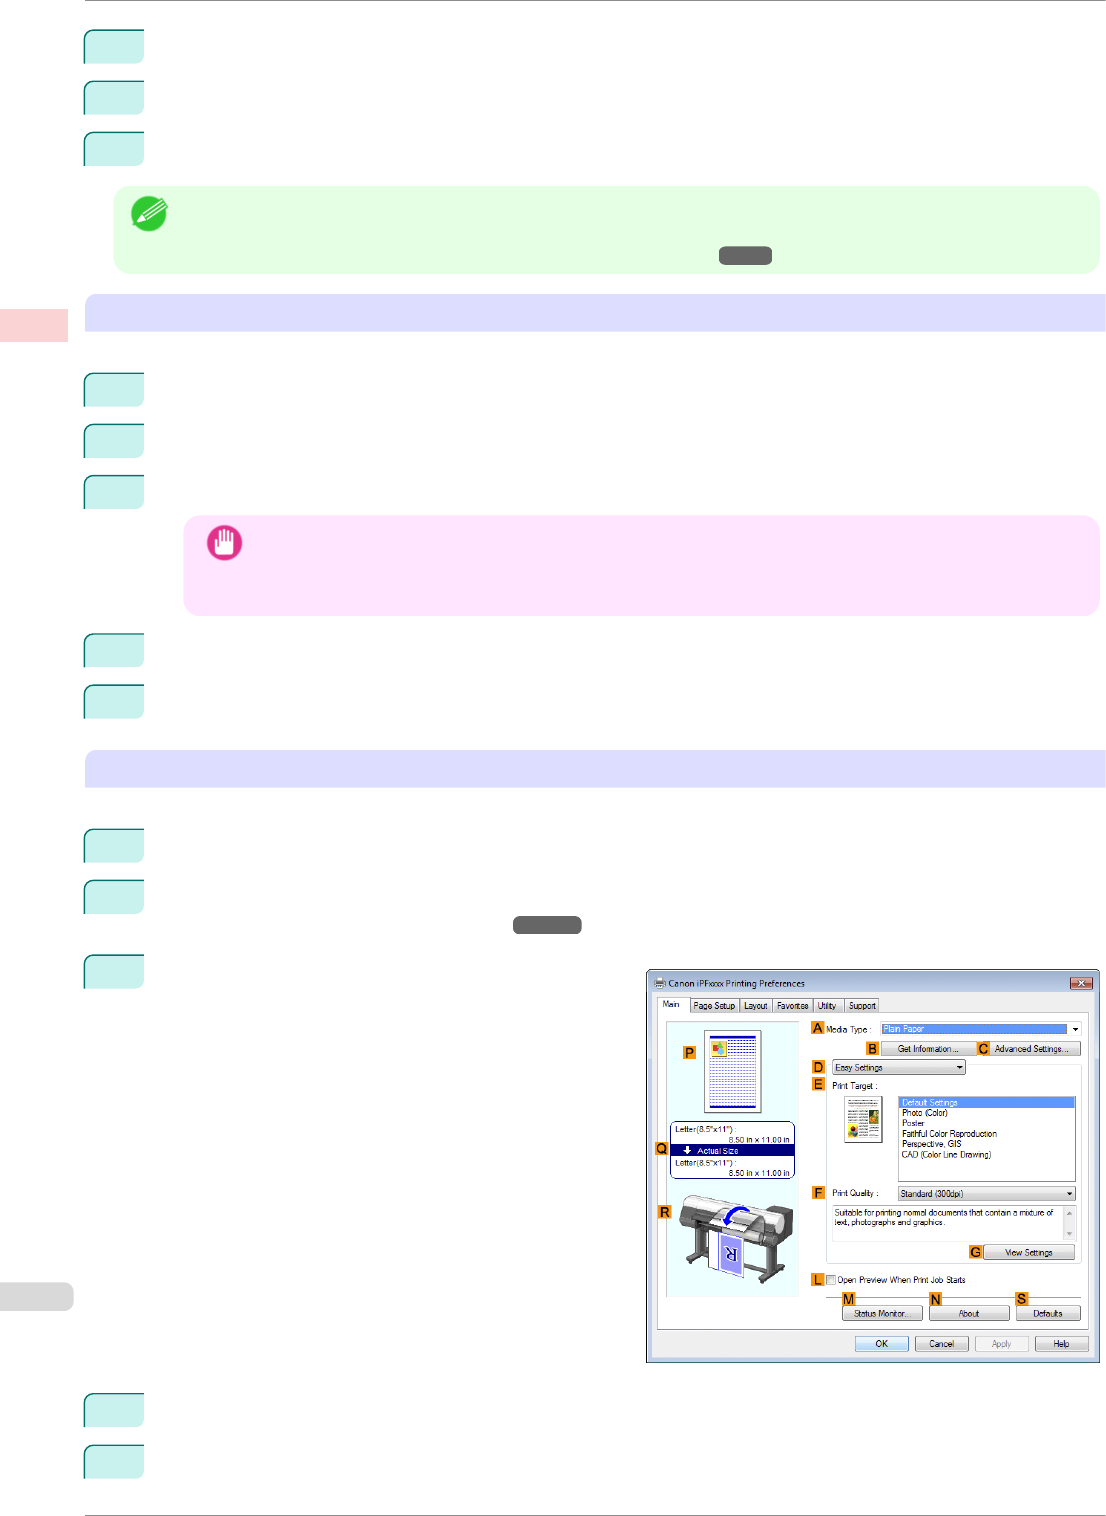
Make sure the Main sheet is displayed.
4
In the A Media Type list, select the type of paper that is loaded. In this case, click Plain Paper.
5
After confirming that D Easy Settings is selected, click Poster in the EPrint Target list.
Printing Vertical or Horizontal Banners (Large-Format Printing; Windows)
iPF8400SE
User's Guide
Enhanced Printing Options Printing banners or at other non-standard sizes
82


