


9-24 Applications
Applications
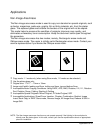
Non-Image Area Erase (continued)
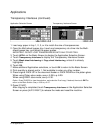
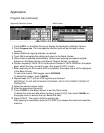
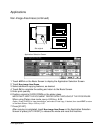
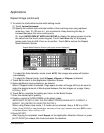
1 Touch APPLI. on the Basic Screen to display the Application Selection Screen.
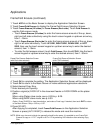
2 Touch Non-image Area Erase.
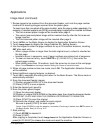
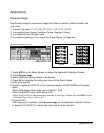
3 Select additional copying features, as desired.
4 Touch OK to complete the setting and return to the Basic Screen.
5 Enter print quantity.
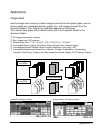
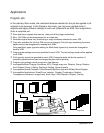
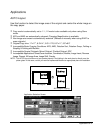
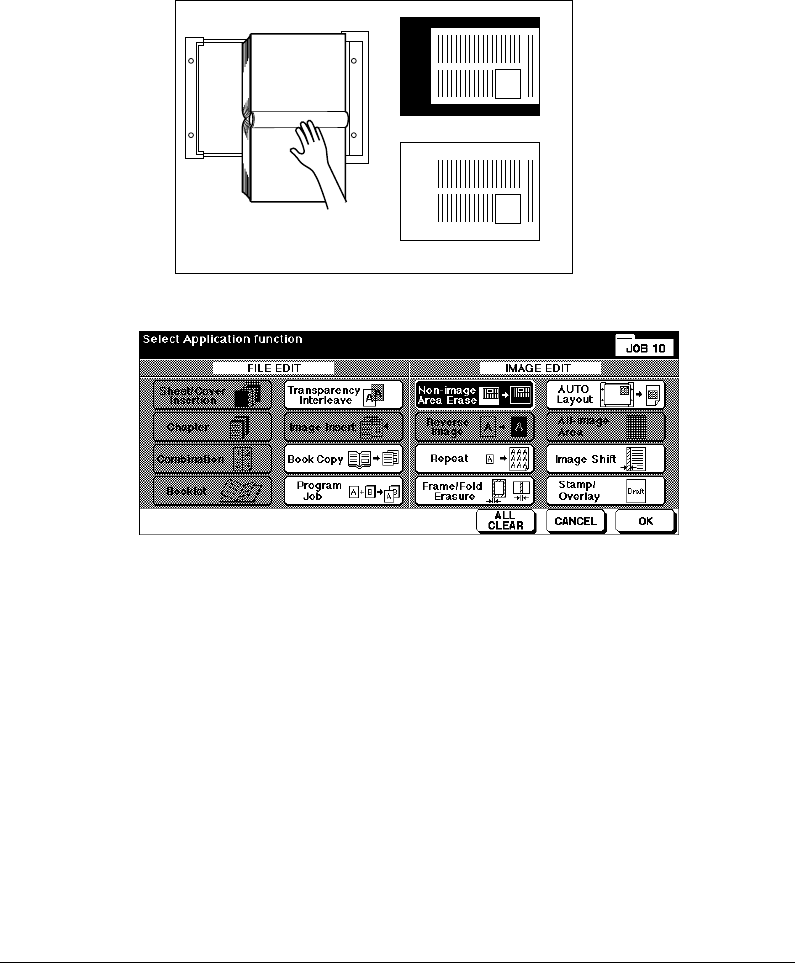
6 Position original(s) FACE DOWN on the platen glass.
IMPORTANT: KEEP THE DOCUMENT FEEDER OPEN THROUGHOUT THE PROCEDURE.
When using Platen store mode, see p. 6-28 to p. 6-29.
Option: Press [CHECK] to view the selection, and make a Proof copy, if desired; then touch EXIT to return
to the Basic Screen. See p. 6-35 to p. 6-37.
7 Press [START].
After copying is completed, touch Non-image Area Erase on the Application Selection
Screen or press [AUTO RESET] to release the mode and reset the machine.
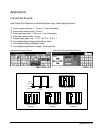
Application Selection Screen
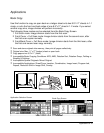
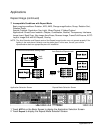
Set original
General copying
Non-Image Area Erase