Basic Operations 6-17
Basic Operations
Copy Size
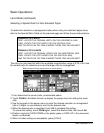
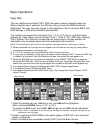
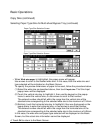
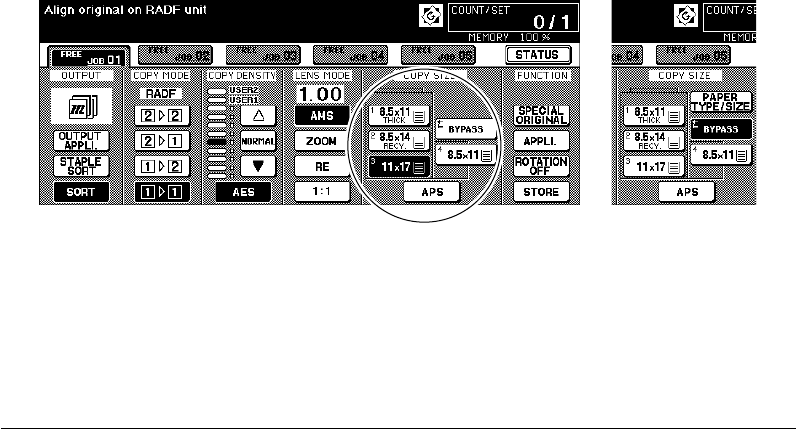
The tray selection keys below COPY SIZE are used to select a specific paper tray.
When a specific tray is selected, the APS key will go out and the AMS key will be
highlighted. The copy size may require a ratio adjustment. When using the RADF with
Initial settings, a ratio will be selected automatically.
Tray locations correspond to main body (tray 1, 2, 3), LCT (tray 4), and Multi-sheet
bypass tray. Paper types, such as
Normal, Thick 1, Thick 2, Thin, TAB, User, Recycle,
Color, Special, Fine, Seal
may be specified on some trays by the key operator for
information only, but paper types cannot be detected by the machine.
NOTE: Do not load paper type other than that specified, otherwise machine trouble may be caused.
❒ When a selected tray is empty an out-of paper icon will flash on the tray key, along with a
message to load paper in the empty tray.
❒ In 1-2 or 2-2 copying, the tray specified as Thick 2 cannot be used.
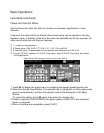
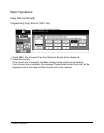
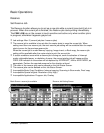
❒ If a tray size is changed, the tray key on the Basic Screen displays UNIV. Touch the UNIV. key
to display the Universal Tray Size Selection Screen, then select the new paper size.
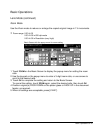
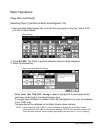
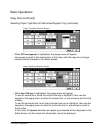
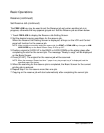
❒ When the BYPASS key is touched and highlighted, the PAPER TYPE/SIZE key appears
above the BYPASS key. Touch the key to display the Paper Type/Size Setting Screen, then
specify the type and size of the special paper to be loaded on the Multi-sheet bypass tray.
❒ Incompatible Basic Copying Conditions with AMS: APS, Change magnification
❒ Incompatible Special Original with AMS: None
❒ Incompatible Applications with AMS: Book Copy, Non-Image Area Erase, Repeat, AUTO
Layout, Overlay
Basic Screen
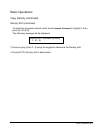
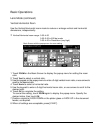
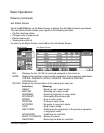
1 Touch the desired tray key. APS will go out, and AMS will be highlighted.
When selecting BYPASS, see p. 6-19 ~ p. 6-21.
To restore the APS mode, touch APS. AMS will go out, and APS will be highlighted.
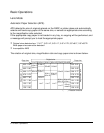
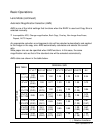
NOTE: When “UNIV.” is displayed on the tray key as the copy size indication, program the copy size as
described in the next page.
2 Position original(s) FACE DOWN on the platen glass or FACE UP in the document
feeder, as required.
3 When all settings are acceptable, press [START] from the Basic Screen.
Basic Screen


