8-6
SPT 1700 Series Product Reference Guide
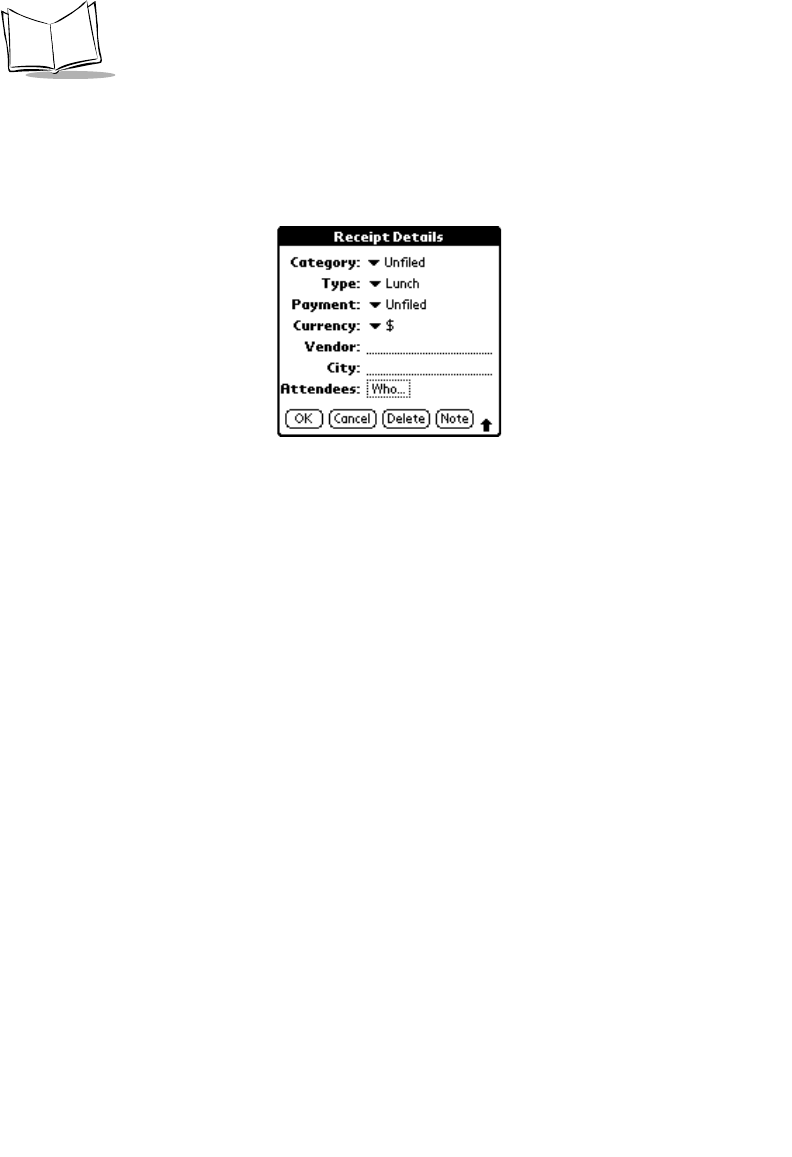
To open the Receipt Details screen:
1. Select the expense item you want to assign details.
2. Tap the
Details
button to open the Receipt Details screen.
3. Select any of the following options:
Category Defines the category for the Expense item. Your SPT 1700 terminal
provides two sample categories, New York and Paris, to show how
you might sort your expenses according to different business trips.
When All is selected, the default Category is Unfiled. Otherwise,
the default is the currently selected Category. An expense item
remains in the default category until you change it.
Choose Edit Categories from the pick list to change existing or to
create new expense categories. For example, you might create a
category for a range of dates, such as a week or month, or you
might delete or rename the New York and Paris categories.
Type Opens a pick list of the expense type options so that you can
change the expense type for any of your expense items. Refer to
Options Menu
later in this chapter for information about filling in the
expense type automatically.
Payment Enables you to choose the payment method used to pay the
expense item. If the item is prepaid (such as airline tickets supplied
by your company), you can choose Prepaid to place your expense
in the appropriate company-paid cell of your printed expense
report spreadsheet. Refer to
Transferring Your Data to Microsoft
Excel
later in this chapter for more information.
