4.22
Printing
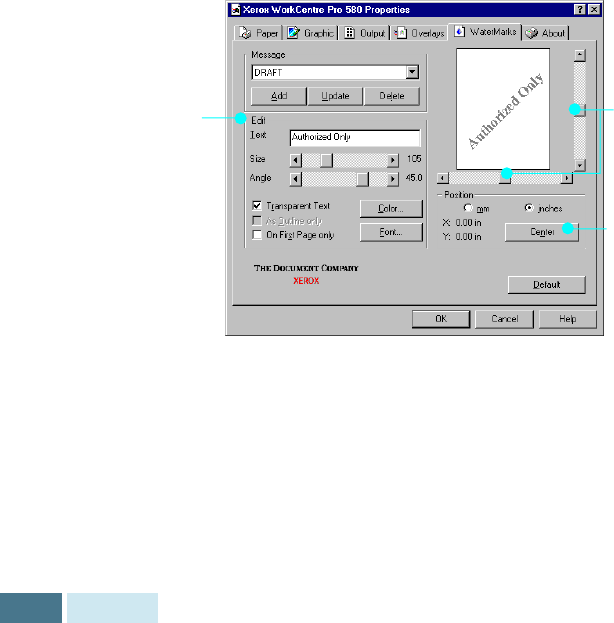
To create or edit a watermark
1
Access the WorkCentre Pro 580 printer driver
properties. See page 4.11 to access the printer
properties.
2
Click the
Watermark
tab, and enter the desired text
message in the Text field. This will be displayed in the
preview window. The preview window is provided so
that you can see how the watermark will appear on the
printed page.
3
Select the desired watermark options, font type, size,
color and angle. There are three checkboxes at the
bottom of the dialog box:
• Transparent Text : Allows the document to show
through the watermark.
• As Outline Only : Prints the text outline of the
watermark. This setting globally effects all watermarks
in the list.
• On First Page Only : Only prints the watermark on
the first page.
4
If you have created a new or edited an existing
watermark, the
Add
and
Update
button is enabled.
To add a new watermark to the list, click
Add
.
Use these scroll
bars to adjust
the position.
Use this button to
move the
watermark to the
center of the
page.
Use these options
to edit or create a
watermark.


