140 PresentationPRO-II • User’s Guide
`K==réÖê~ÇáåÖ=pçÑíï~êÉ
Ethernet Upgrade Method
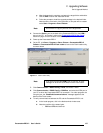
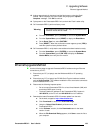
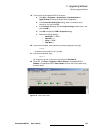
f. When the Save As Dialog appears, navigate to the desired folder (or
create a new one) and click
Save.
g. After the download is complete, navigate to the target folder and double-
click the
EXE to launch the installation shield.
h. Follow the prompts to install the upgrade package in the desired folder.
Note that at the conclusion of the procedure, a new path will be created
under
Start > Programs > Barco Folsom.
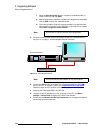
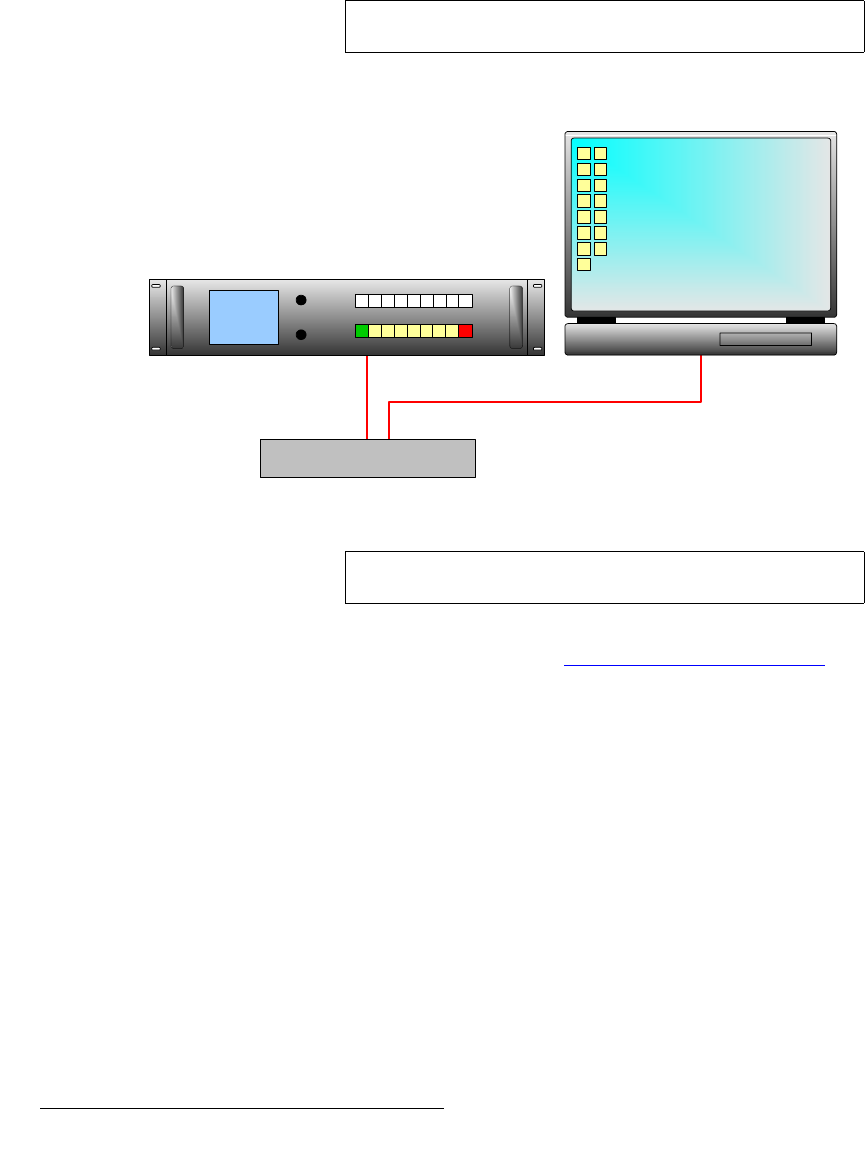
5. Configure a small network system consisting of a Hub, the PresentationPRO-II
and your PC (or laptop). Use the diagram below for reference.
Figure C-4. Small Ethernet Network
6. Connect the Serial 1 port on the back of the PresentationPRO-II to the COM 1
port on your PC. In Chapter 2, refer to the “
PresentationPRO-II Rear Panel”
section on page 12 for the location of the
Serial 1 port.
7. Power-up the PresentationPRO-II and the Hub.
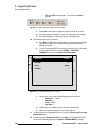
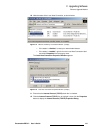
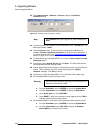
8. To assign a static IP address to the PC (or laptop), on the PC, click Start >
Settings > Control Panel
to display the Control Panel Window.
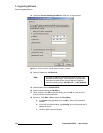
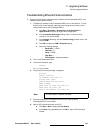
9. Double-click the Network and Dial-up Connections icon to display the Network
and Dial-up Connections Window.
Note
Do not move or copy any files out of the target folder.
Ethernet Hub / Switch
Laptop
PresentationPRO-II
Note
Do not connect this small network to any other network.


