PresentationPRO-II • User’s Guide 145
`K==réÖê~ÇáåÖ=pçÑíï~êÉ
Ethernet Upgrade Method
qêçìÄäÉëÜççíáåÖ=bíÜÉêåÉí=`çããìåáÅ~íáçåë
Use the following steps to determine the IP address of the PresentationPRO-II, and
establish proper communications:
1. The default IP address for the PresentationPRO-II unit is 192.168.0.10. To verify
that this is the correct address, open the terminal program and create a serial
communication link to the PresentationPRO-II:
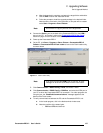
a. Click Start > Programs > Accessories > Communications >
HyperTerminal
to launch the HyperTerminal application.
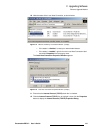
b. In the Connection Description dialog, enter a connection name,
choose an icon, and click
OK.
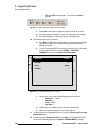
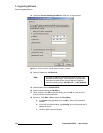
c. In the Connect To dialog, click the Connect using pull-down menu, and
choose
COM 1.
d. Click OK to display the COM 1 Properties dialog.
e. Select the following settings:
•
Baud Rate = 115200
•
Data Bits = 8
•
Parity = NONE
•
Stop Bits = 1
•
Flow Control = hardware/software
2. Turn on the PresentationPRO-II.
3. In the terminal window, type:
IPINFO
(or SET if in the loader)
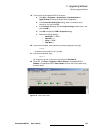
4. Verify that the following message is displayed:
#ipinfo
Server running
IP Address 192.168.0.10
Listen Port 3000
Subnet Mask 255.255.255.0
DHCP CLIENT
DHCP Srvr IP Addr 192.168.0.11
DHCP Srvr IP Count 180
Static IP Address 192.168.0.10
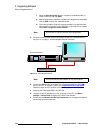
5. Ensure that Ethernet is connected from the PC to the hub (to which
PresentationPRO-II is connected).
6. Open a DOS command window on the PC:
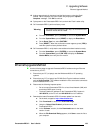
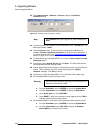
a. Click Start > Run to display the Run Dialog.
b. In the Open field, type cmd, then click OK to open a DOS command
window.
Note
The exact static IP Address may differ.


