144 PresentationPRO-II • User’s Guide
`K==réÖê~ÇáåÖ=pçÑíï~êÉ
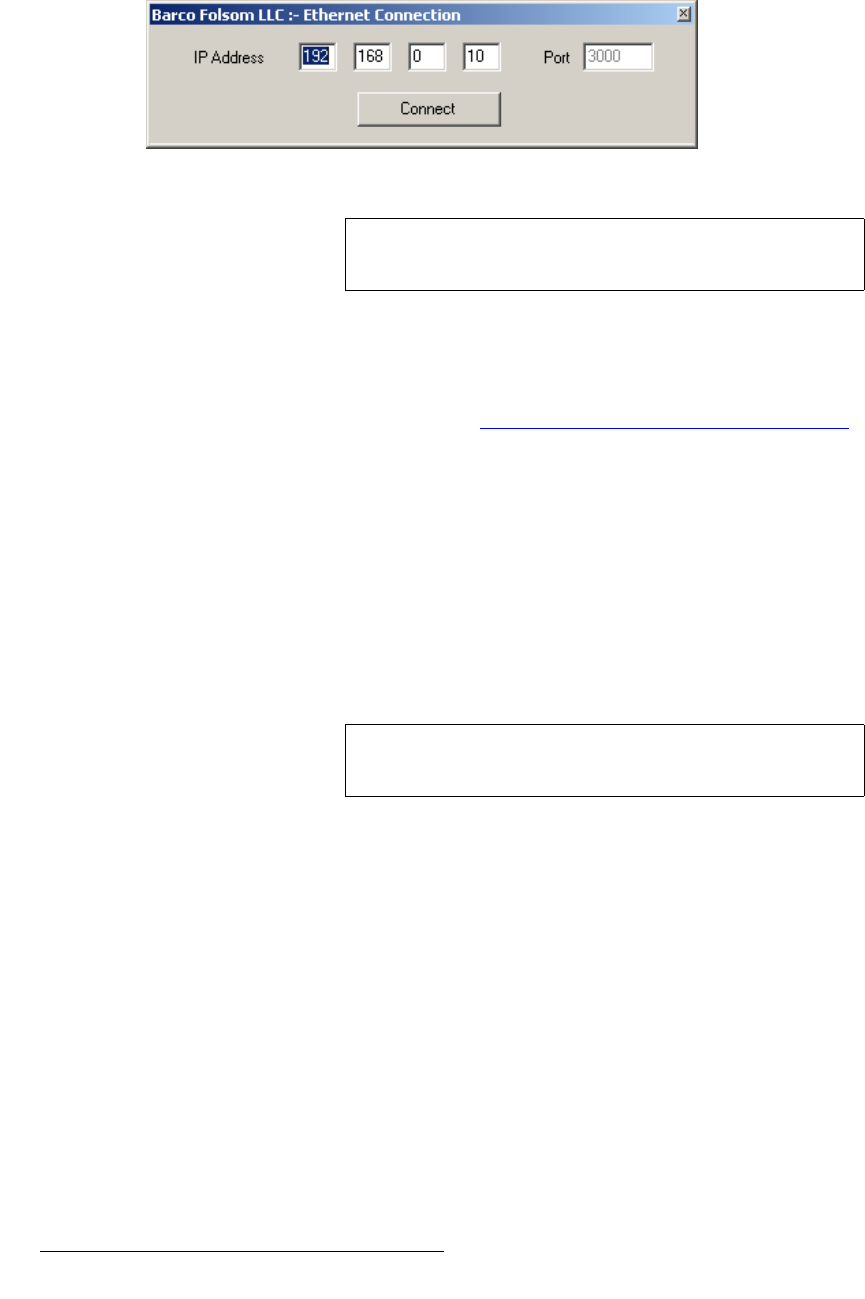
Ethernet Upgrade Method
23. Click Communication > Ethernet > Connect to display the Ethernet
Connection
dialog.
Figure C-9. Ethernet Connection Dialog (sample)
24. In the dialog, enter the IP address of the PresentationPRO-II: 192.168.0.10. The
default port number is
3000.
25. Click the Connect button. If the connection is successfully established, the
message “
Connect via Ethernet successful” will be shown in the Status Bar. If
you cannot connect, refer to the “
Troubleshooting Ethernet Communications”
section on page 145 for instructions.
26. To upload files to the PresentationPRO-II unit, click the "Open script file to read
and upload
" button.
27. In the dialog, select "Upload_All.sld" and click Open. The flash loader echoes
commands while the flash is being loaded.
28. It takes approximately three minutes to load the flash memory using the Ethernet
method. When complete, the Flash Loader utility displays the “
Upload
Complete
” message. Click OK to continue.
29. Cycle power on the PresentationPRO-II unit, and exit the Flash Loader utility.
30. On PresentationPRO-II, perform a factory reset:
a. From the Home Menu, press {SYSTEM} to access the System Menu.
b. From the System Menu, press {RESET} to display the Reset Menu.
c. On the Reset Type line, select FACTORY.
d. Press {RESET}. When the confirmation screen appears, press {YES} to
reset the system to factory default values.
31. On PresentationPRO-II, verify that the new software has been loaded correctly:
a. From the Home Menu, press {SYSTEM} to access the System Menu.
b. From the System Menu, press {SW VER} to display the Software
Version Menu
, then verify the new version.
Note
If the Ethernet menu pick is grayed out, set the COM port to
None.
Warning
Use caution when performing this step, as all saved files and
saved still frames will be erased.


