82 PresentationPRO-II • User’s Guide
4. Menu Orientation
LOGO Input Setup Menu
ildl=fåéìí=pÉíìé=jÉåì
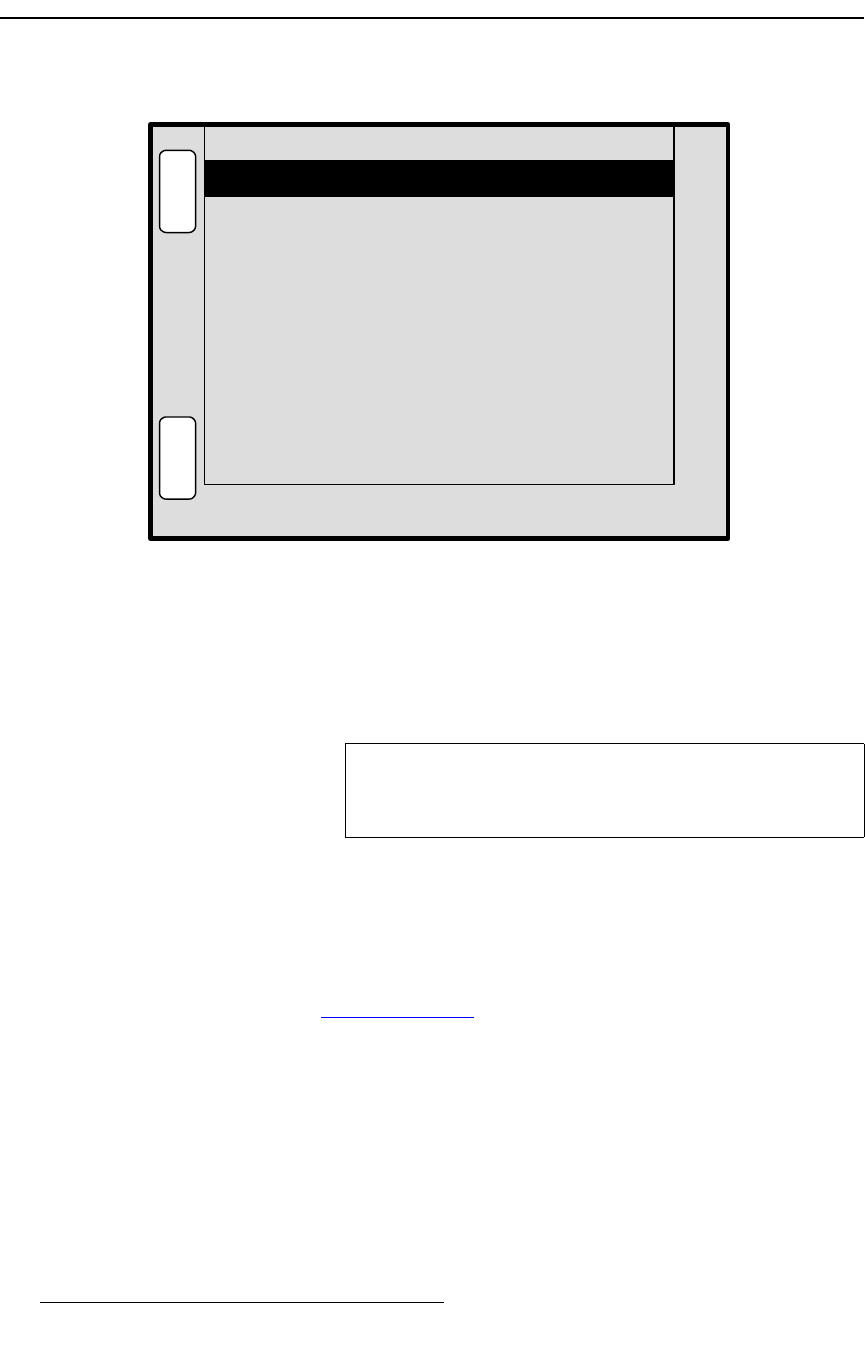
The figure below illustrates a sample LOGO Input Setup Menu:
Figure 4-49. LOGO Input Setup Menu (sample)
The LOGO Input Setup Menu enables you to select the full screen source for the panel’s
LOGO button. Choose between the three internal frame stores, or black. Because the
LOGO
is the highest priority layer and downstream of all other effects, the “black” source
can serve as a convenient way to fade all effects to black — without changing any of the
image setups underneath the
LOGO.
To access the menu:
• Press the LOGO button in the Layer Functions Section.
The following
LOGO Input Setup Menu functions are provided:
• Type — enables you to select still frames FG_1, FG_2, FG_3 or Black as the
LOGO source. Frames cannot be captured from the
Logo Input Setup Menu.
Refer to the “
Frame Grab Menu” section on page 80 for details.
• In the Temp FG Info section:
~ File Name — displays the selected still frame’s temporary storage
register.
~ Resolution — displays the resolution of the selected still frame.
• Press {SAVE} to save all LOGO parameters in memory.
H
O
M
E
A
D
J
LOGO INPUT SETUP
Type FG_3
S
A
V
E
Temp FG3 Info:
[ FG3_T ]
File Name
Resolution
[ 1280 x 1024 ]
Note
On factory reset, “black” is the default LOGO source. If you
capture a frame and assign it as the
LOGO source, that
frame will be the default upon power up.
