Copying 21
Using the Control Panel
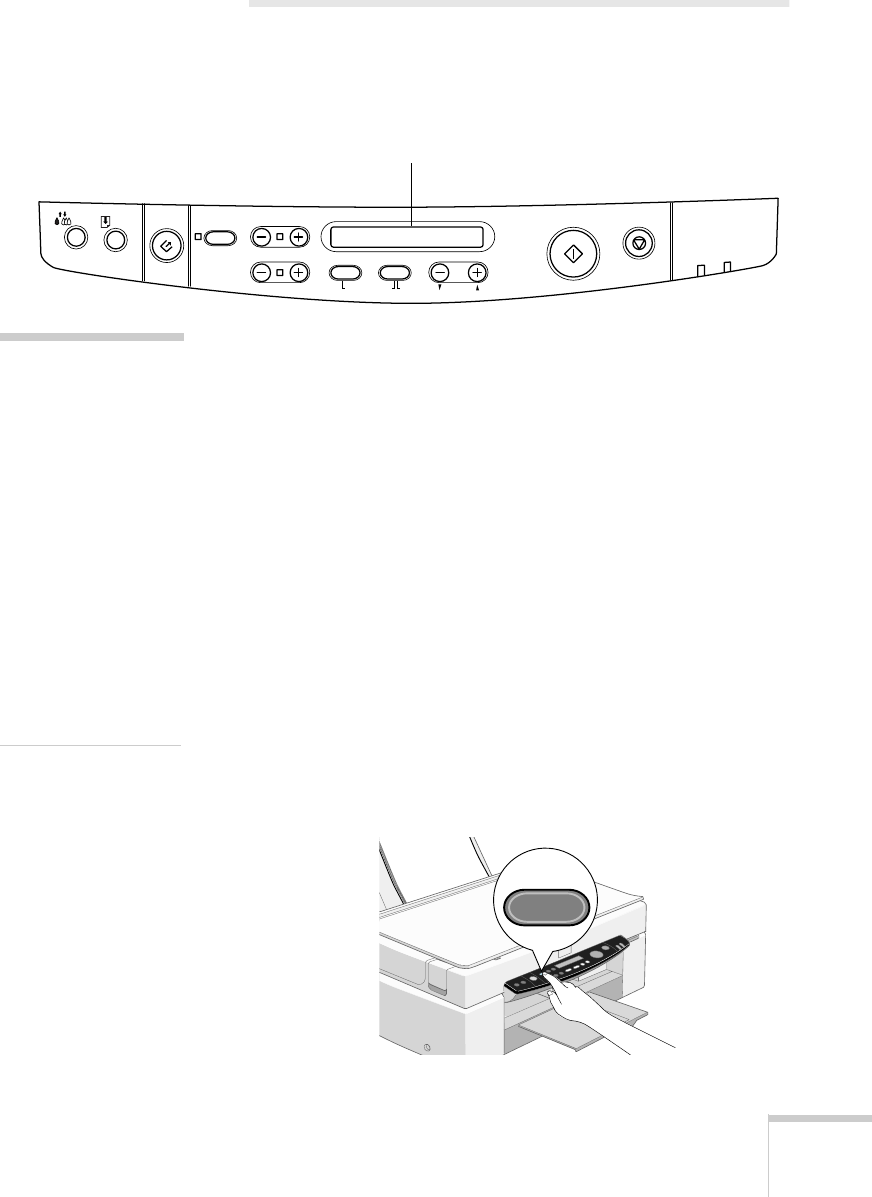
You can perform most basic copy operations from the EPSON
Stylus Scan’s control panel.
The LCD panel displays the current copy settings. When you
first turn on the EPSON Stylus Scan, you see these default
settings:
100% B&W Normal 1. This means you’re set to
produce one black and white copy, of the same size as the
original document, at Normal quality (360 dpi resolution for
everyday copying).
Follow these steps to copy using the control panel:
1. Press the
P Operate button to turn on the EPSON Stylus
Scan. Wait until the
Operate
light stops flashing.
2. Load paper in the feeder and place your original face down
on the document table. Close the document cover.
3. Press the
Paper Size
button. A list of paper sizes appears in
the LCD panel, with brackets around
Letter. To change
paper size, press the
Paper Size
button to move the
brackets.
Copy
Stop/Clear
CopiesQualityB&W/ColorReduce/Enlarge
Scan
Error
Set
ItemReturnHold for Menu
Darker/LighterPaper Size
Operate
LCD panel
note:
You can use the control
panel’s Menu Mode to
print a status sheet, set
the bottom margin,
change from U.S. to
metric paper sizes, set
the language on the
LCD panel, or reset the
control panel to the
factory defaults. For
detailed information
about Menu Mode, see
your electronic EPSON
Stylus Scan 2500
Reference Guide.
Paper Size
