


Printing 49
W
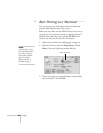
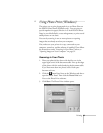
Using Photo Print (Windows)
The easiest way to print photographs is to use Photo Print on
the EPSON Smart Panel (Windows only). You can print on
special snapshot-size paper (like the 4
×
6-inch EPSON Photo
Paper in your Media Pack), create enlargements, or print several
small pictures on one sheet.
You start by scanning in one or more pictures or opening
images that are already saved on your computer.
First, make sure your printer is set up, connected to your
computer, turned on, and the software is installed. Then follow
the instructions under “Scanning in Your Photo” below, or
“Opening Images on Your Computer” on page 52.
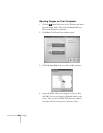
Scanning in Your Photo
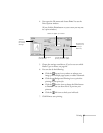
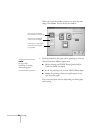
1. Place your photo(s) face down with the first one in the
upper right corner of the document table. Line up the edges
of the photo with the scales bordering the document table.
If you have more than one photo, leave a little space
between each one.
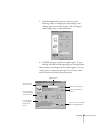
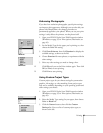
2. Click the Smart Panel icon on the Windows task bar to
open the Smart Panel. Then click the
Photo Print
icon.
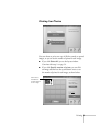
You see the Photo Print welcome.
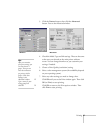
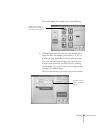
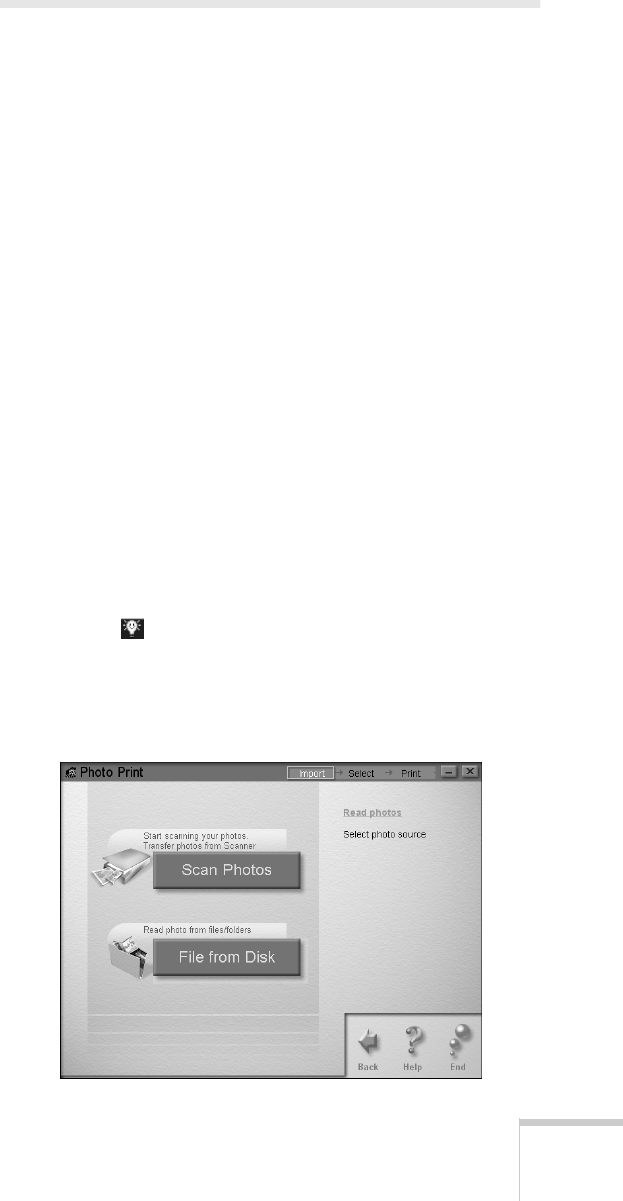
3. Click
Start. The Photo Print window opens: