


Copying 25
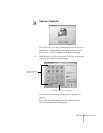
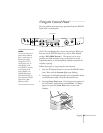
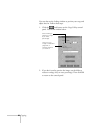
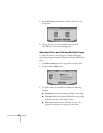
7. Click the appropriate buttons to set copy quality, switch
from color to black and white, or increase the number of
copies you want to make.
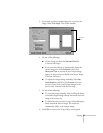
8. When you’re finished selecting copy settings, click the
large, green Copy button on the screen.
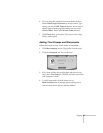
The EPSON Stylus Scan scans the image and displays a
progress bar on the screen. Then it loads paper and prints
your copies. A print job control window also appears on the
screen; see page 41 (Windows) or page 44 (Macintosh) for
instructions on controlling printing.
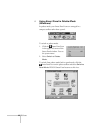
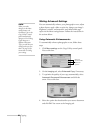
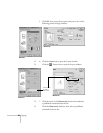
Adjusting the Copy Size
You can use the Copy Utility to fine-tune the size of your
copies.
If you don’t need to preview your image, you can use the
following methods to change the copy size:
■
If you want the output image to be the same size as the
original, select
100% on the screen’s control panel.
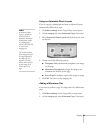
■
Select
Fit to Page
to set the image to fit your paper size
setting.
Auto
appears on the Copy Utility control panel.
■ Click the + or – button under Reduce/Enlarge to
gradually increase or decrease the size of your image from
25% to 400%. (The percentage expresses the ratio of the
copy size to the original image size. It changes by one
percentage point each time you click a button.)