Printing 59
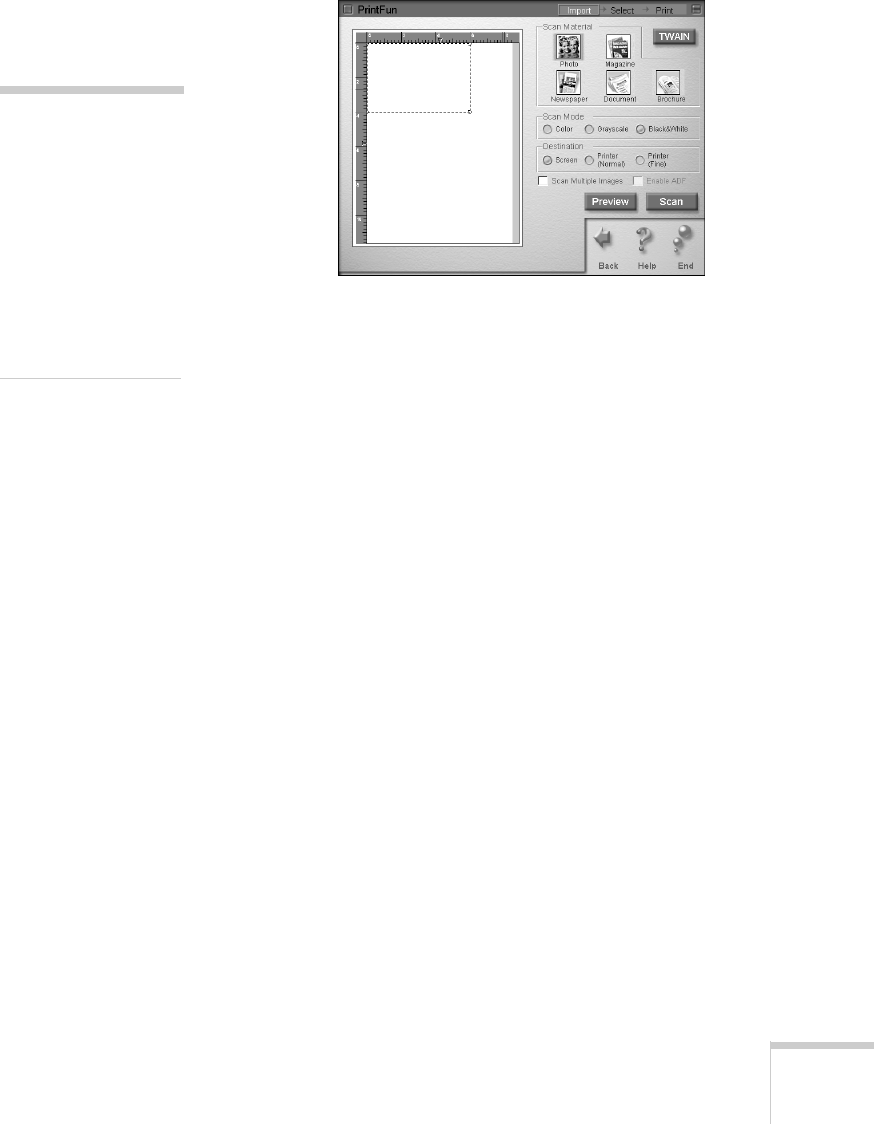
4. Click Scan Photos. You see the PrintFun scanning
window:
5. Select the type of document(s) you’re scanning from the
Scan Material icons. If the basic settings listed beneath the
icons are correct, go to step 8.
To change the basic settings chosen by the Scan Material
selection, go to steps 6 and 7.
If you’re an advanced user and want more control over your
settings, click the
TWAIN button. See page 70 for
information about using the TWAIN settings.
6. Choose one of the following Scan Mode buttons:
■ Color: For any type of document or photo in color
■ Grayscale: For black and white photographs or
artwork with subtle shading
■ Black&White: For text or drawings with no shading.
7. Choose one of the following Destination buttons:
■ Screen: For images that will be displayed on the
Internet or viewed on the screen only
■ Printer (Normal): For text or images that will be
printed normally
■ Printer (Fine): For photographs or other images that
will be printed at the highest quality or resolution
(scanning is slower with this setting)
note:
If you’re scanning a
printed picture that is
not
a film-processed
photograph), make sure
you choose Magazine,
Newspaper, or
Brochure. These settings
will give you better
scans and eliminate
unwanted dot patterns.


