Scanning 89
Formatting and Sending the File
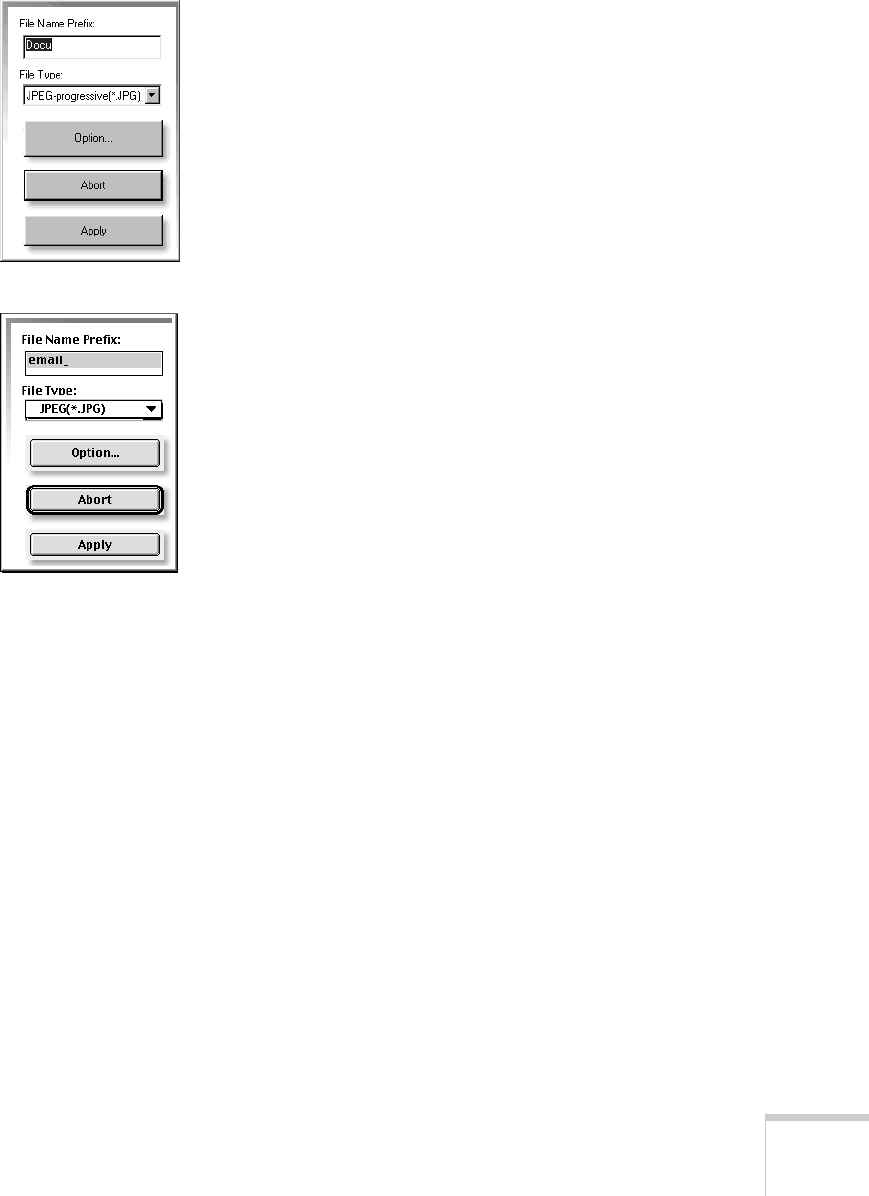
1. At the Specify window, click Specify Name & Type. You
see this box (shown to the left) next to the window.
2. Enter a file name prefix for your scans. If you scanned more
than one image, they will be automatically numbered.
3. Under File Type, choose a file format for your scanned
images.
■ The JPEG format is a good choice for most images.
If you select JPEG as the image type, the
Option
button becomes active. If you want to adjust the image
quality or compression of JPEG files for your
application, click the
Option
button and use the slider
to choose between high image quality and high
compression. Then click
OK.
■
If you want to e-mail mainly text, choose
Text
,
Rich
Text Format
, or HTML. The software will
automatically perform OCR and convert the file into
editable text. See page 76 for more information.
W
■ Choose Presto! Wrapper (Windows only) to have
your file open automatically in a “viewer” when the
recipient clicks it.
The available file formats are based on the type of image
you’re scanning. See your EPSON Smart Panel online help
for a complete list of supported formats.
4. Click
Apply to save your choices and close the box.
Windows
Macintosh
