


step 4
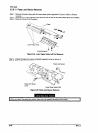
Step 5
Step 6:
Step 7:
Step 8:
Step 9:
step 10:
DISASSEMBLYAND ASSEMBLY
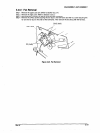
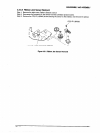
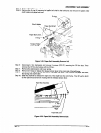
Remove the left tension roller lever spring.
Remove the E-ring (6) securing the paper bail shaft to the left frame and remove the platen roller
shaft holder and paper bail lever.
Shaft Holder
Tension Roller
Figure 3-55. Paper Bail Assembly Removal l/2
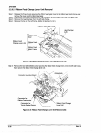
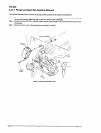
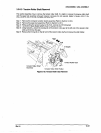
Disconnect 2 fan harnesses and remove 2 screws (CPS-Pl) securing the CR fan duct. Then
remove the CR fan duct along with the CR fan.
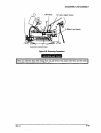
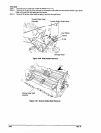
Remove the right tension roller lever spring.
Remove 2 E-rings to release the release tension fever at the inner side of the left frame.
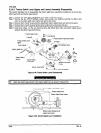
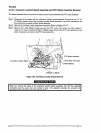
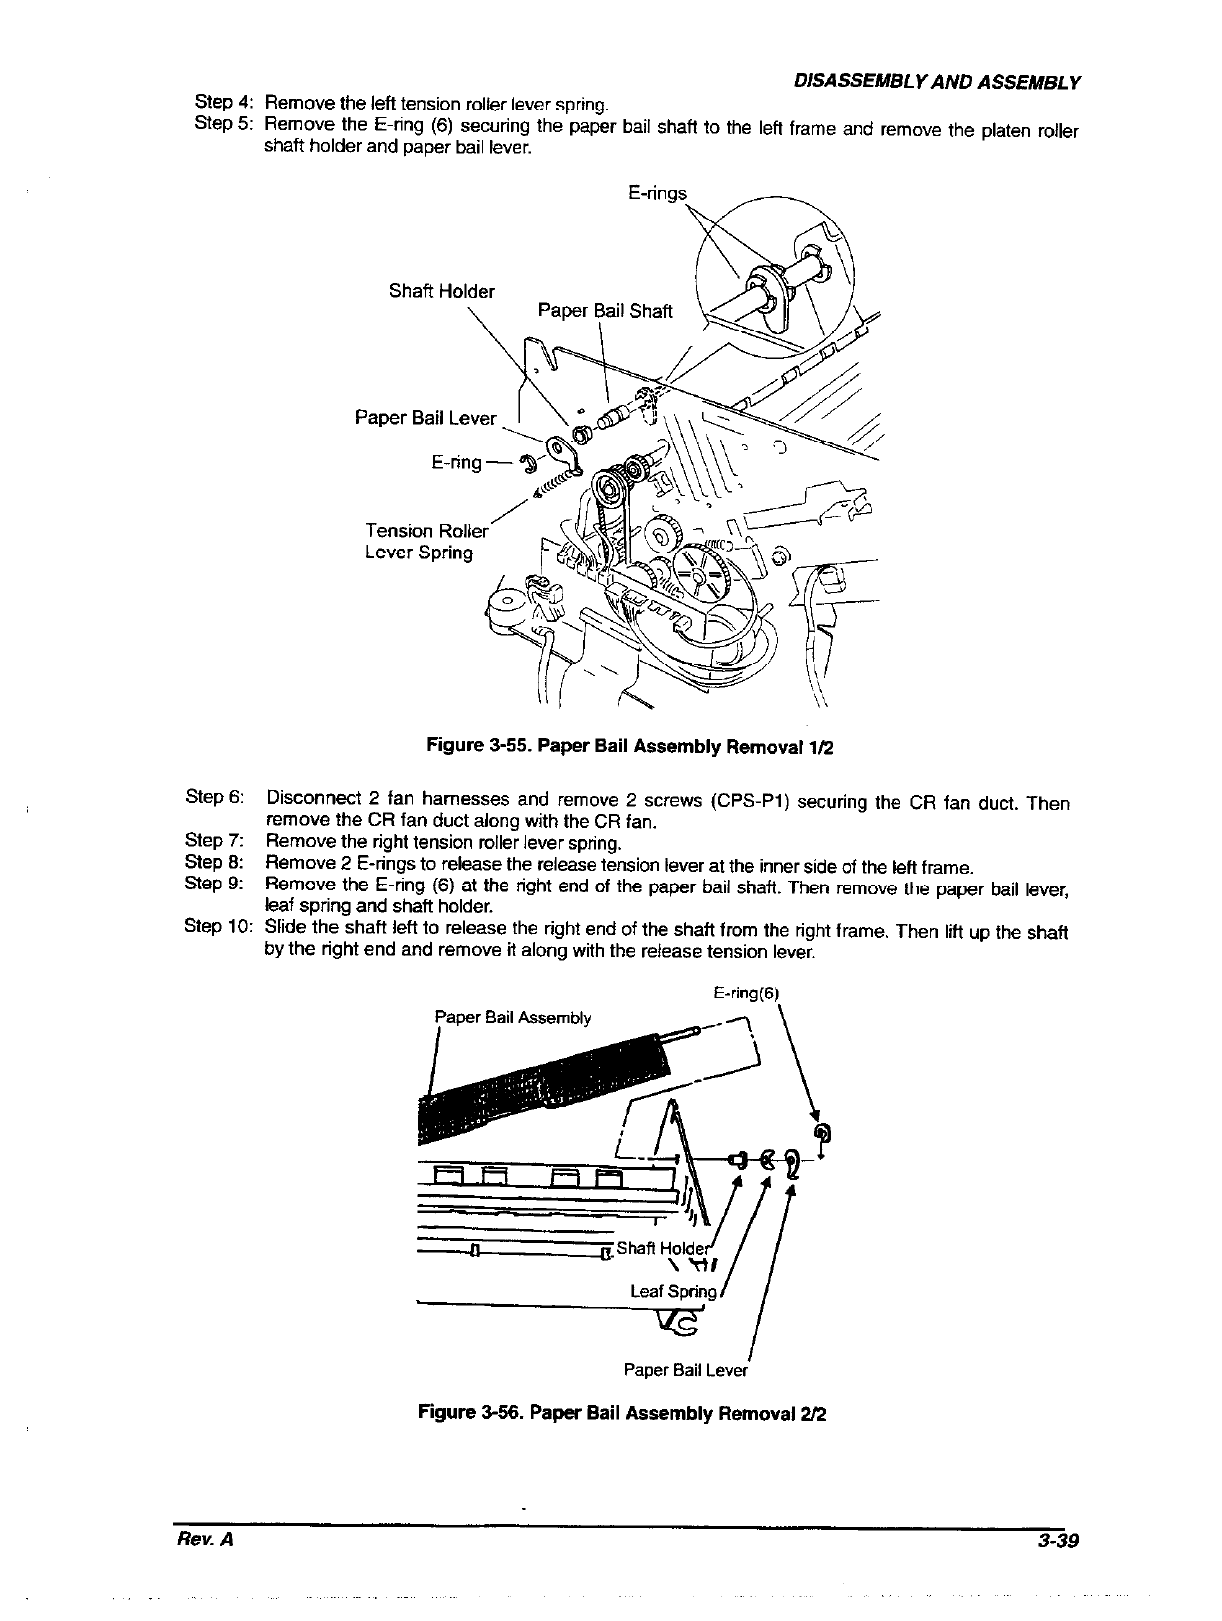
Remove the E-ring (6) at the right end of the paper bail shaft. Then remove the paper bail lever,
leaf spring and shaft holder.
Slide the shaft left to release the right end of the shaft from the right frame. Then litt up the shaft
by the right end and remove it along with the release tension lever.
E-ring(G)
Pacer Bail
Assemblv
\
Leaf Spring I
KG’ I
Paper Bail Lever
Figure 3-56. Paper Bail Assembly Removal 2R
Rev. A
3-39