DFX-8500
4.1.7 Platen Gap Motor Value Adjustment
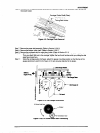
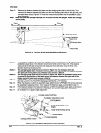
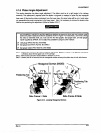
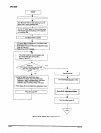
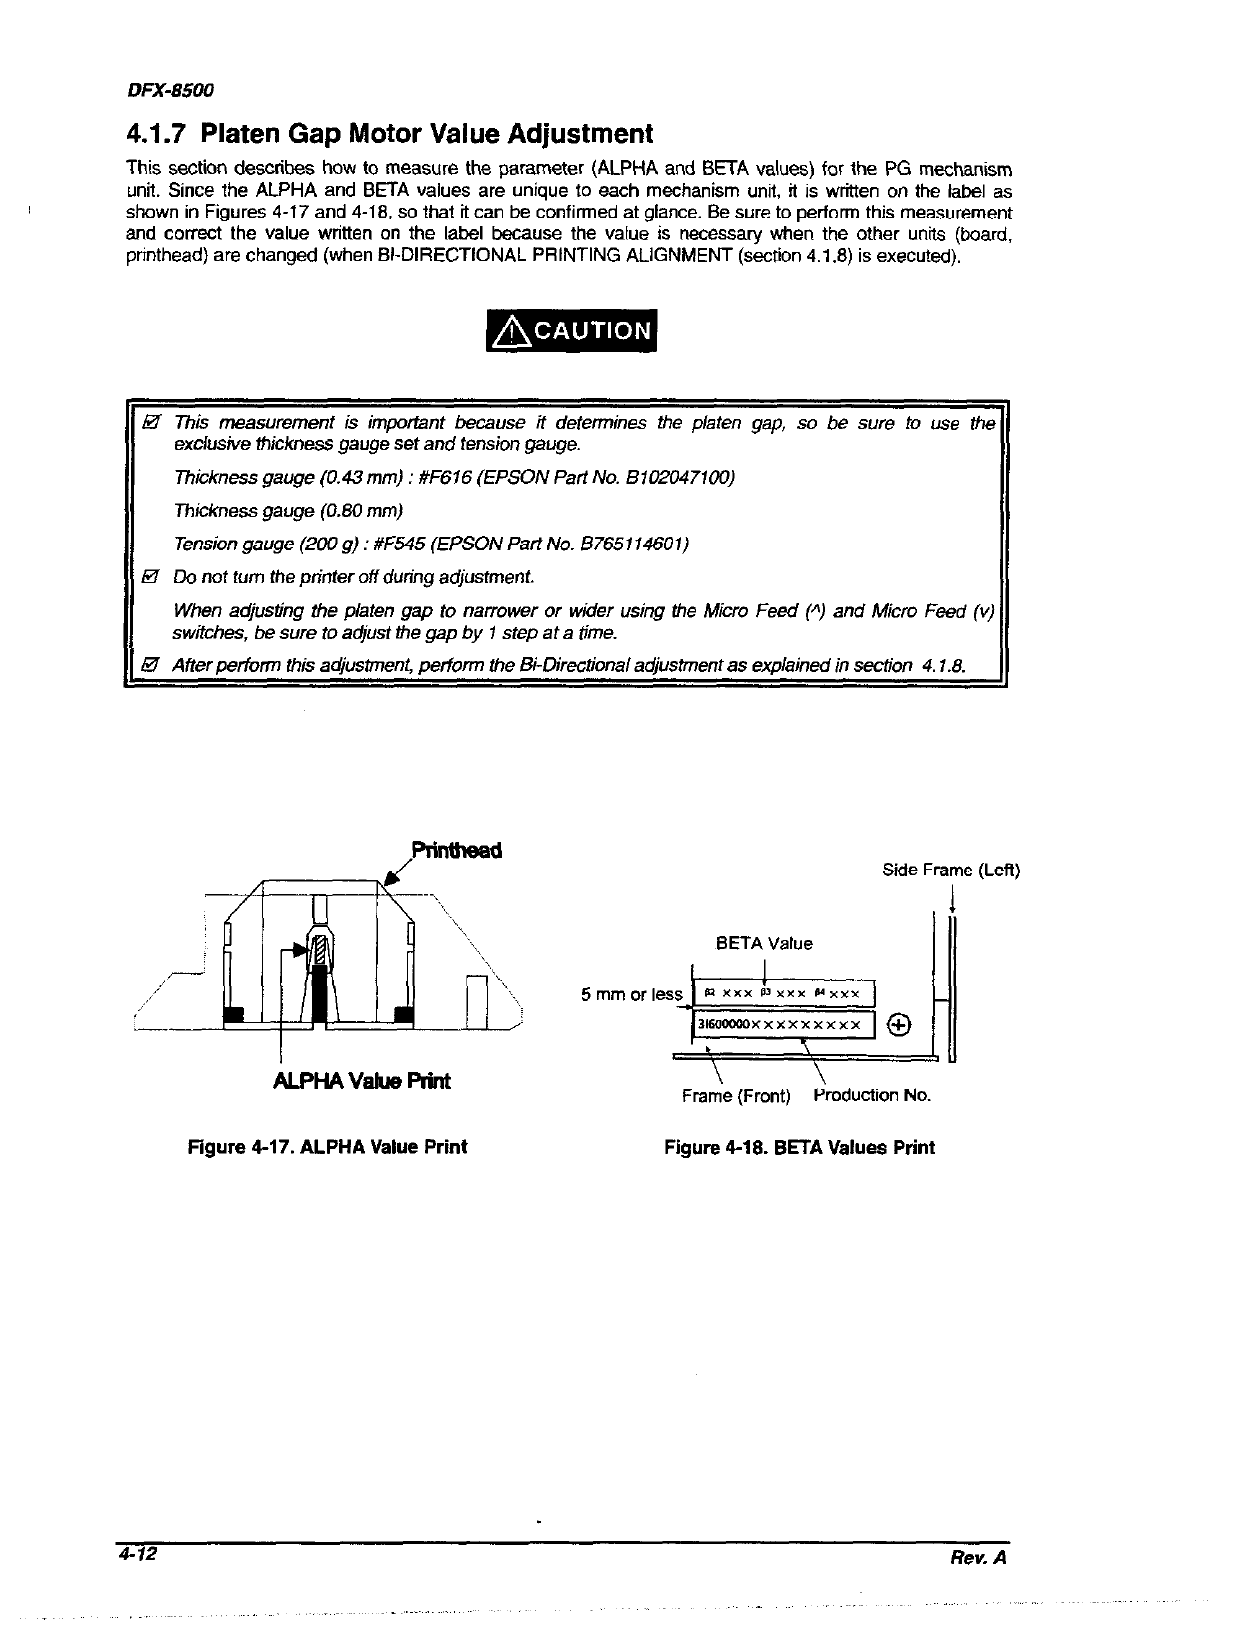
This se&in describes how to measure the parameter (ALPHA and BETA values) for the PG mechanism
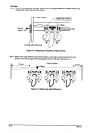
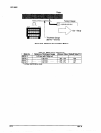
unit. Since the ALPHA and BETA values are unique to each mechanism unit, it is written on the label as
shown in Figures 4-17 and 4-10, so that it can be confirmed at glance. Be sure to perform this measurement
and correct the value written on the label because the value is necessary when the other units (board,
printhead) are changed (when BI-DIRECTIONAL PRINTING ALIGNMENT (section 4.1.8) is executed).
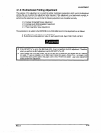
@ This measurement is important because it determines the platen gap, so be sure to use th
exclusive !hicknees gauge set and fension gauge.
Thickness gauge (0.43 mm) : #F616 (EPSON Part No. SlOZO47lCO)
Thickness gauge (0.80 mm)
Tension gauge (200 g) : #F545 (EPSON Part No. B765114601)
9
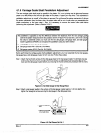
Do not turn the printer off during adjustment.
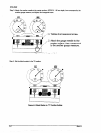
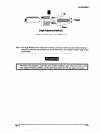
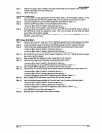
When @Ming the platen gap to narrower or wider using the Micro Feed (A) and Micro Feed (c
switches, be sure to adjust the gap by 1 step at a time.
Y After perfcxm this a@ustment, pertom the BcDirectional a$ustment es explained in section 4.1.8.
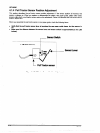
Rinthead
Side Frame (Left)
BETA Value
ALPHAVdWPliIlt
Frame (Front) Production No.
Figure 4-17. ALPHA Value Print Figure 4-18. BETA Values Print
Rev. A


