


5-4
Surveyor
User’s Guide
Naming Remote IP Resources (Aliases)
The Resource Browser initially displays all nodes on a subnet using the IP Address.
Users can assign an alias (user defined name) to a node for easy identification. For
example, you can assign a name like “Chicago Node One” to the node. In addition,
you can add a descriptive comment for any node.
There are two methods for bringing up the
Host Properties dialog box to create an
alias:
• Single-click with the mouse on the node. Select
Properties from the Host menu.
This brings up the complete
Host Properties dialog box.
• Right-click with the mouse on a top-level node (IP Address/Alias Name) and
select the
Properties... option from the popup menu. This brings up the Host
Properties dialog box for setting the alias.
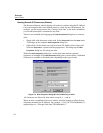
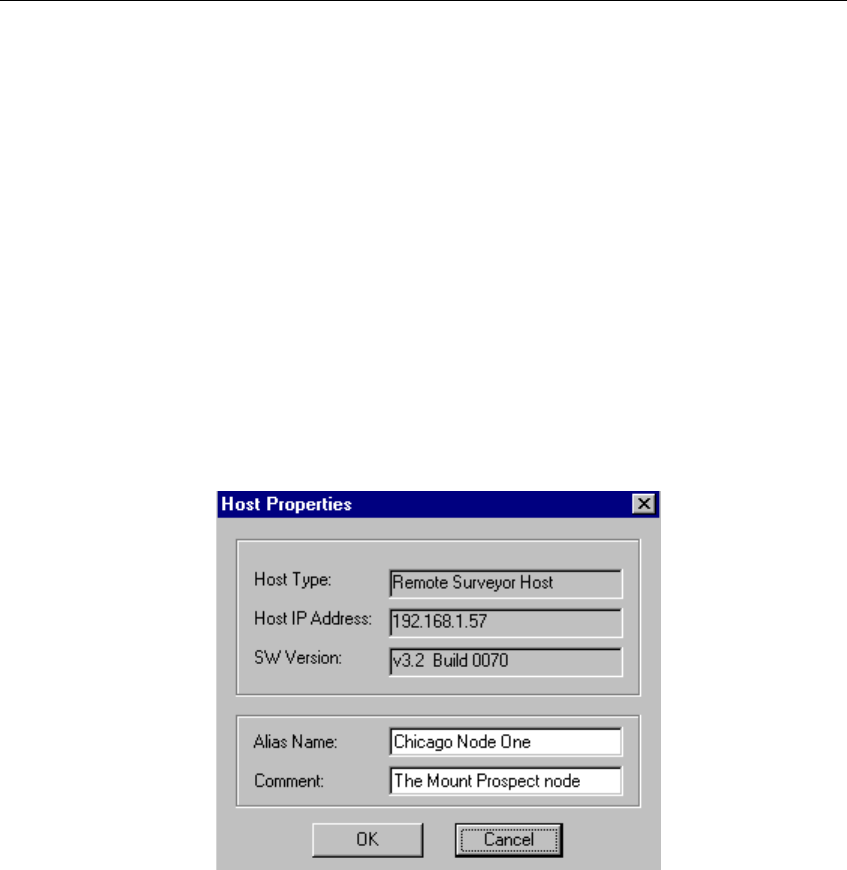
Within the
Host Properties dialog box, set the alias name and any optional
comment. An example of the
Host Properties dialog box is shown below. Additional
fields may be available in this dialog box depending on the type of node.
Figure 5-2. Host Properties Dialog Box for Establishing an Alias
All characters are allowed in alias names except $, #, <, and @.
When an alias is established, Surveyor window title bars change to reflect the new
alias name instead of the IP Address. For example, “//192.1.68.2/THGmModule(1)”
might display as “//Chicago Node One/THGmModule(1)”.