


5 - 77
Configuring the MX9 with HSM Connect (or LXEConnect)
HSM Connect allows a user to view the MX9 screen remotely from a host PC using an ActiveSync connection:
• ActiveSync is already installed on the MX9. The MX9 is preconfigured to establish a USB ActiveSync connection to a
host PC when the MX9 USB/Power cable connects the MX9 and the host PC.
• If the MX9 uses a serial port for ActiveSync, it will be necessary to configure the MX9 to use the serial port. Complete
details on the proper cables and port configuration are included in Initial Setup (page 5-72).
Installing HSM Connect (or LXEConnect)
1. Contact Technical Assistance for the HSM Connect files.
2. Download the files to a location on your host computer hard drive.
3. Run the setup.exe file that was copied to the host computer. The setup program installs the HSM Connect utility on
the host computer.
4. Follow the on screen installation prompts.
5. When the installation is complete, create a desktop shortcut.
6. HSM Connect (or LXEConnect) is now installed on the host computer and ready to use.
Using HSM Connect (or LXEConnect)
1. Power up the MX9.
2. Connect the MX9 to the host computer using the USB/Power or Serial/Power cable. Once connected, the
ActiveSync dialog box appears and the ActiveSync connection is automatically established.
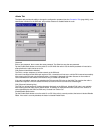
3. Select No for partnership when prompted. Dismiss any ActiveSync dialog boxes warning a partnership is not set
up. It is not necessary to establish a partnership to use HSM Connect. However if a partnership is desired for other
reasons, one may be established now.
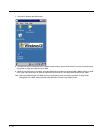
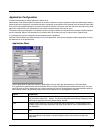
4. Double-click the HSM Connect icon you created on the host PC desktop.
5. HSM Connect launches.
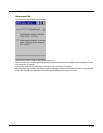
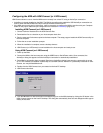
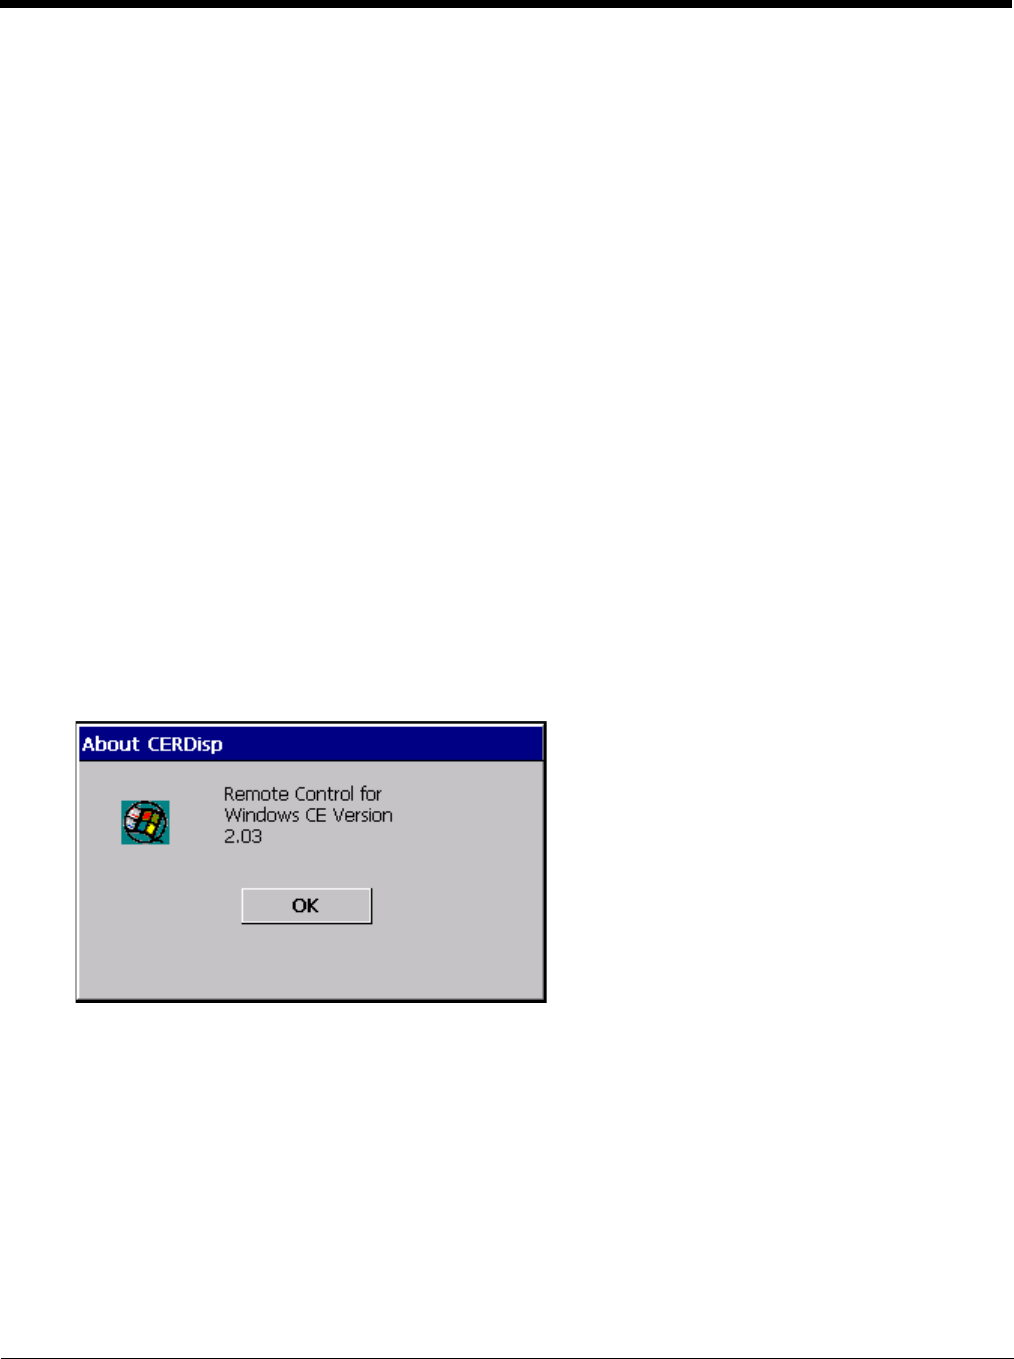
6. Click the OK button to dismiss the About CERDisp dialog box on the MX9 desktop by clicking the OK button in the
HSM Connect window on the host PC desktop. The dialog box automatically times out and disappears after approx-
imately 20 seconds.