


13 - 7
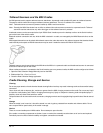
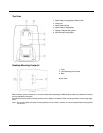
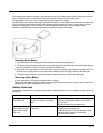
Desktop Cradle Connector Identifiers
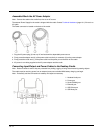
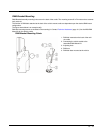
Connecting a Headset Audio Cable
Firmly press the cradle end into the MX9 Headset Audio port (1) on the back of the cradle. Test the connection for sta-
bility.
Connecting the Power Cable
Assemble the power cable by first plugging the AC end into an electric socket, then plug the other end into the AC
adapter. The cradle cord is secured to the AC adapter. Firmly press the cradle end of the power cable into the MX9
Power port (2) on the back of the cradle. Test cable connections for stability.
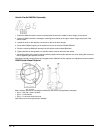
Connecting a Serial Cable
The serial cable is connected to the Serial port (3) on the back of the desktop cradle. The serial cable end can origi-
nate with a tethered scanner, a desktop/laptop PC, a printer or another serial device.
Align the RS232 serial cable end (female) carefully to the Serial Interface port (male) on the back of the desktop cradle.
Press the ends together and finger tighten the screws on either side of the connector. Test the connection for stability.
Connecting an Ethernet RJ-45 Cable
Firmly press the cradle end into the MX9 Ethernet RJ-45 port (4) connector on the back of the cradle until it clicks into
place. Test the connection for stability.
Connecting a USB Host and USB Client Cable
Firmly press the cable end into the MX9 USB Client (5) or USB Host (6) Port connector on the back of the cradle. Test
the connections for stability.
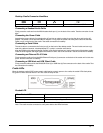
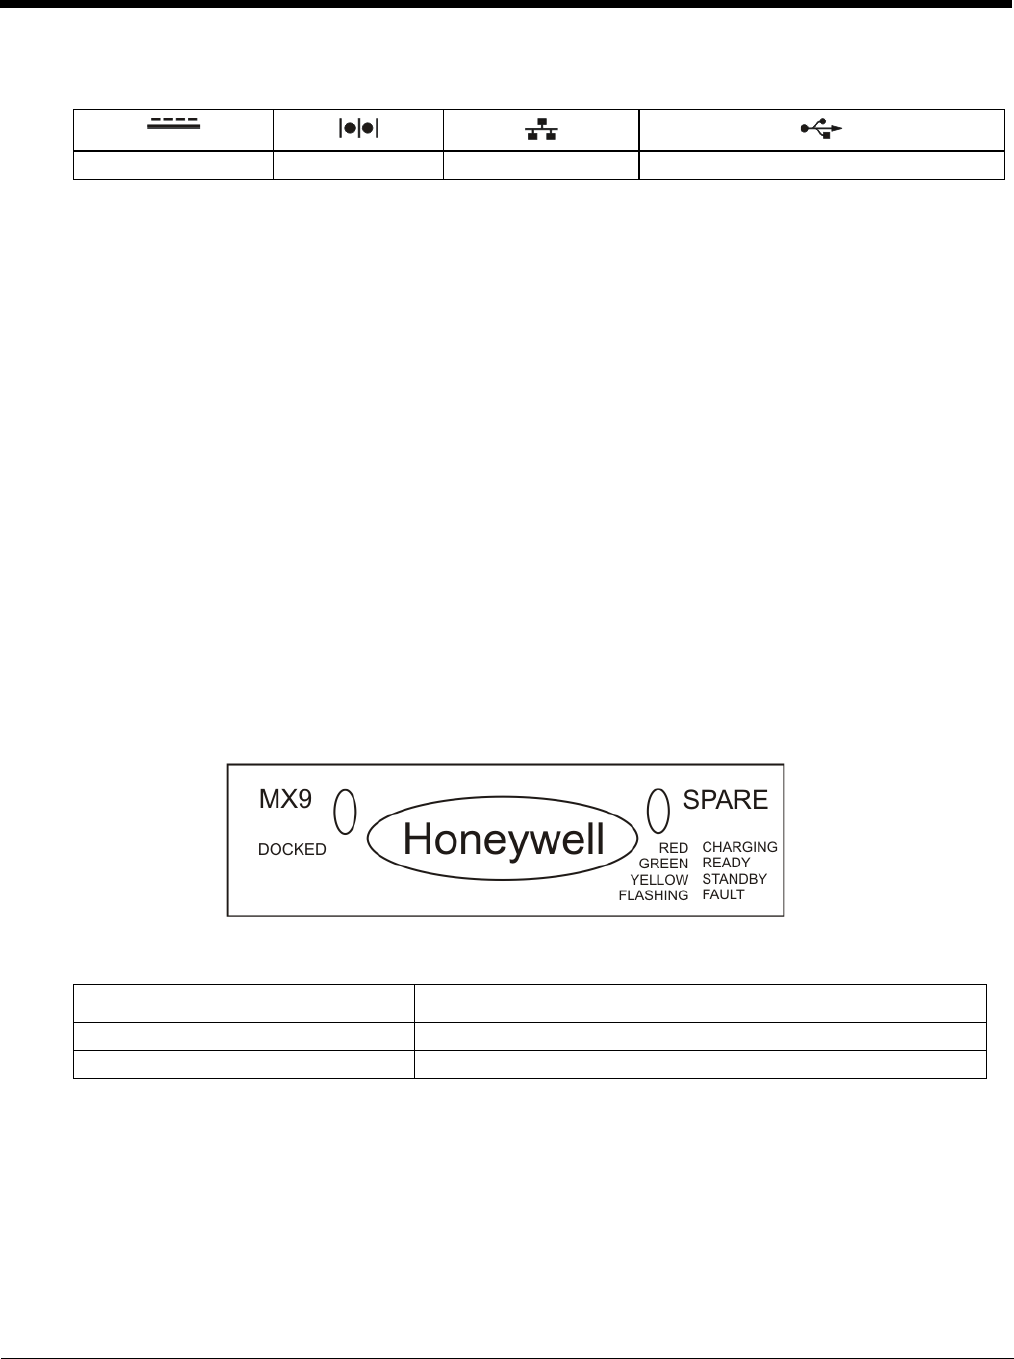
Cradle LEDs
When the desktop cradle AC/DC power supply cable begins to supply power to the cradle, the cradle LEDs flash yellow,
red, green for three seconds then turn off. The cradle is ready for use.
Docked LED
Note: The cradle must be connected to a AC power before the LEDs illuminate.
2 - Power 3 - Serial 4 - Ethernet 5,6 - USB A and USB B
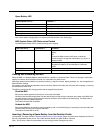
When Docked LED is … It means ….
Off MX9 not inserted or no power applied
Red MX9 docked and power applied.