


13 - 6
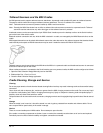
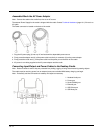
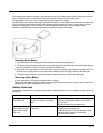
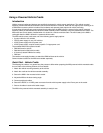
Assemble/Attach the AC Power Adapter
Note: Connect the cable to the cradle first, then to an AC source.
The external Power Supply for the cradle is shipped with the cradle. Contact Technical Assistance (page 15-1) if there is no
AC cable.
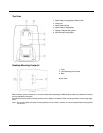
The Power connector is located on the back of the cradle.
1. Plug the AC power plug (3) into any AC wall outlet with a dependable power source.
2. Firmly press the adapter end (4) of the power cable into the 3 pin connector (2) on the power adapter.
3. Firmly press the cradle end (1) of the power cable into the power port on the back of the cradle.
4. AC power is now being supplied to the AC power adapter and the cradle.
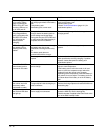
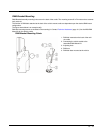
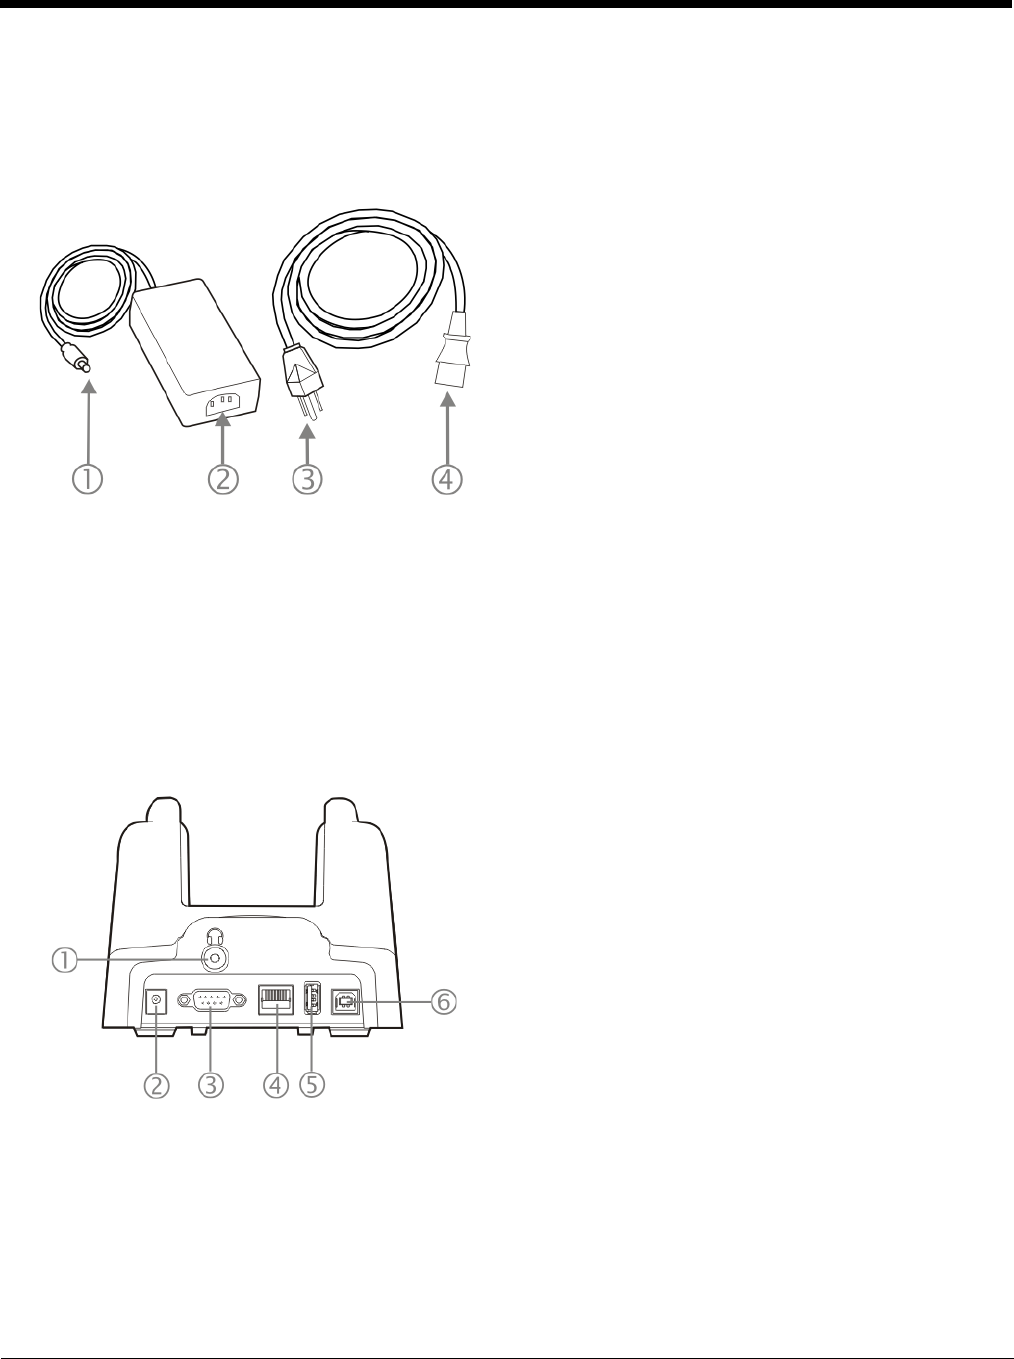
Connecting Input/Output and Power Cables to the Desktop Cradle
Note: Route all cables to ensure they are protected from jostling, tugging or being disconnected by passing objects.
The cradle must be receiving power from an external power source before MX9 battery charging can begin.
Note: Periodically test the connections for stability and adjust as necessary.
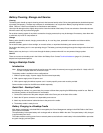
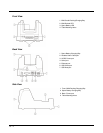
1. Headset Audio port
2. Power port
3. Serial (RS232) port
4. Ethernet port
5. USB Client port
6. USB Host port