


Intel Storage System SSR212PP User Guide 87
13
PRELIMINARY
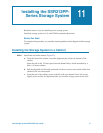
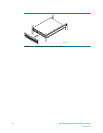
Installing a Disk Module
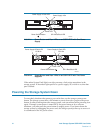
This procedure describes how to install a disk module in an SSR212PP-Series storage
system.
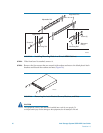
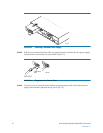
For greater clarity, the illustrations in this document show the storage system chassis
independent of a cabinet or deskside mounting hardware.
Handling Disk Modules
Disk modules are extremely sensitive electronic components. Always handle a disk
module gently, and observe the following guidelines:
Whenever possible or practical, replace a disk module with another of the same
model. Refer to the SSR212PP support website for a list of approved disk
replacements.
Follow the instructions in the section on handling FRUs in this document.
Disk modules are sensitive to the extreme temperatures sometimes encountered
during shipping. It is recommended that you leave new disk modules in their shipping
material, and expose the package to ambient temperature for at least four hours before
attempting to use the new modules in your system.
Wear a properly attached ESD wristband when removing or replacing a disk module.
When removing a disk module, pull the module partially out of the slot, then wait 30
seconds for the drive to spin down before removing it.
Place modules on a soft, antistatic surface, such as an industry-standard antistatic
foam pad or the container used to ship the module. Never place a disk module directly
on a hard surface.
Never hit modules, stack modules, or allow them to tip over or fall.
Avoid touching any exposed electronic components and circuits on the disk module.
Do not remove a faulty disk module until you have a replacement module (with the
same or an approved part number) or a filler module available. The part number
(
PN005xxxxxx) appears on the front of the module.
STEP 1. Read "Handling Field-Replaceable Units (FRU)" on page 59. If possible, have an ESD
wriststrap attached to your wrist as you perform the following steps.
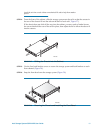
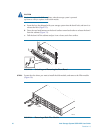
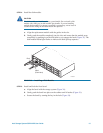
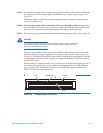
STEP 2. Unlock and remove the front bezel.