


Repair Information 4-21
5016-001
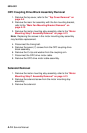
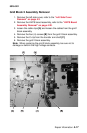
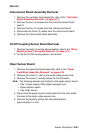
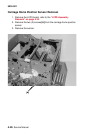
Interconnect Board Assembly Removal
1. Remove the controller board assembly, refer to the “Controller
Board Assembly Removal” on page 4-19.
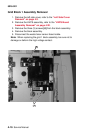
2. Remove the four (4) screws from the controller board shield
plate 2.
3. Remove the four (4) screws from the interconnect board.
4. Disconnect the three (3) cables from the interconnect board.
5. Remove the interconnect board assembly.
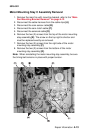
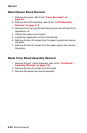
On/Off Coupling Sensor Board Removal
1. Remove the motor mounting stay assembly, refer to the “Motor
Mounting Stay C Assembly Removal” on page 4-13.
2. Unclip the On/Off coupling sensor and remove.
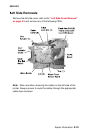
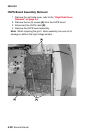
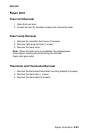
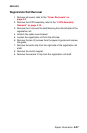
Paper Sensor Board
1. Remove the paper feed block assembly, refer to the “Paper
Feed Block Assembly Removal” on page 4-24.
2. Remove the screw (1) next to the center cable access hole.
3. Remove the screw (1) directly below the On/Off switch.
Note: The following sensors are located on the paper sensor board:
• Tray 1 paper supply LEDs (paper low/paper out)
• Paper selector switch
• Tray install sensor
4. Disconnect the paper sensor board cable from the main cable
harness at the center cable access hole.
5. Remove the board by sliding the side plate forward
approximately 1/4 inch.