MJ-1103/1104 © 2008, 2009 TOSHIBA TEC CORPORATION All rights reserved
DISASSEMBLY AND INSTALLATION
4 - 22
[E] Stapler
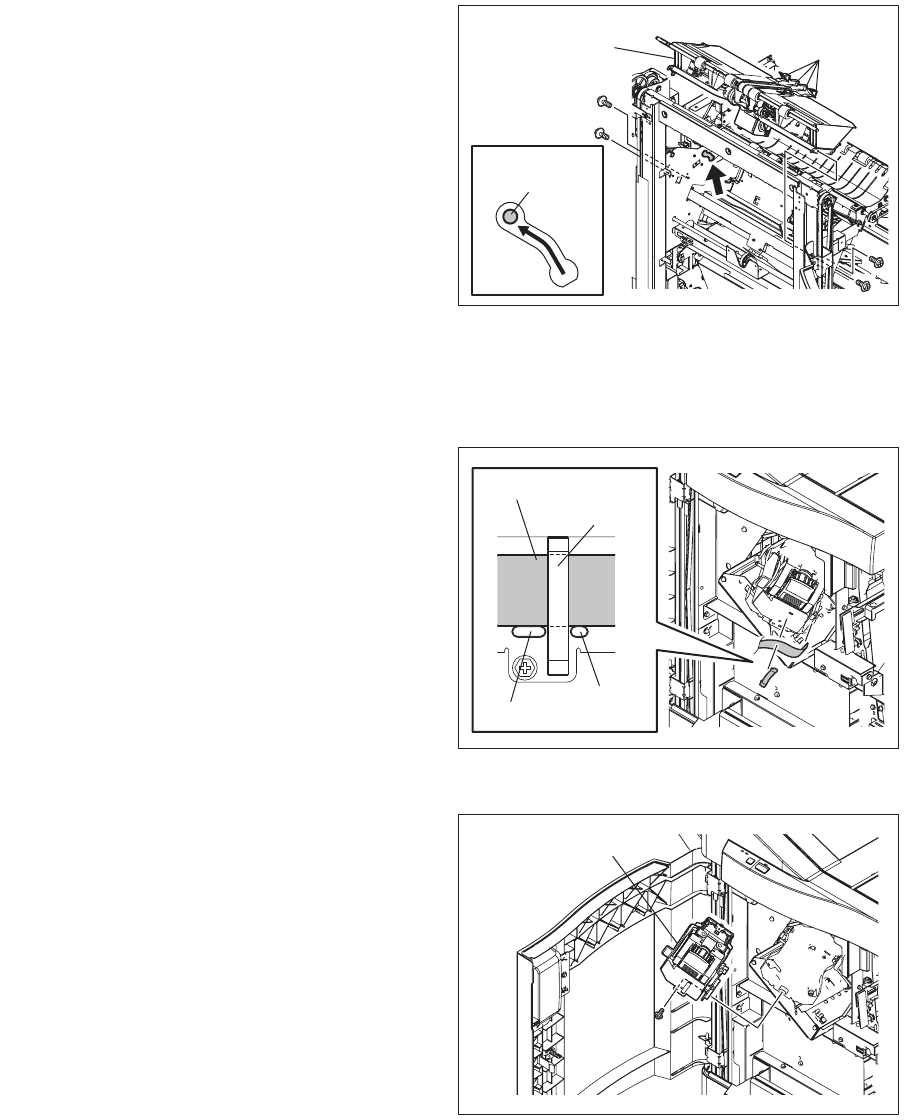
(8) Move the stapler to the staple replacing posi-
tion (the first position from the front).
(9) Remove 4 screws and take off the stack
transport roller-2 in the finishing tray unit
from the frame. Move the stack transport
roller-1 as shown in the figure, and then lift
the front side of the finishing tray unit to take
it off.
Be sure not to deform the finishing tray
guide.
Fig. 4-61
(1) Open the front cover (MJ-1103) or the front
upper cover (MJ-1104).
(2) Move the stapler to the staple replacing posi-
tion (the first position from the front).
(3) Release the clamp to disconnect the flexible
cable out of the connector.
When installing the stapler, place the flexible
cable on the protrusion of the stapler and fix
it with the clamp.
Fig. 4-62
(4) Remove 1 screw, and then take off the staple
carrier.
Fig. 4-63
Finishing tray unit
Stack transport
roller-1
Finishing tray guide
protrusion
Clamp
protrusion
Flexible cable


