Sending Methods
3-22
Basic Sending
3
3
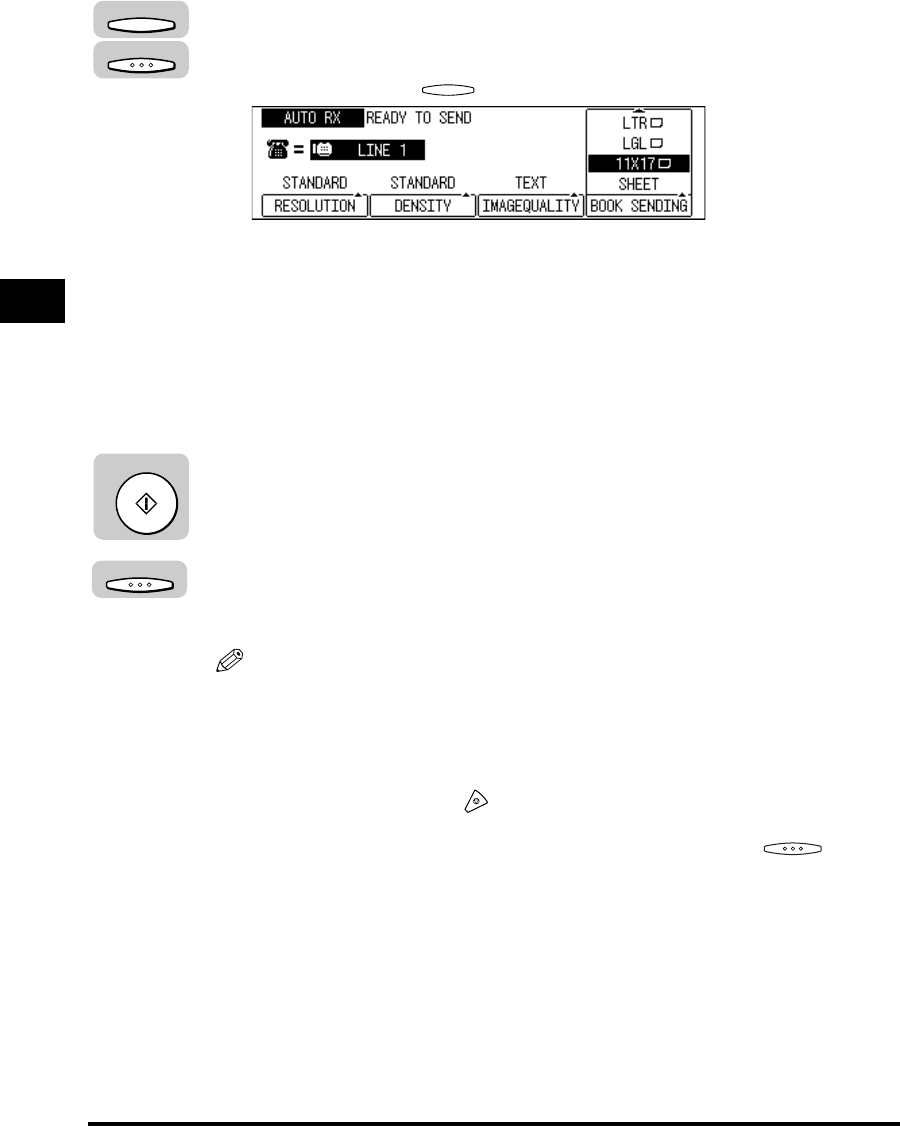
Press [F4] (BOOK SENDING) to select the document size ➞
press [OK].
Each time you press (▲), the next menu option becomes highlighted.
4
Specify the destination.
You can specify the destination using various sending methods. (See “Using
Regular Dialing,” on p. 3-27,, “Using Speed Dialing,” on p. 2-30, or “Redialing
When the Line Is Busy,” on p. 3-29.)
If necessary, set other sending modes, before specifying the destination. (See
“Sending Methods,” on p. 3-21, or Chapter 4, “Additional Sending Features.”)
5
Press [Start].
The machine starts scanning the document into memory.
6
After scanning all the pages you want to send, press [OK].
The scanned pages are automatically sent from memory.
NOTE
•
A transaction number is assigned to every document scanned for sending. It is
used for canceling a transmission, or printing/deleting the documents in memory. A
page number shows the order of the pages in one document. (See “Canceling
Send Jobs,” on p. 3-35, “Checking Transaction Results,” on p. 3-38, or “Checking
Documents Stored in Memory,” on p. 6-10.)
•
To cancel sending, press (Stop).
•
If the memory becomes full while you are scanning a document for sending, the
message <MEMORY FULL> appears on the LCD display. Press (OK) so
that the paper remaining in the feeder can be put out. All the pages you were
scanning are deleted.
•
The number of pages you can scan into memory differs depending on the amount
of free memory remaining in the machine, and the type of document you are
scanning.
•
The document is automatically deleted from memory if the transmission is
successful.
F4
OK
F4
Start
OK
