Sending a Document with a Sender Name
3-15
Basic Sending
3
Sending a Document with a Sender Name
Follow this procedure to select one of the registered sender names.
Sender names are selected by pressing [TTI Selector] under the three one-touch
speed dialing panels.
NOTE
•
This setting is optional. If you do not select a sender name before sending a document,
the registered unit’s name is printed at the top of the document in the sender information
area. (See “Registering the Sender Information (TX Terminal ID),” on p. 1-16.)
•
If you select a sender’s name before you send a document, it replaces the unit’s name
printed in the sender information area, (See “Registering the Sender Information (TX
Ter minal ID),” on p. 1-16.)
•
Up to 99 sender names can be registered. At least one sender’s name must be
registered so you can use this feature. (See “Registering Sender Names,” on p. 1-19.)
•
If the TX TERMINAL ID is set to ‘02 OFF’, the sender’s name is not printed on the
document received by the other party even if you select a sender’s name when sending.
1
Place your documents on the machine.
For instructions explaining how to place your originals, see “Placing Originals,”
on p. 3-6.
NOTE
You can adjust the resolution, density and image quality. (See “Adjusting the
Resolution, Density, and Image Quality,” on p. 3-12.)
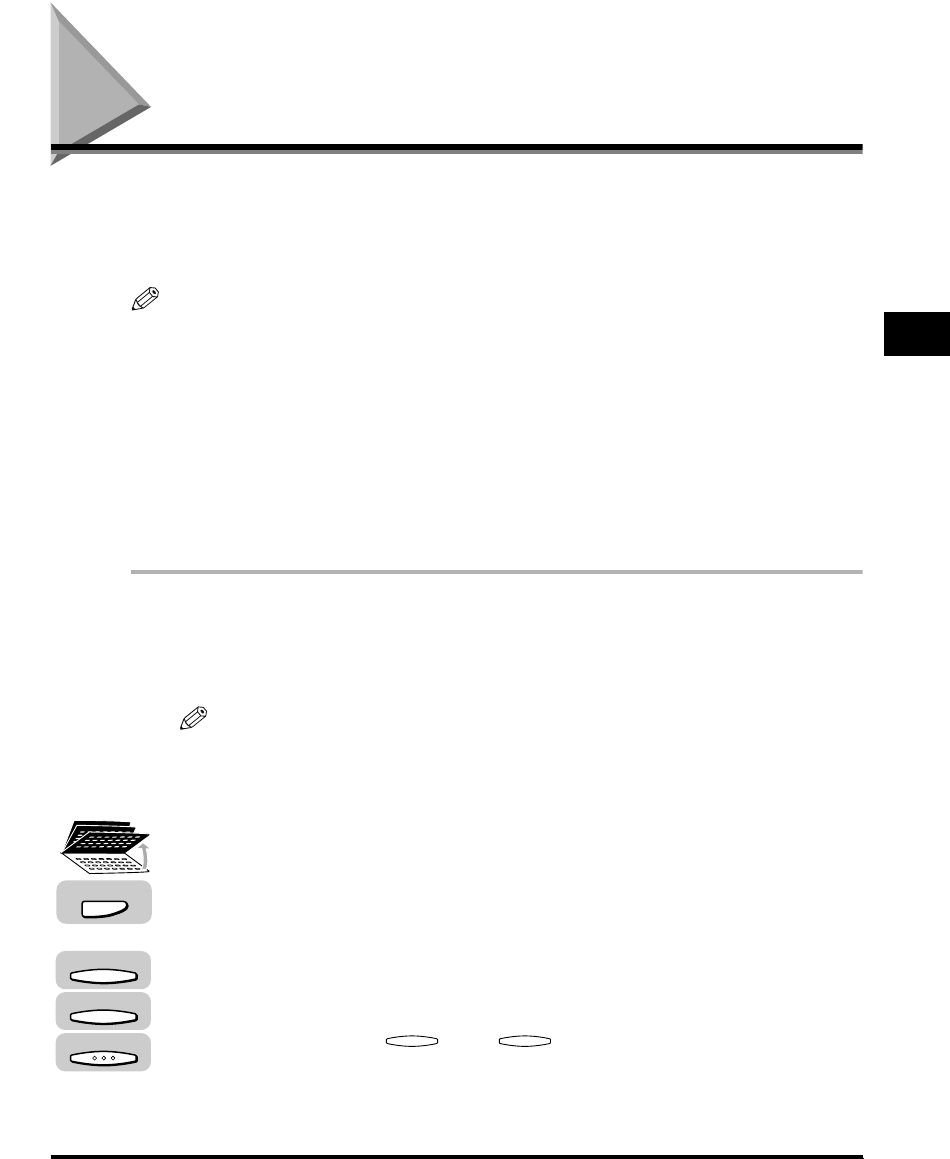
2
Open all three one-touch speed dialing panels ➞ press [TTI
Selector].
The list of the sender names is displayed.
3
Press [F3] (▼) or [F4] (▲) to highlight the desired sender’s
name ➞ press [OK].
Each time you press (▼) or (▲), the next or previous menu option
becomes highlighted.
You can also enter the assigned number of the sender’s name using the numeric
keys.
TTI Selector
F3
F4
OK
F3


