6 - 4
Installation
1. Connect the Thor VM2 to the PC using the proper connection cable.
2. If using ActiveSync, select Explore.
3. If using Windows Mobile Device Center, select File Management > Browse the contents of your device.
4. An explorer window is displayed for the Thor VM2. Browse to the \System\HSMConnect folder. Contact Customer
Support (page 11-1) for the necessary files if one of this folder is not present.
5. Select and copy the Setup.exe and HSM Connect.msi files from the Thor VM2 to the user PC. Note the location
chosen for the files.
6. Close the explorer dialog box. Do not disconnect the Thor VM2 ActiveSync connection.
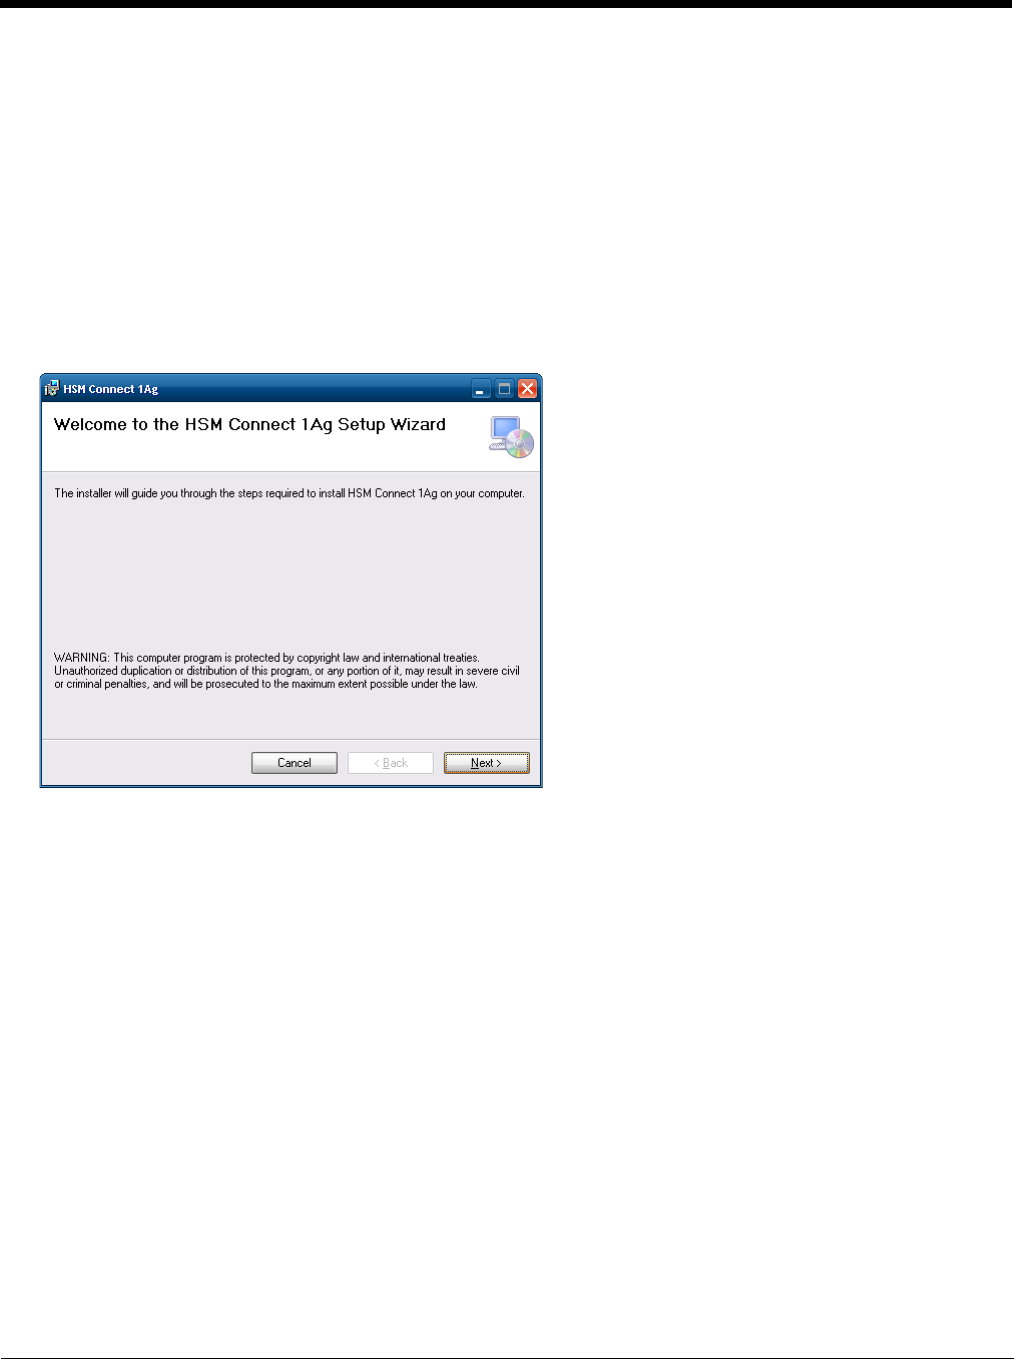
7. Execute the setup.exe file that was copied to the user PC. This setup program installs the HSM Connect utility.
8. Follow the on screen installation prompts. The default installation directory depends on the PC operating system:
• C:\Program Files\Honeywell Inc\HSM Connect [version] (for 32-bit machines with HSM Connect installed)
• C:\Program Files (x86) \Honeywell Inc\HSM Connect [version] (for 64-bit machines with HSM Connect installed)
9. If desired, when the installation is complete, create a desktop shortcut to the HSM Connect.exe file at the location
indicated above. If a different directory was selected during installation, please substitute the appropriate directory.
10. HSM Connect is now installed and ready to use.
Using HSM Connect
1. Power up the Thor VM2.
2. Connect the Thor VM2 to the host PC using the USB connection cable. Once connected, the ActiveSync dialog box
appears and the ActiveSync connection is automatically established.
3. Select “No” for partnership when prompted. Dismiss any ActiveSync dialog boxes warning a partnership is not set up.
It is not necessary to establish a partnership to use HSM Connect. However, if a partnership is desired for other
reasons, one may be established now.
4. Double-click the HSM Connect icon that was created on the PC desktop.
5. HSM Connect launches.


