


4 - 64
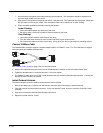
Replace Front Panel
Equipment Required
The following equipment is user-supplied:
• Torquing tool capable of measuring inch pounds
• #2 Phillips screwdriver bit
Replacement Procedure
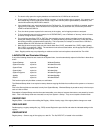
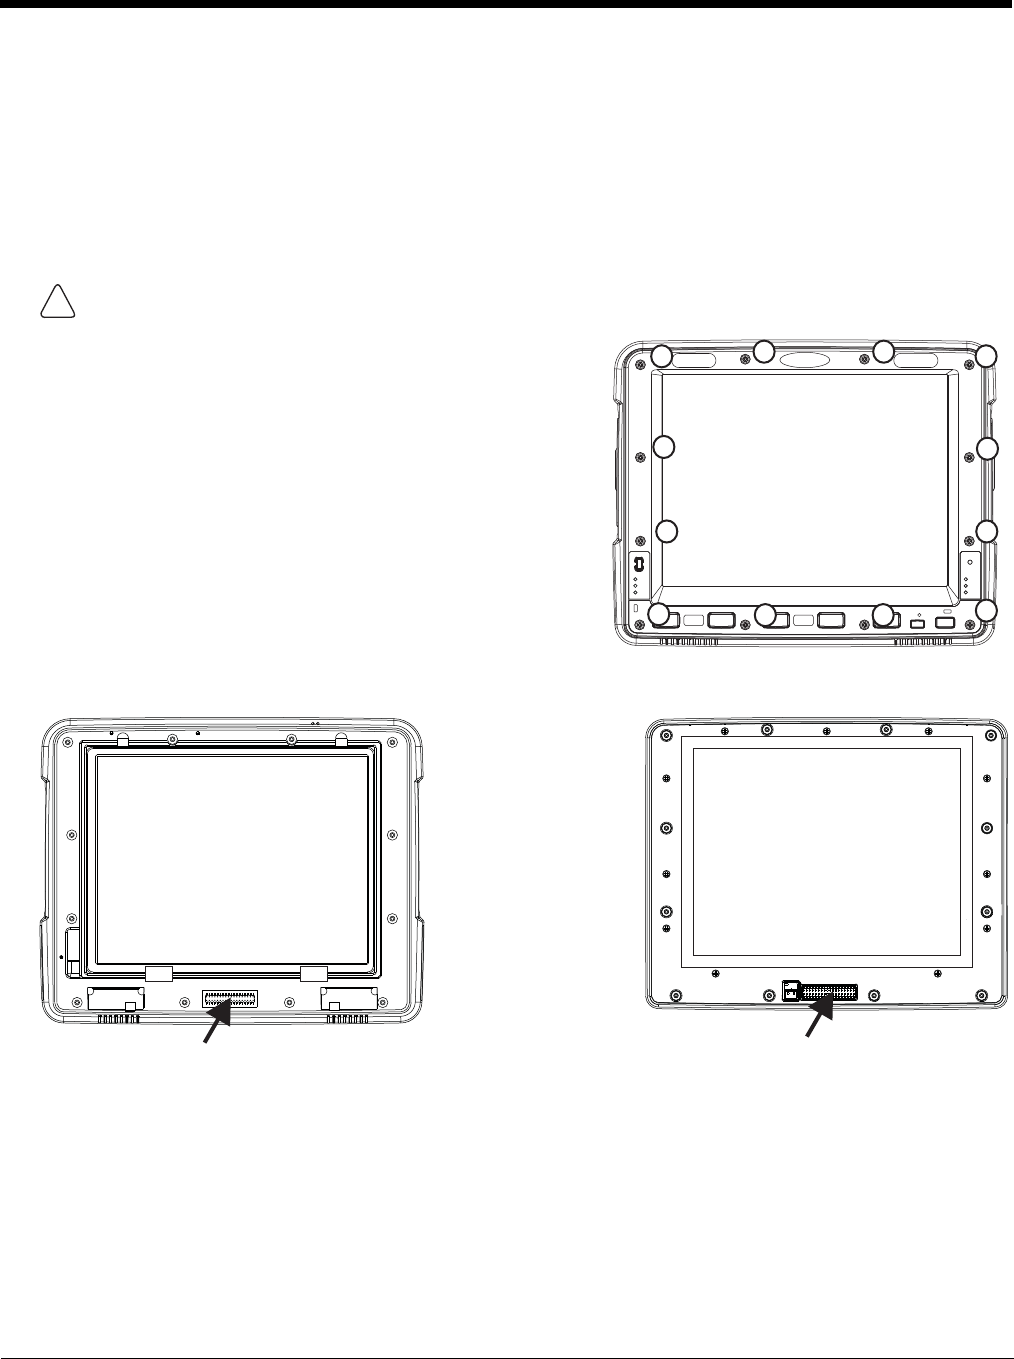
6. Carefully lift the front panel away from the device.
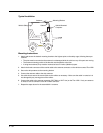
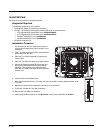
7. Position the replacement front panel so wiring connector on the back of the front panel lines up with the connector on
the Thor VM2.
8. Gently press the front panel into place.
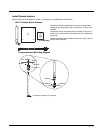
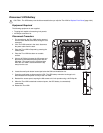
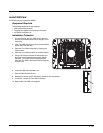
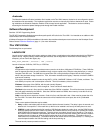
9. Tighten the twelve (12) captive M3 screws. In the order shown in the top figure above, use a #2 Phillips bit and torque
the screws to 6-7 inch pounds.
10. Reinstall the Thor VM2 in the Quick Mount Smart Dock.
11. When the Thor VM2 is placed in the powered dock, the UPS battery automatically reconnects.
CAUTION - Before replacing the Thor VM2 front panel, Disconnect UPS Battery (page 4-61).
1. Place the Thor VM2 on a clean, well-lit surface before perform-
ing the front panel replacement.
2. Place the Thor VM2 in Suspend by pressing the Power button.
3. Remove the Thor VM2 from the Quick Mount Smart Dock.
4. Disconnect UPS Battery (page 4-61).
5. Loosen the twelve (12) captive M3 screws holding the front
panel. Use a #2 Phillips bit.
!
10
1
2
3
4
58
9
11
12
67
Wiring Connector
on Thor VM2
Wiring Connector
on Front Panel