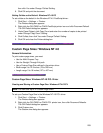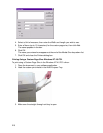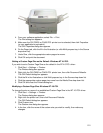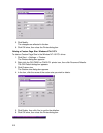
5. Select Long edge (
) or Short edge ( ) binding under 2-sided printing.
6. Click OK and print the document.
Duplex Printing: Windows NT 4.0 PS
1. Open the document in your software application.
2. Click File → Print.
The Print dialog box appears.
3. Make sure the C9200 or C9400 PostScript driver is selected, then click Properties (or
your application's equivalent).
The OKI Properties dialog box appears.
4. Scroll down to Layout and click 2-Sided Printing, then select either Long Side (
) or
Short Side (
) binding under Change '2-Sided Printing' Setting.
Note: If 2-Sided Printing is grayed out, you need to activate the duplex unit in the
driver.
5. Click OK and print the document.
Duplex Printing as the Default: Windows NT 4.0
Setting Duplex Printing as the Default: Windows NT 4.0 PCL
To set Duplex printing as the default in the Windows NT 4.0 PCL driver:
1. Make sure duplex printing is turned on in the Printer menu.
2. Click Start → Settings → Printer.
The Printers dialog box appears.
3. Right click the OKI C9300 or C9400 PCL printer icon, then click Document Defaults.
The OKI Default dialog box appears.
4. Click the Layout tab.
5. Select Long edge (
) or Short edge ( ) binding in the 2-sided printing drop-down list.
Note: If these items are grayed out, you need to turn the duplex unit on in the driver.
6. Click OK and close the Printers dialog box.
Setting Duplex Printing as the Default: Windows NT 4.0 PS
To set Duplex printing as the default in the Windows NT 4.0 PostScript driver:
1. Make sure duplex printing is turned on in the printer menu.
2. Click Start → Settings → Printer.
The Printers dialog box appears.
3. Right click the OKI C9200 or C9400 PostScript printer icon, then click Document
Defaults.
The OKI Defaults dialog box appears.
217


